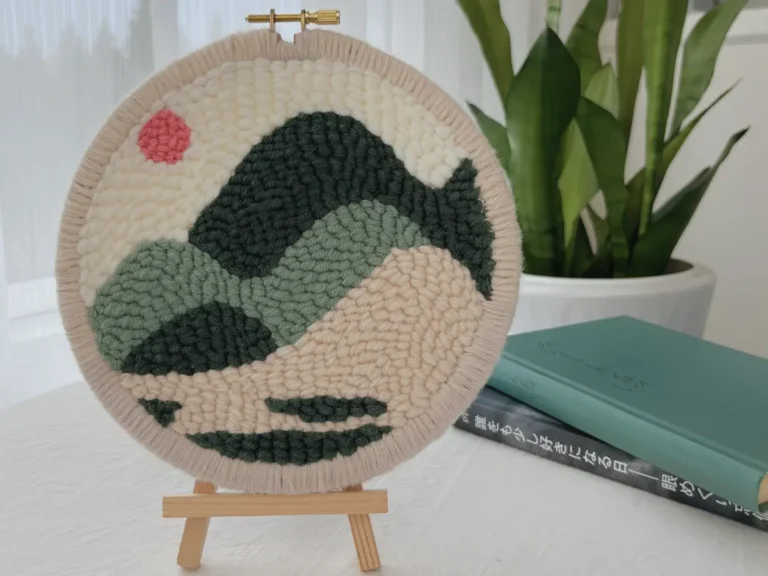
Today, we’re sharing this classic hoop trivet transformation from our punch needle tutorial series. This punch needle hoop trivet tutorial breaks the process down into simple, practical steps, making it easy for beginners to get started.
For a long time, DIY beginners trying punch needle for the first time have been especially encouraged to start with hoop series punch needle hoop kits. The reasons are simple:
- They are affordable, beginner-friendly, and quick to complete, allowing you to gain a strong sense of accomplishment in a short time.
- The finished pieces are highly versatile—you can hang them directly on the wall as a hoop series decorative art, or place them anywhere in your home to add a warm, handmade touch. Most importantly, hoop-based punch needle pieces already have a natural thickness, which makes them perfect candidates for transforming into a practical heat-resistant trivet.
Punch Needle Hoop Trivet Tutorial: Step-by-Step Guide
Step 1: Preparation
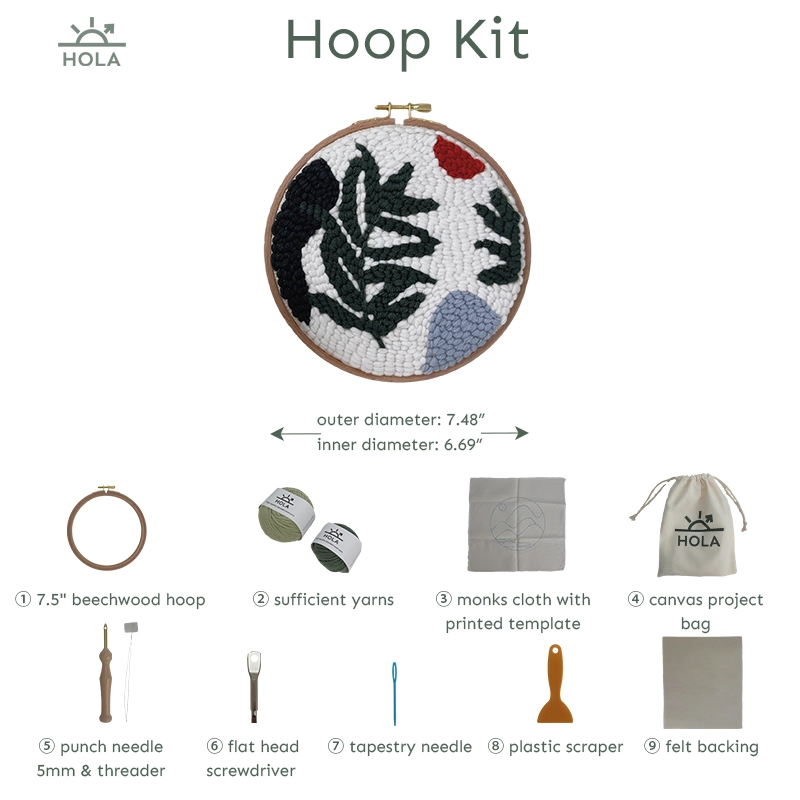
The HolaKits hoop kits full kit already includes all the materials and tools needed to make a trivet, as shown below.
A Beginner’s Must-Read: How to Use Every Tool in a Punch Needle Kit
To make the trivet, you’ll only need a few additional household items: a sewing needle, a pen, alcohol-based glue, and scissors.

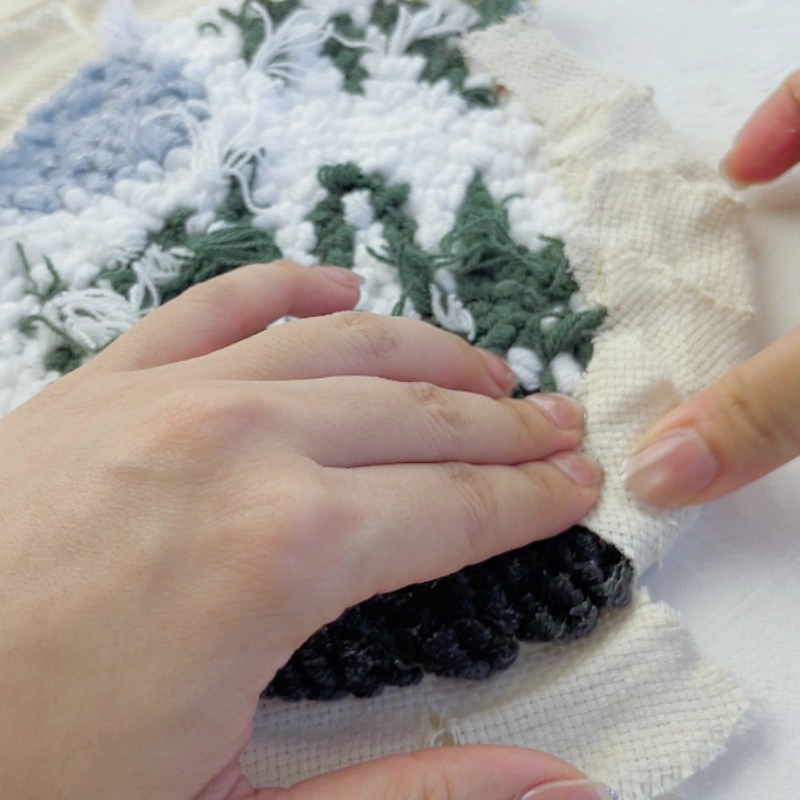
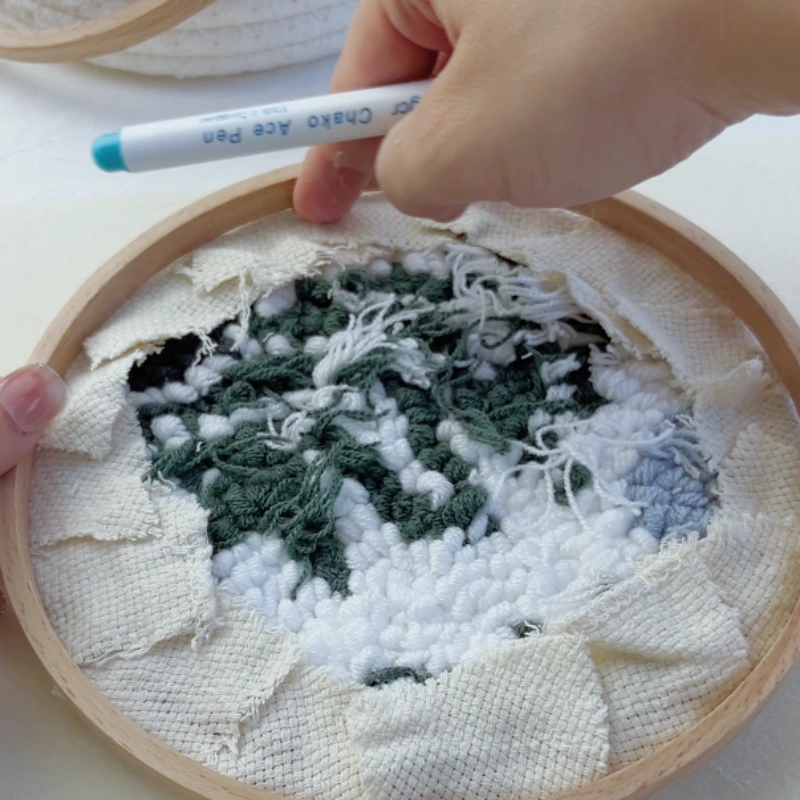
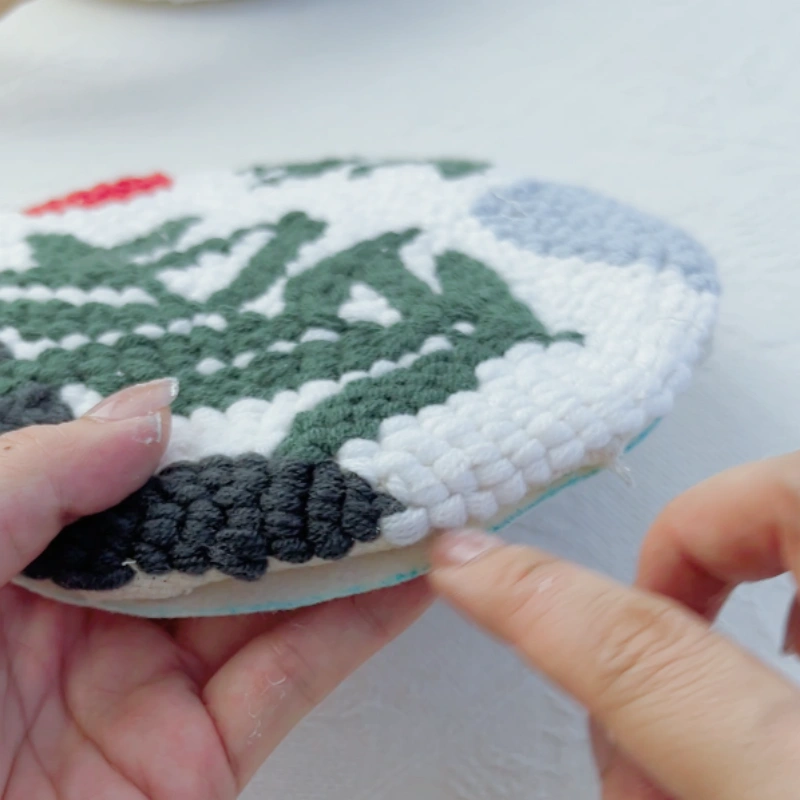
Step 2: Trim the Base Fabric and Separate the Hoop Rings
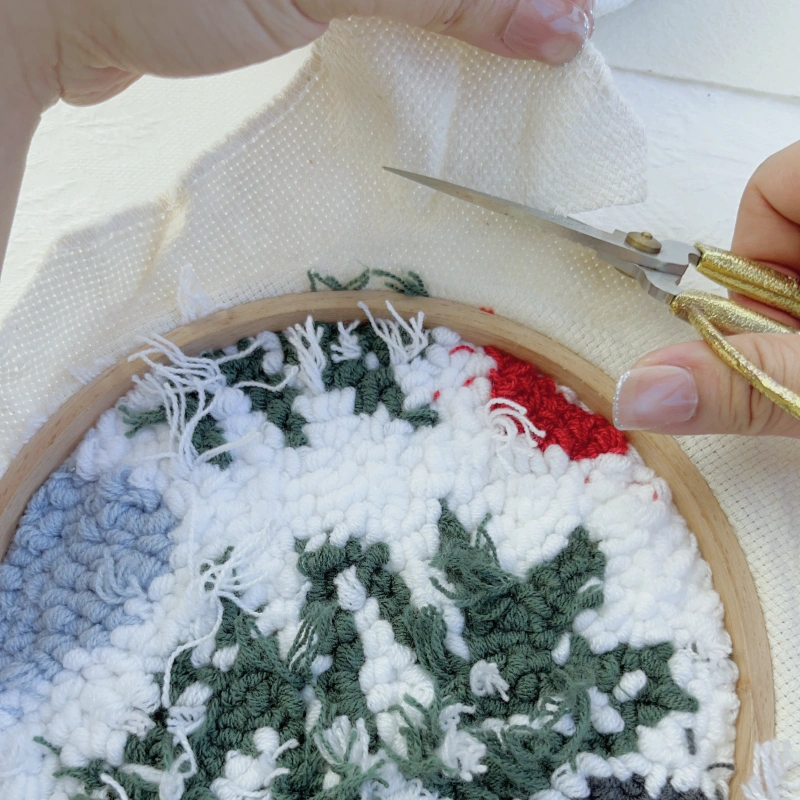
Trim the base fabric along the outer edge of the hoop, leaving approximately 3 cm of allowance. Try to keep the shape as circular as possible.
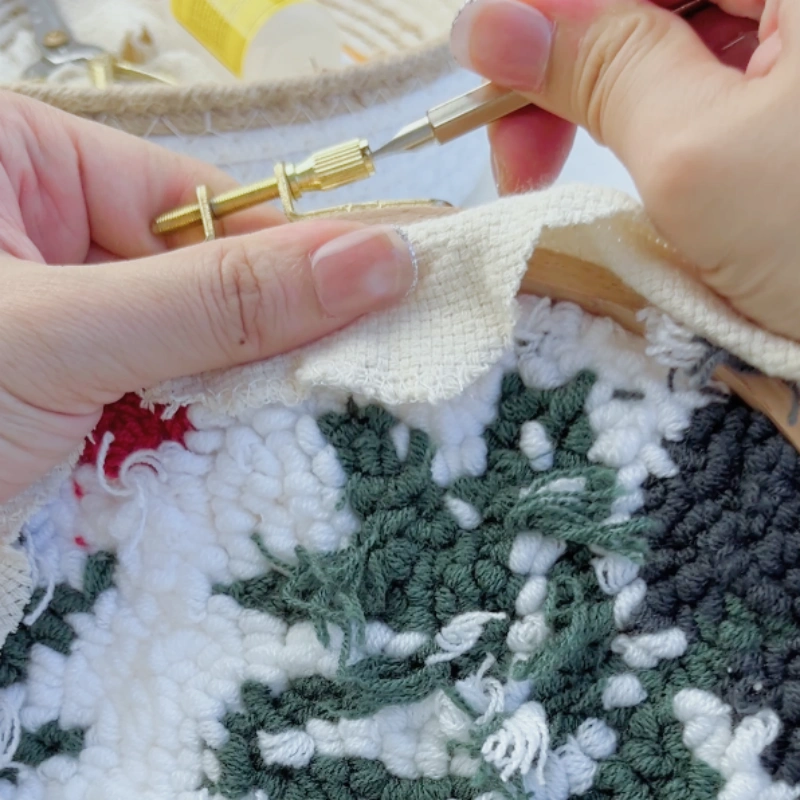
Use a flat-head screwdriver to loosen the hoop screw and separate the inner and outer rings.
Remove the embroidery piece and cut the fabric edge as shown in the diagram.
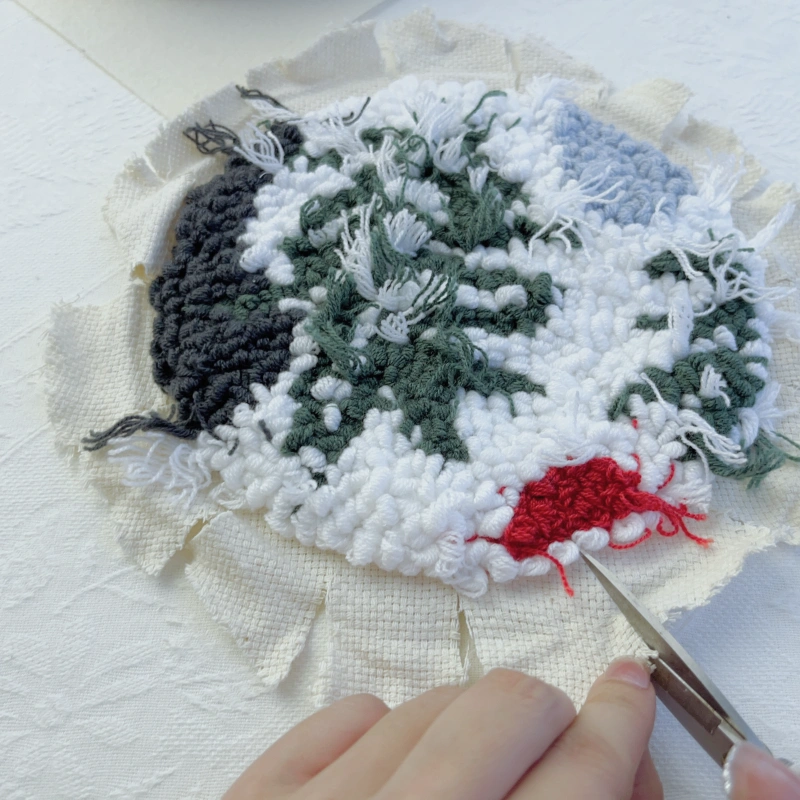
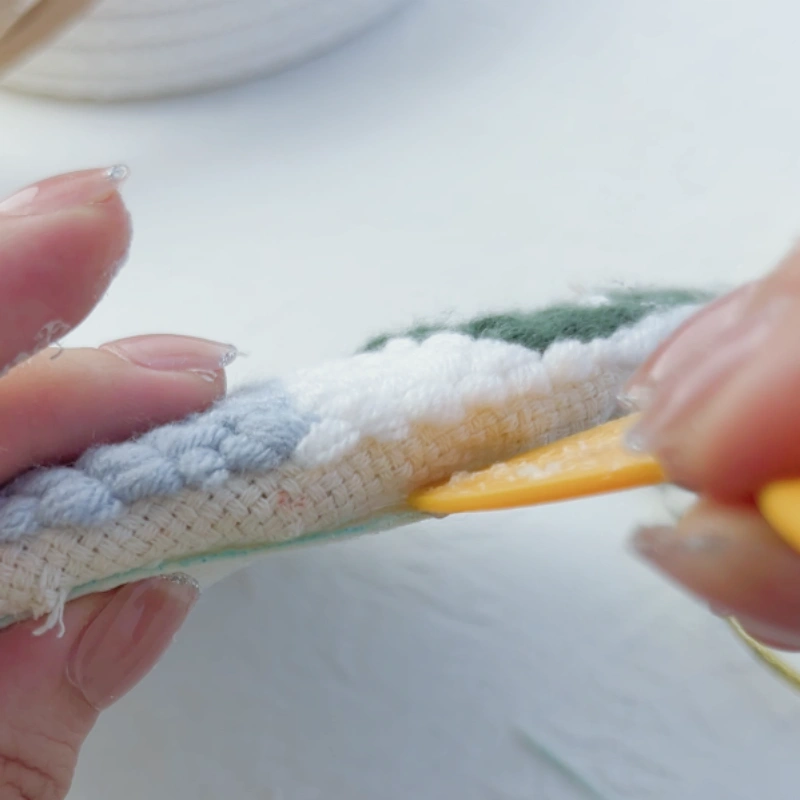
Step 3: Glue the Base Fabric

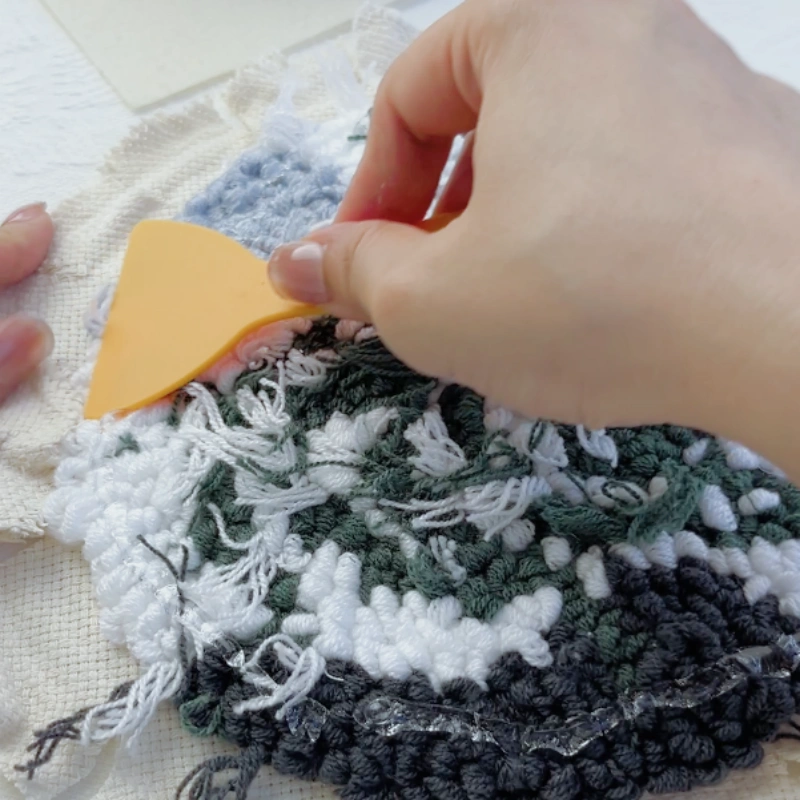
Apply alcohol glue evenly along the edge of the pattern on the back of the embroidery, then use a scraper to spread the glue evenly.
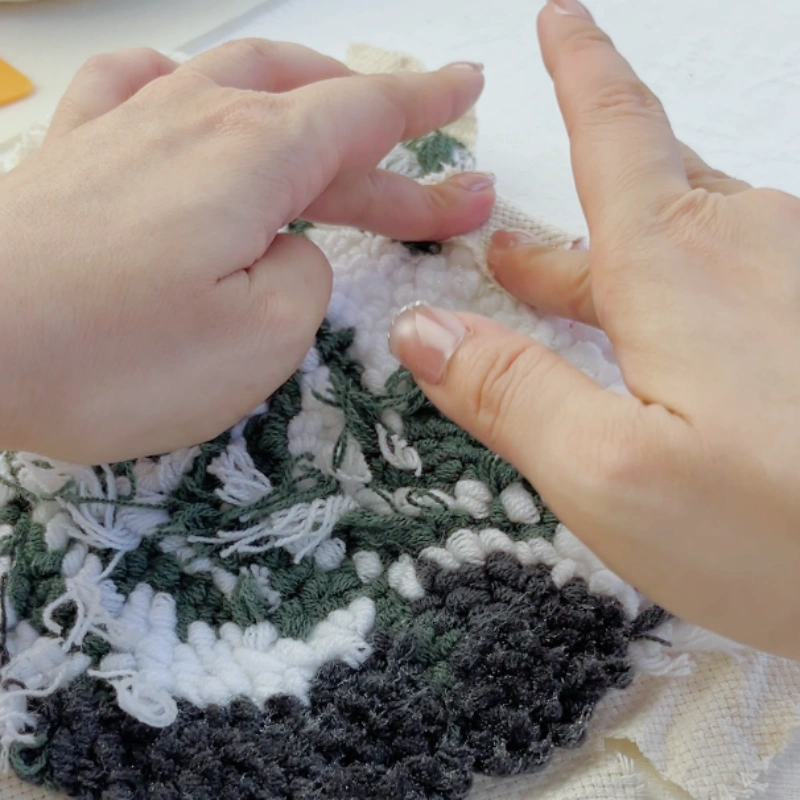
Attach the base fabric following the order shown in the diagram.
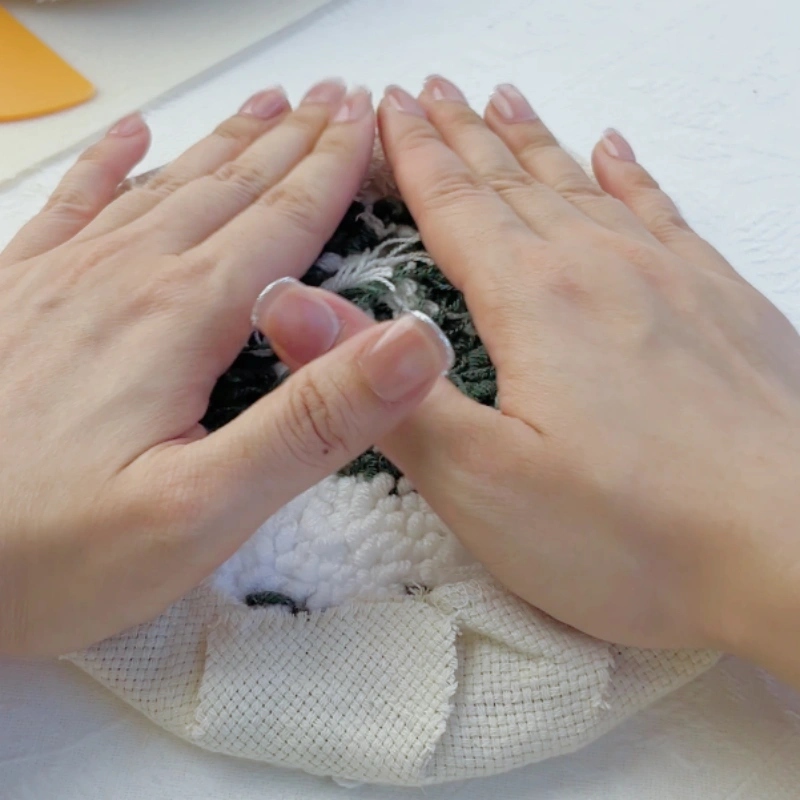
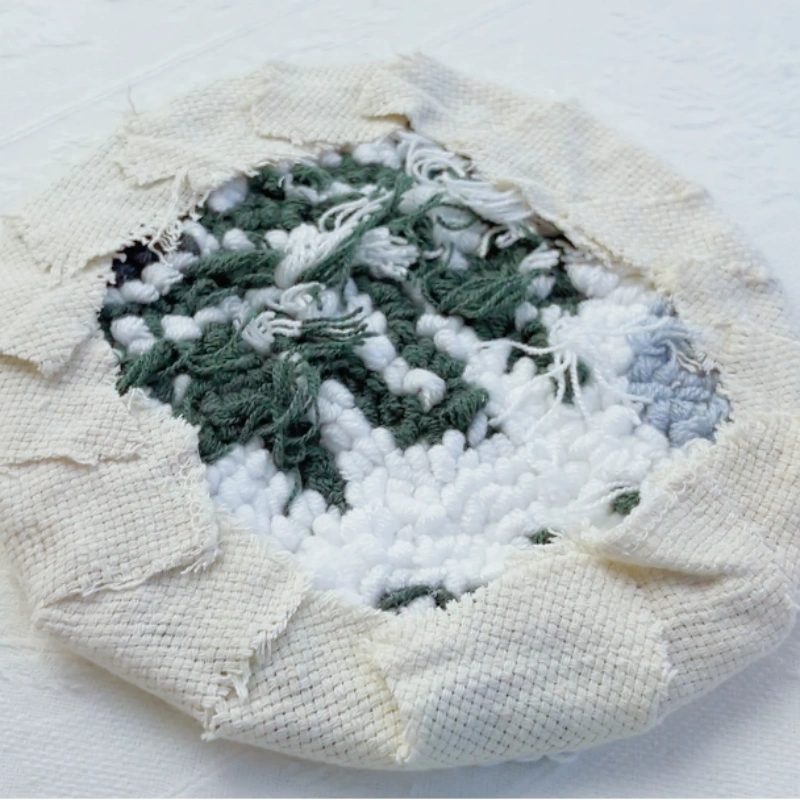
Press while attaching, continuing until the fabric lies flat and adheres smoothly.
Step 4: Cut the Backing Board
Use the inner hoop ring to measure the size of the embroidery and determine the standard inner diameter for the backing board.
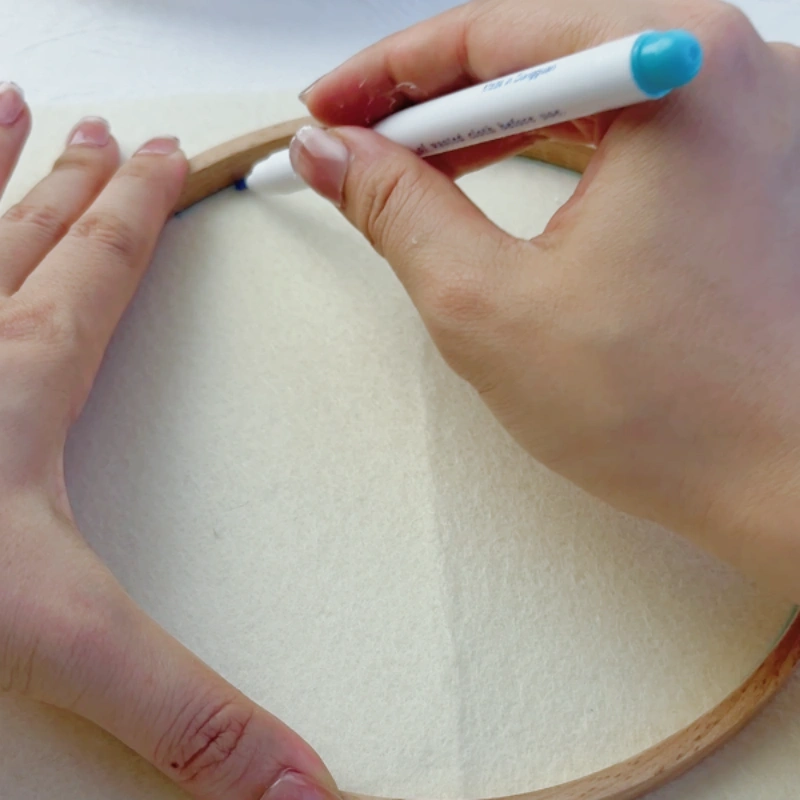


Take out the felt backing included in the hoop kit and trace a circle along the inner ring, and cut out the traced area.
Step 5: Attach the Backing Board
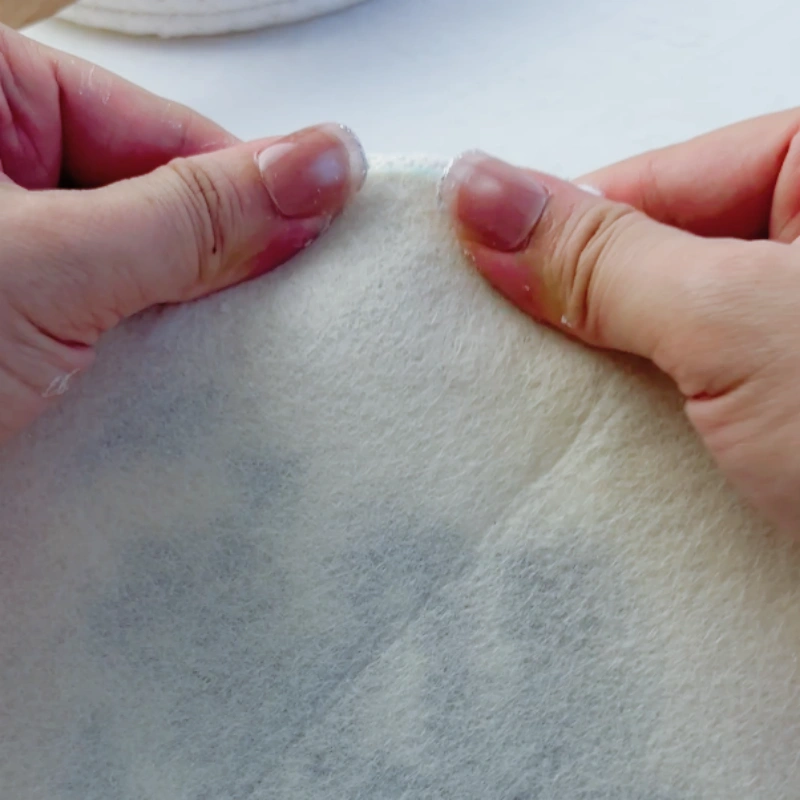
Apply glue evenly to the back of the embroidery (including the areas where the base fabric has already been glued), and spread it evenly with a scraper. Attach the cut felt backing to the back of the embroidery and press firmly to secure it.
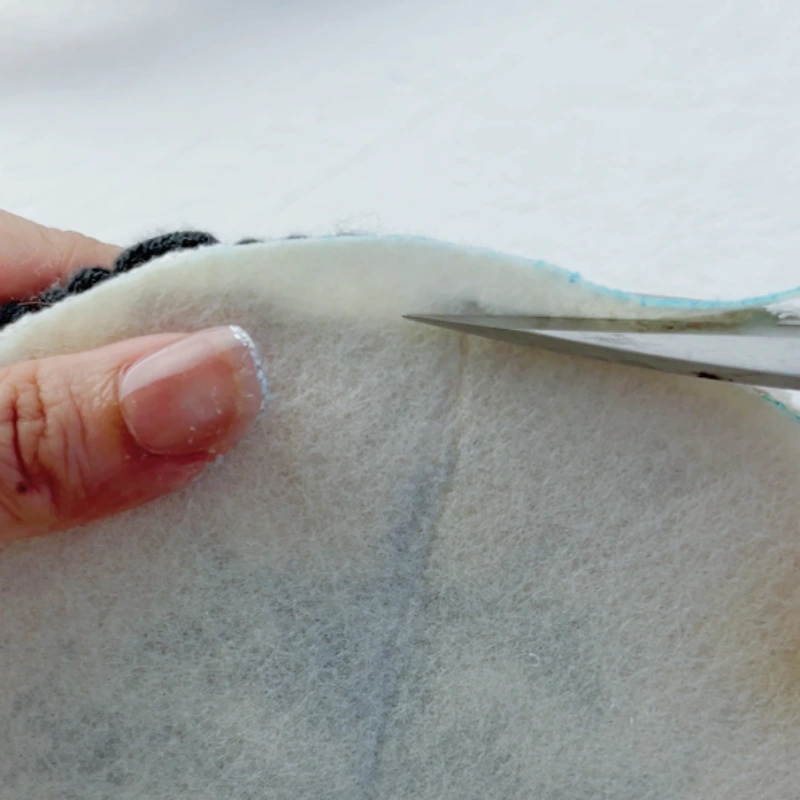
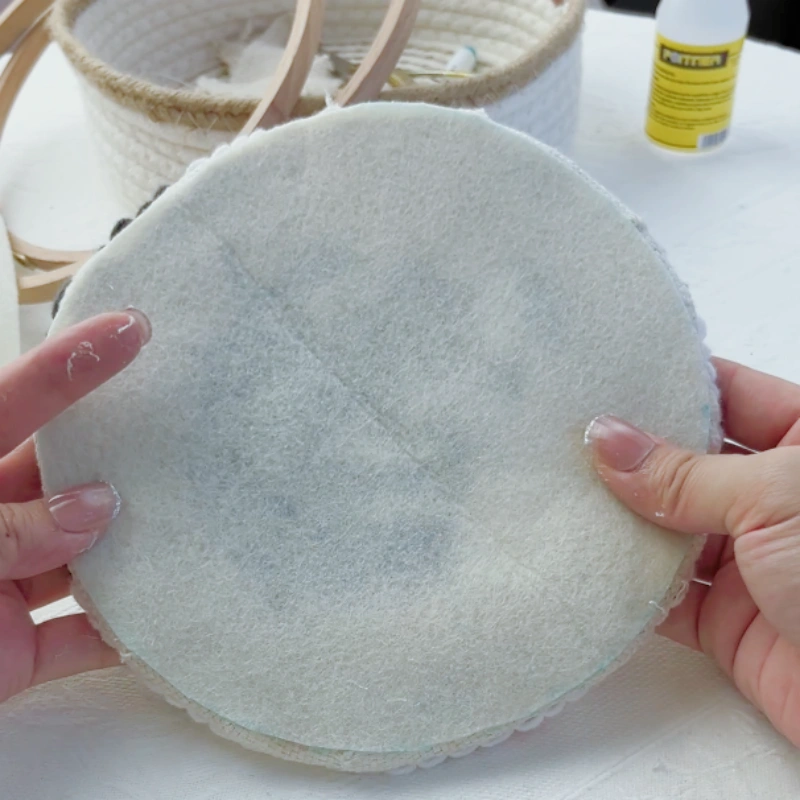
After the glue has hardened (approximately 10 minutes), trim off any excess felt around the edges.
Finally, adjust any areas where glue coverage is insufficient to ensure the backing board adheres completely to the embroidery.
Step 6: Threading
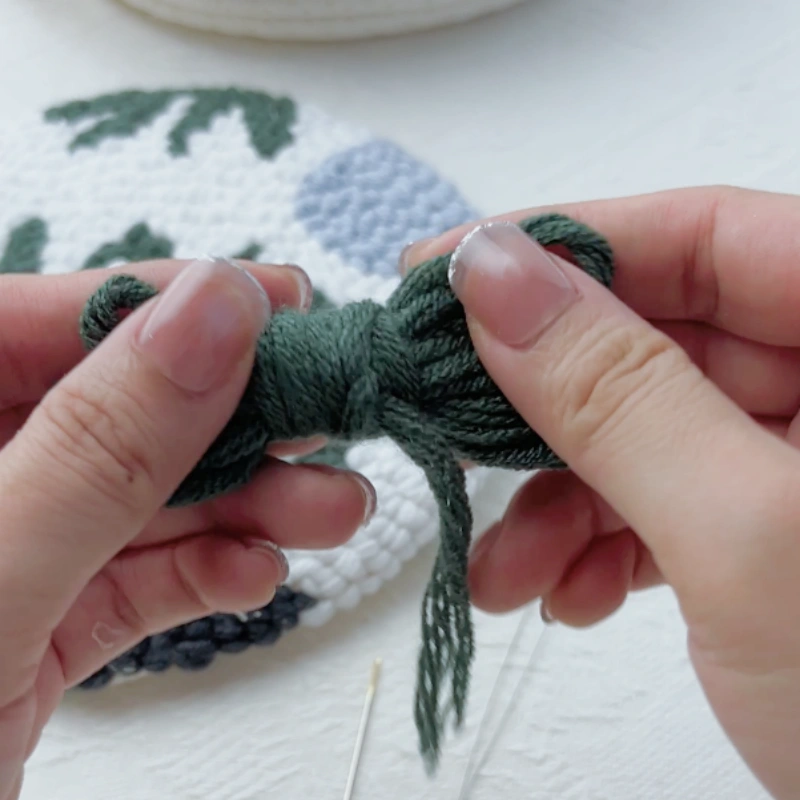
Select your preferred yarn from the leftover yarn included in the hoop kit.
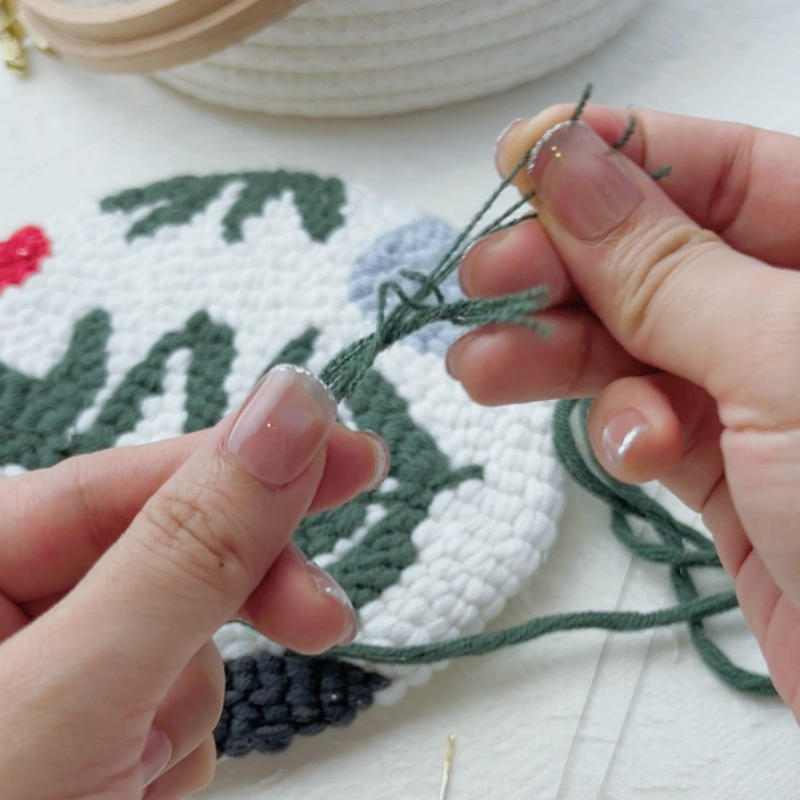
From a bundle of yarn, pull out 2–3 individual strands. Note: the strands should be pulled out one by one, the yarn is more likely to tangle.
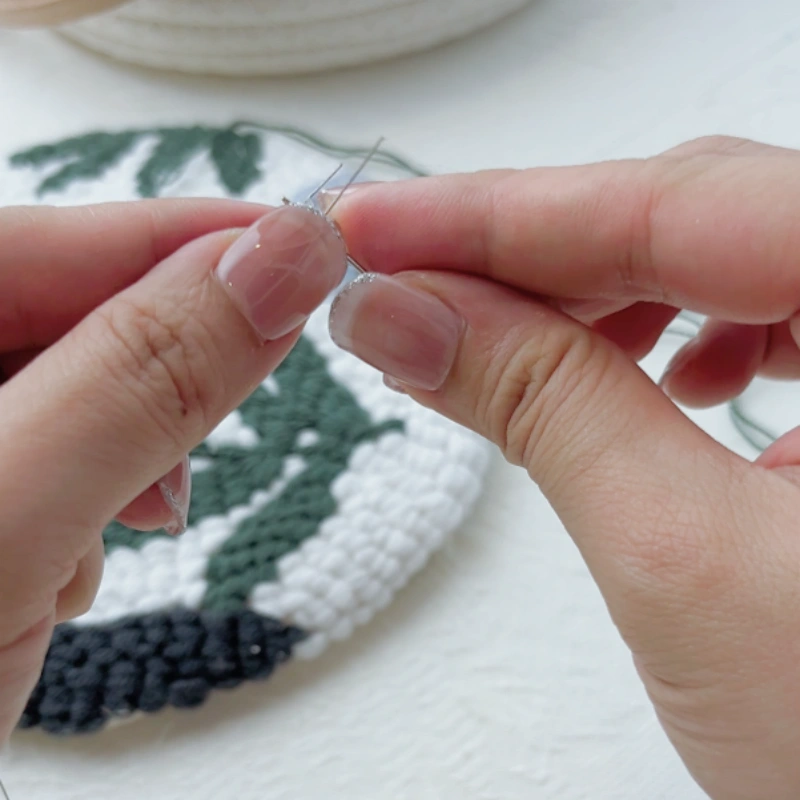
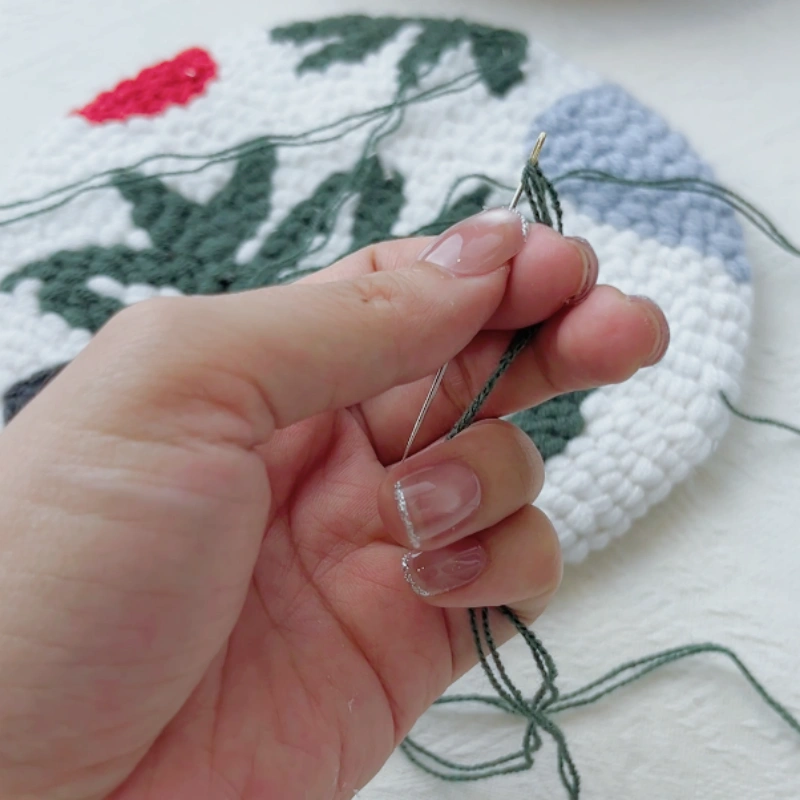
Use the threader to pass the yarn through the sewing needle. No knot is needed.
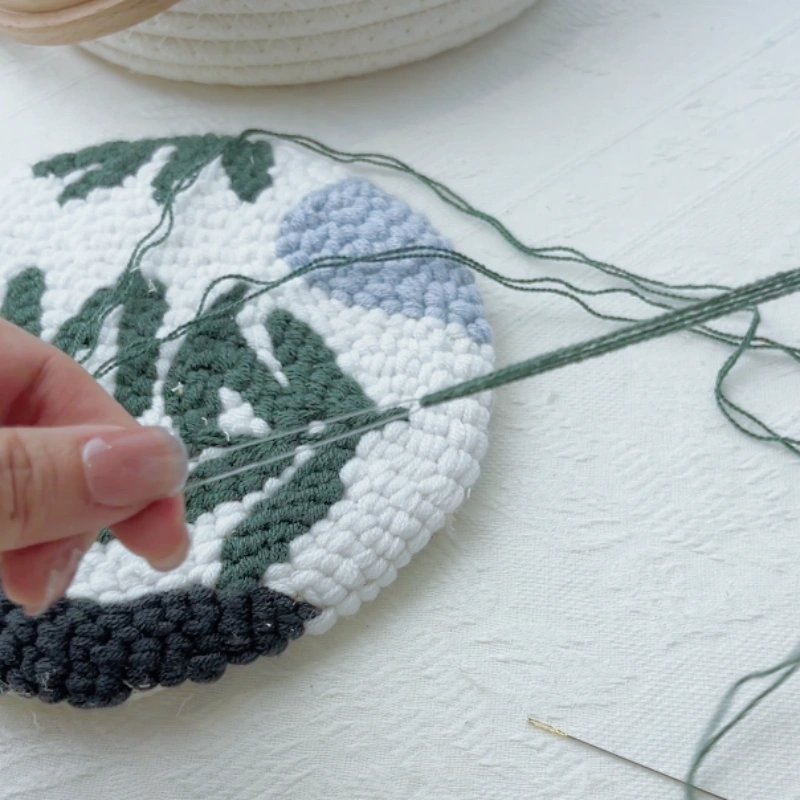
Step 7: Stitch the Backing Board
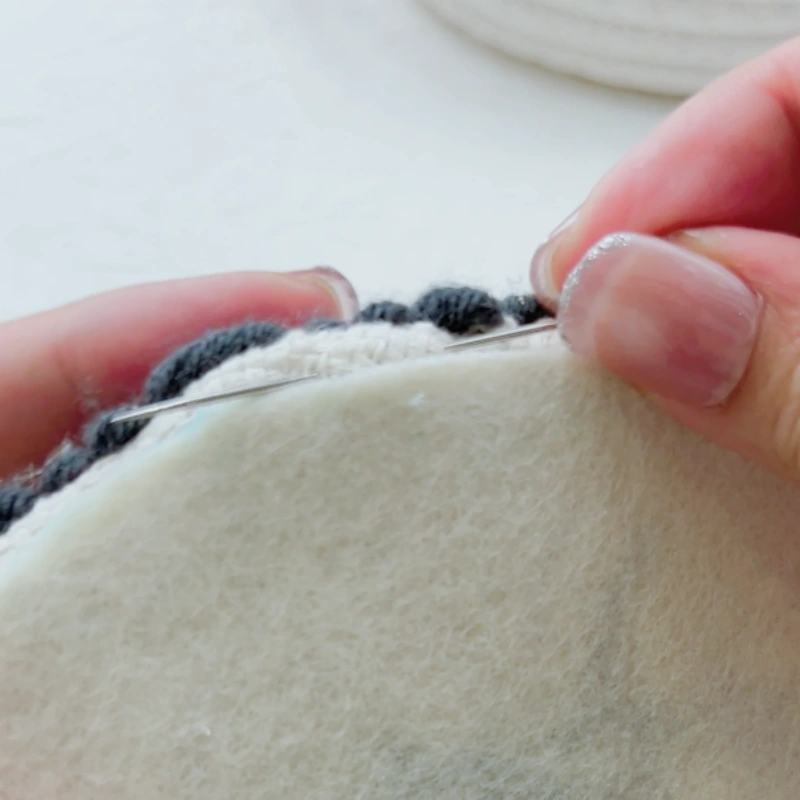
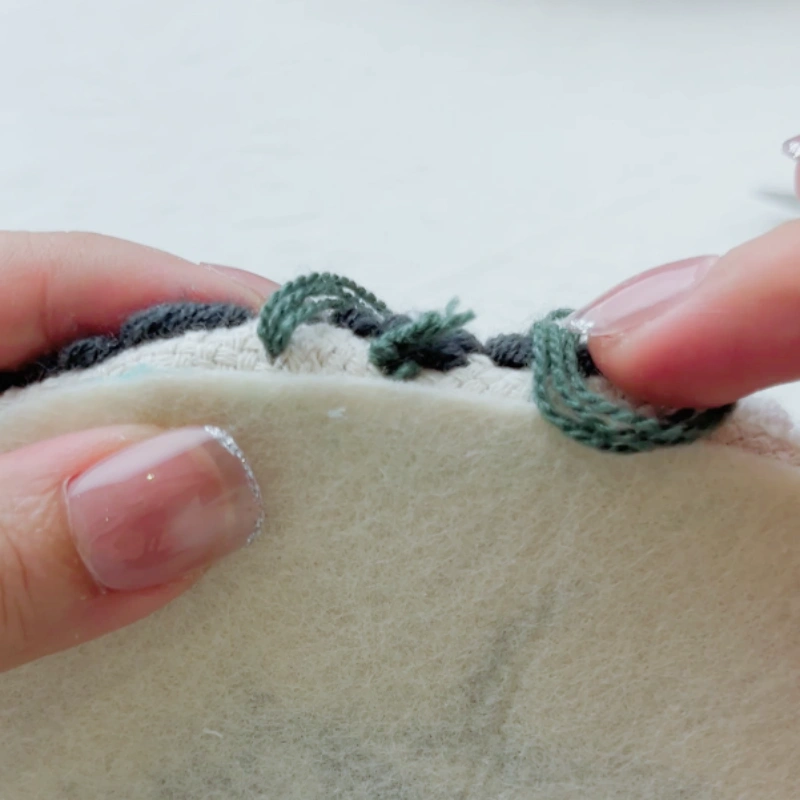
Start stitching as shown in the diagram, and tie a knot at the yarn tail to secure the starting point.
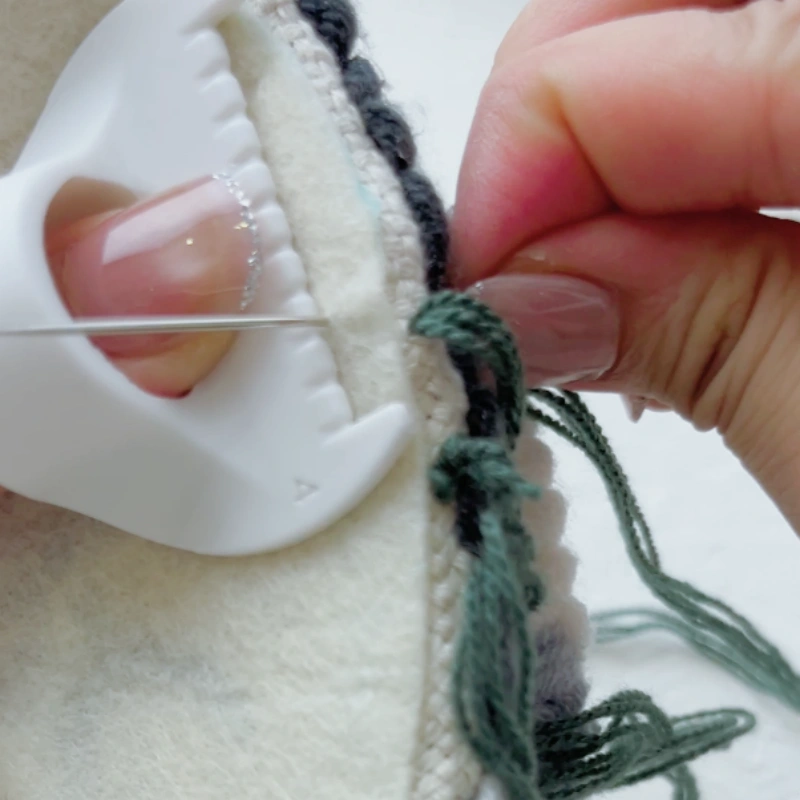
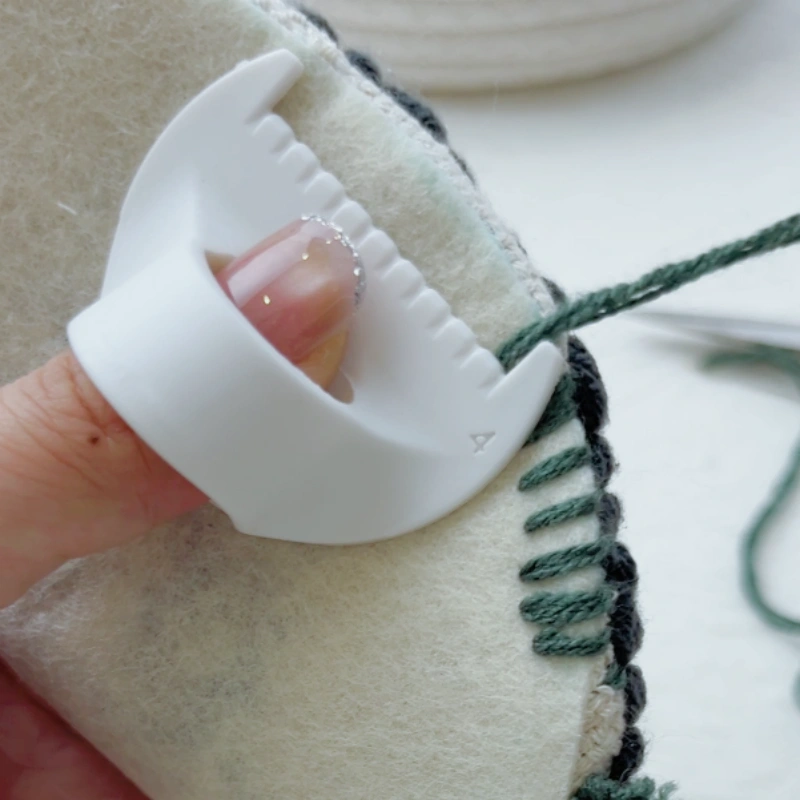
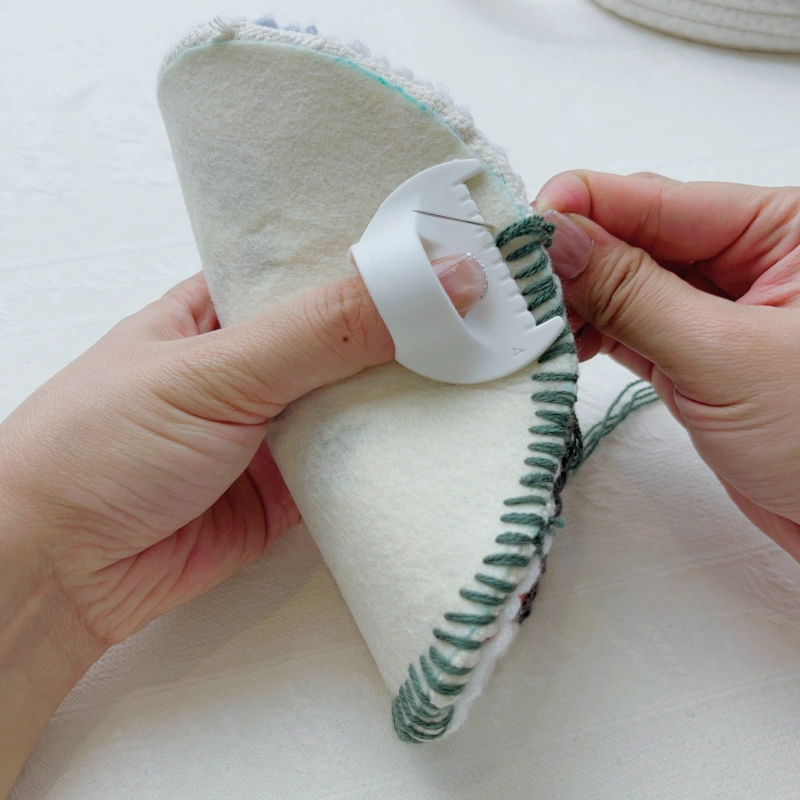
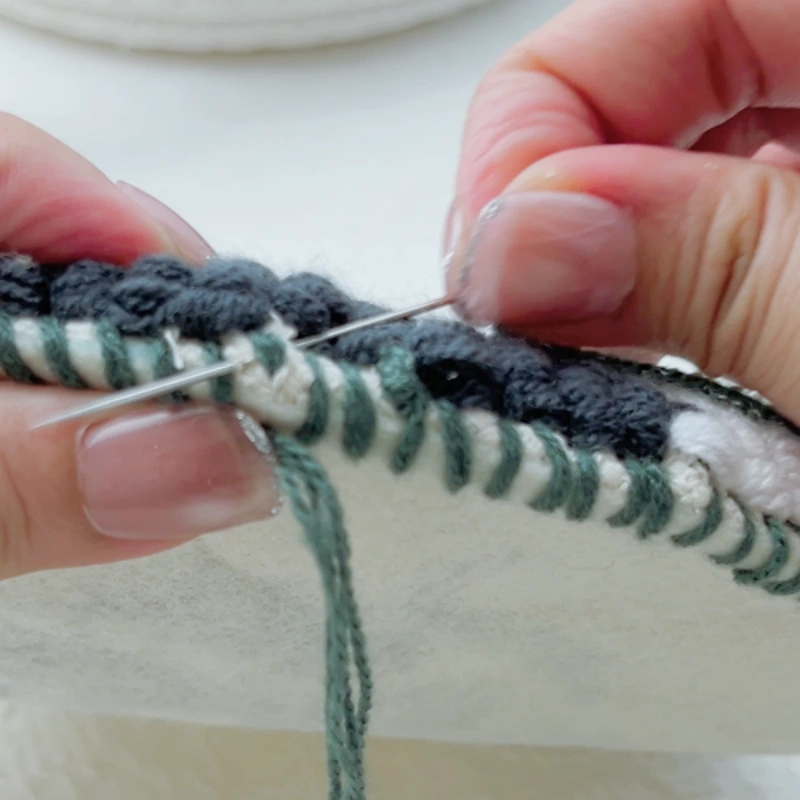
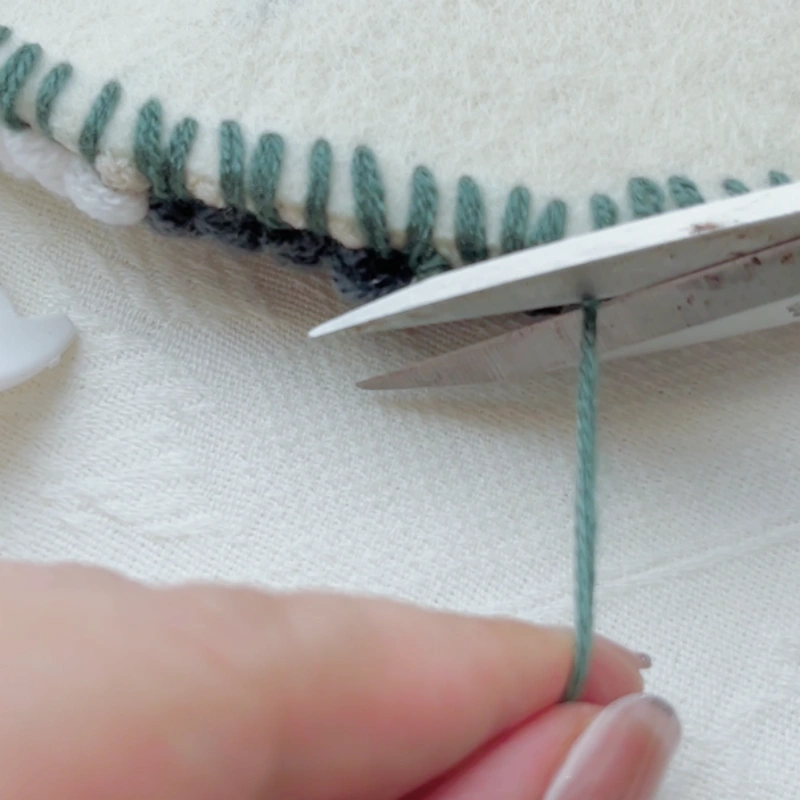
The edge stitch lock sewing gauge can help keep stitch spacing even. Stitch tightly around the edge in one full round to complete this practical trivet transformation.
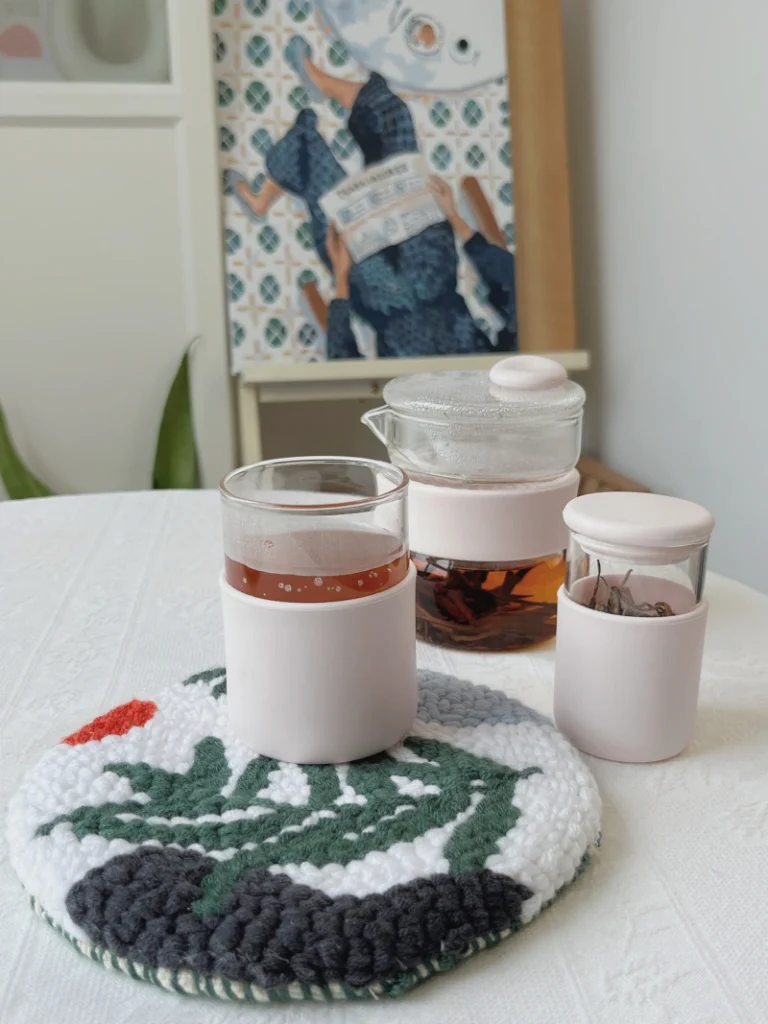
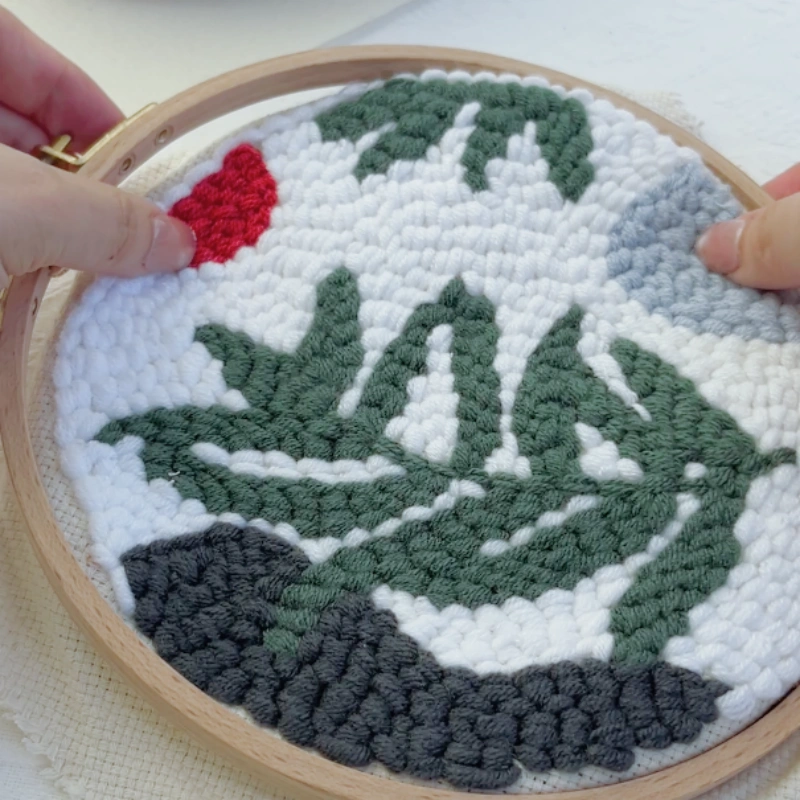
Finished Piece Display
Through this Punch needle hoop trivet tutorial, you’ve learned the complete process of transforming a hoop-style punch needle embroidery into a functional trivet.

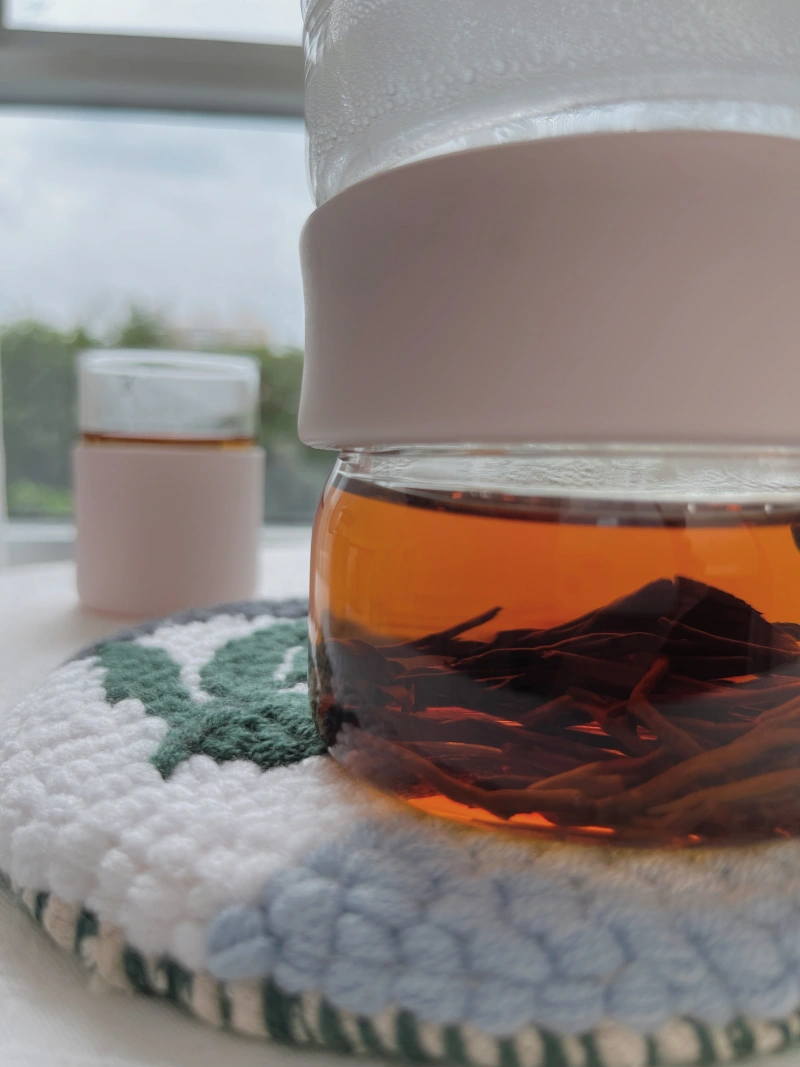
A punch needle hoop trivet preserves the artistic charm of the hoop series while adding practical everyday use, striking a thoughtful balance between decoration and function.
Whether placed on a dining table or used as a subtle tea-time accent, a handmade hoop trivet like this brings a unique, crafted texture and warmth to your home.
For a visual walkthrough and more beginner-friendly punch needle tutorials, you can watch the full video guide on our HolaKits YouTube channel.