This hoop edge finishing tutorial will guide you step by step to create beautifully refined, flawless hoop edges.
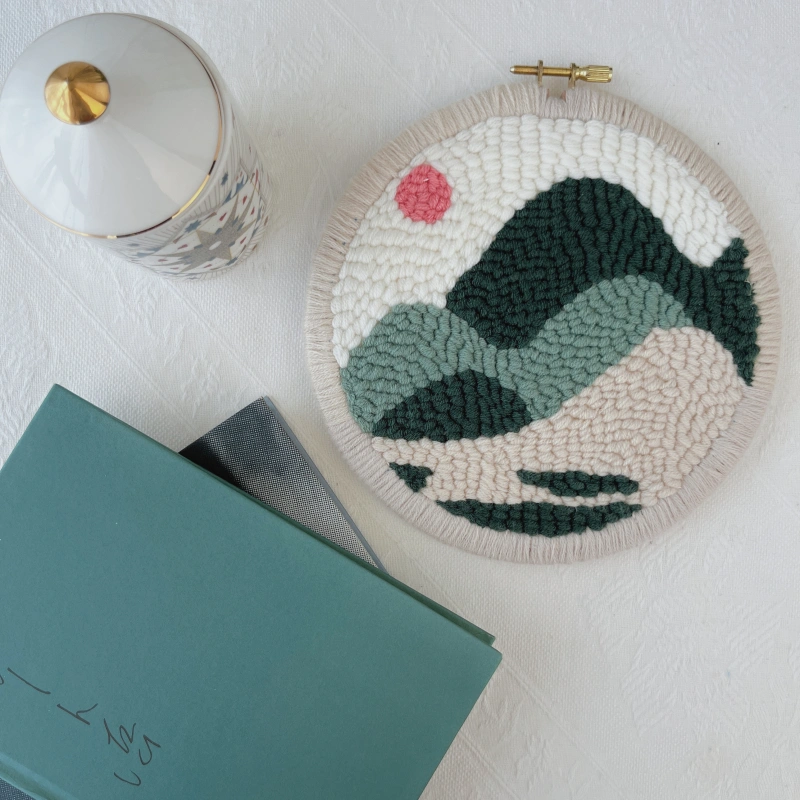
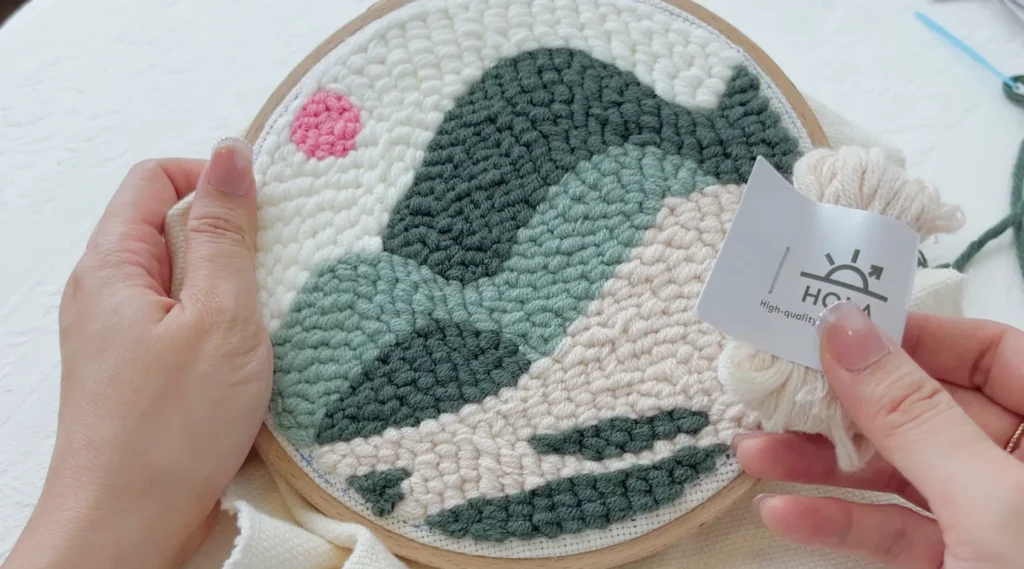
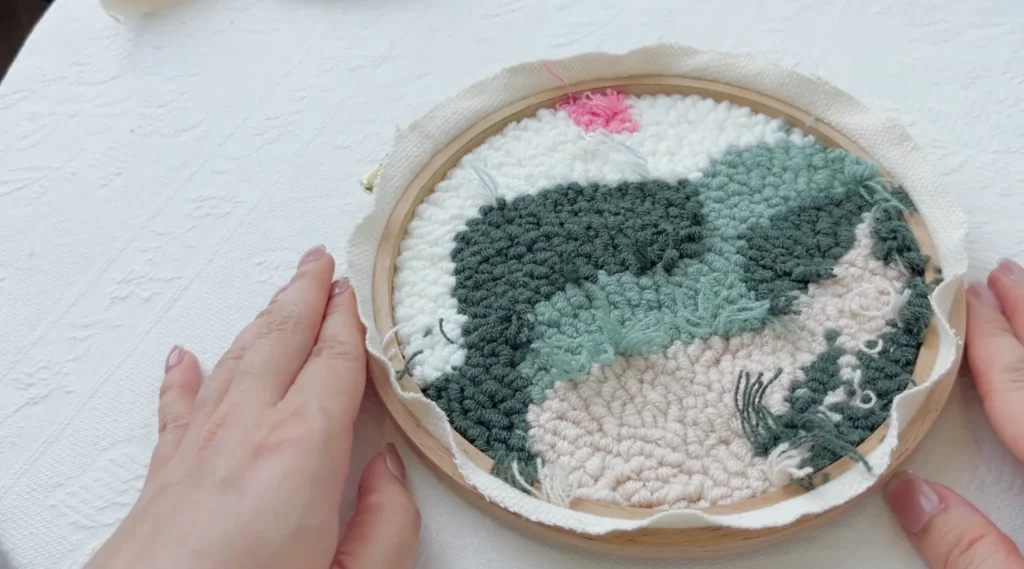
After completing a project from the hoop series, you may notice that because the inner ring of the hoop has a certain thickness, the edge of the finished piece often shows a visible white border. After completing a project from the hoop series, you may notice that the edges of your piece often reveal a white border, as the inner ring of the hoop prevents the punch needle from reaching the very edge. In some cases, you may even see the outline of the pattern markings on the base fabric. This is a very common situation, so there is no need to worry.
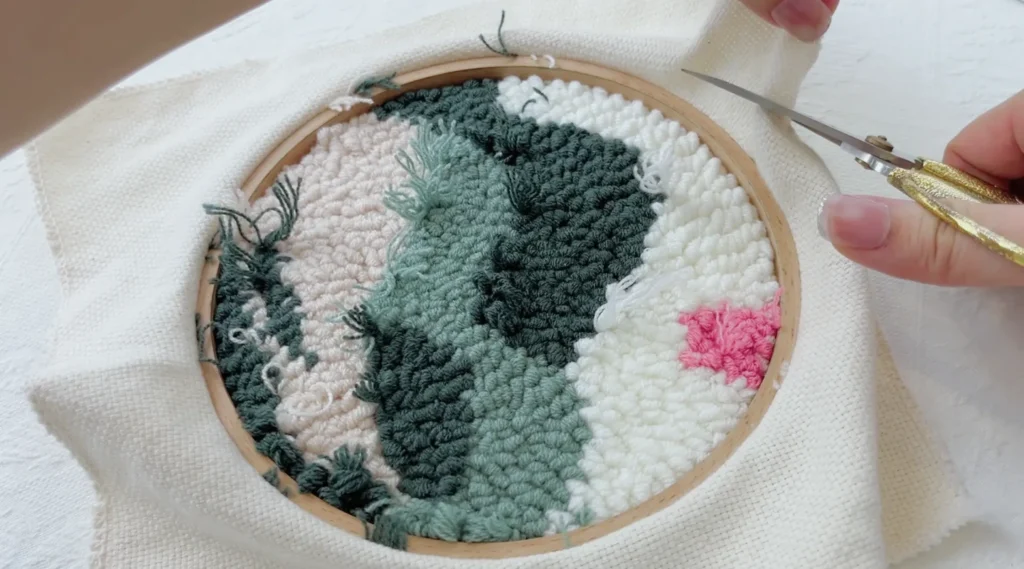
These pattern lines are usually printed using water-soluble ink. For small areas, you can simply wipe them away gently with a damp tissue. If you are a perfectionist and want all extra lines to disappear completely, you can try the following method:
“Take a clean bowl and fill it with room-temperature water (I actually prefer the water to be not very cold, just on the edge of lukewarm, because I can’t stand cold water). Add a modest amount of mild soap or dishwashing liquid. Place the entire embroidered piece into the bowl and let it soak for a while—be generous with the time and allow it to soak thoroughly. Gently rinse the fabric so the soap penetrates the fibers. Then pour out the soapy water and rinse under running cold water until you are sure there are no traces of soap left.”
— Amina, Stitch Floral
Water-soluble fabric marker: are you making this mistake when you use it?
External resource
After removing the pattern markings, simply fold and stitch the excess base fabric on the back to secure it. At this point, your hoop art piece—perfect as a home decor DIY project—is technically finished.
However, if you want your piece to look more complete and refined, this hoop edge finishing tutorial will show you how to add a neat and even edge to your hoop, turning a simple punch needle project into a beautiful home decor piece.
Hoop Edge Finishing Steps
Step 1: Choose the Yarn
In our punch needle kits , there is usually some leftover yarn after completing a project. Simply select a yarn color that coordinates well with your finished design and use it for edge finishing.
If you don’t have leftover yarn available, you can also flexibly use other materials—such as jute twine, ribbon, or woven tape. As long as the color and texture complement the overall design, they can create different decorative styles and serve as a fun home decor DIY upgrade.

Use the threader to pass the yarn through the plastic needle. No knot is needed. Once this is done, the preparation is complete.
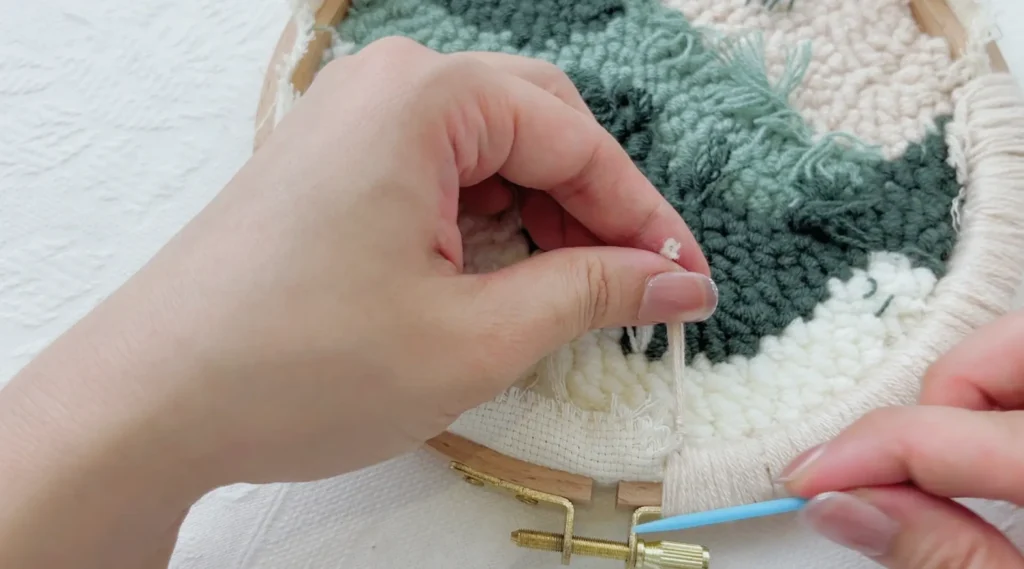
Step 2: Trim the Base Fabric
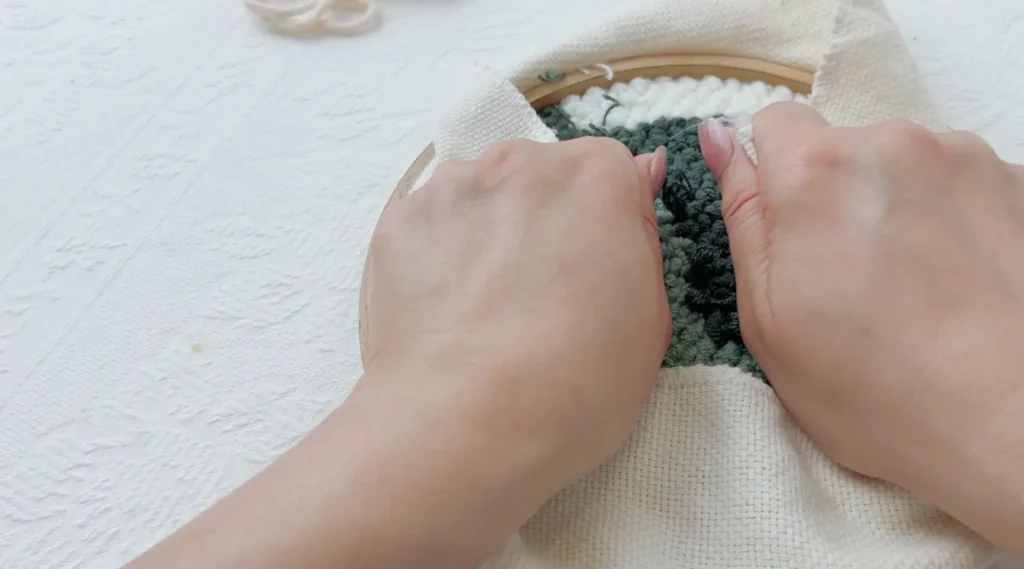
Turn the piece over to the back. Gently pull the base fabric toward the center as tightly as possible, ensuring that the front surface remains smooth and free of wrinkles.
Next, trim the base fabric along the outer edge of the hoop, leaving approximately 1–2 cm of allowance.
Do not leave the excess fabric too long. Overly long fabric edges will make the edge finishing too thick, harder to stitch, and less even, increasing both time and effort. This step is especially important for maintaining the refined look of hoop series pieces.
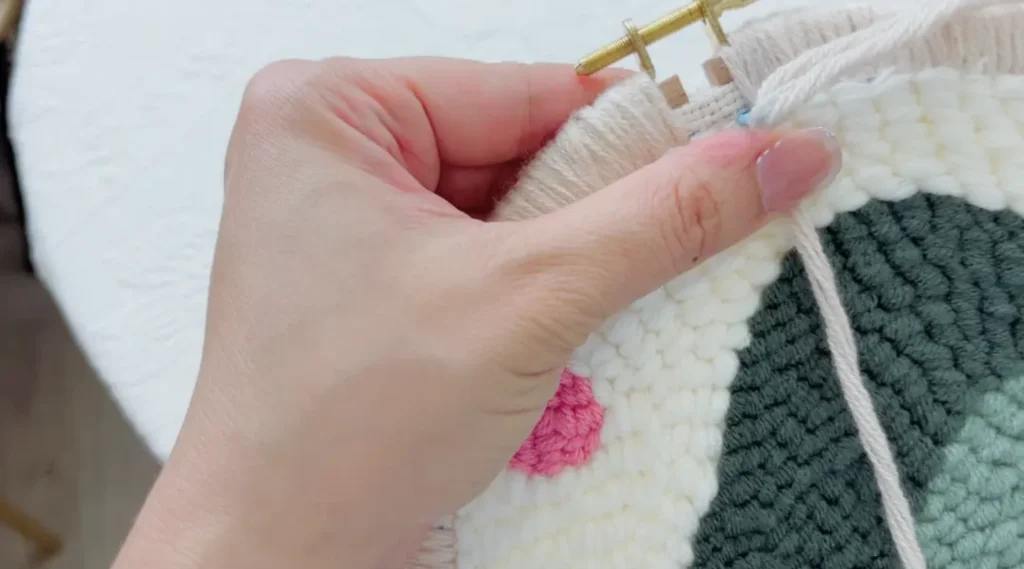
Step 3: Stitch Along the Hoop Edge
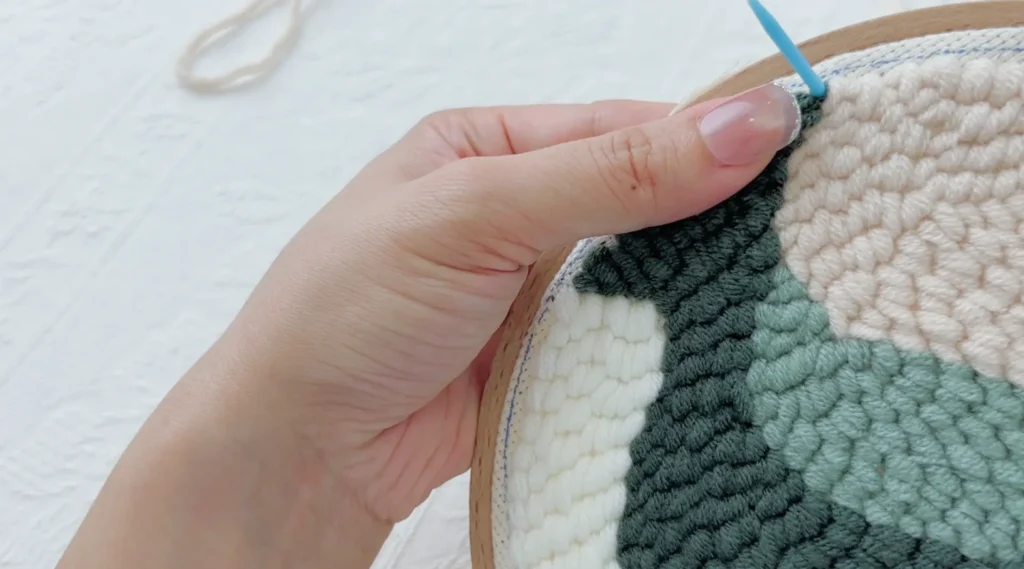
Tuck the trimmed fabric edge inward toward the inner ring of the hoop. At this point, use the plastic needle threaded with yarn to bring the needle out from the back, then tie a knot on the back to secure the starting yarn.
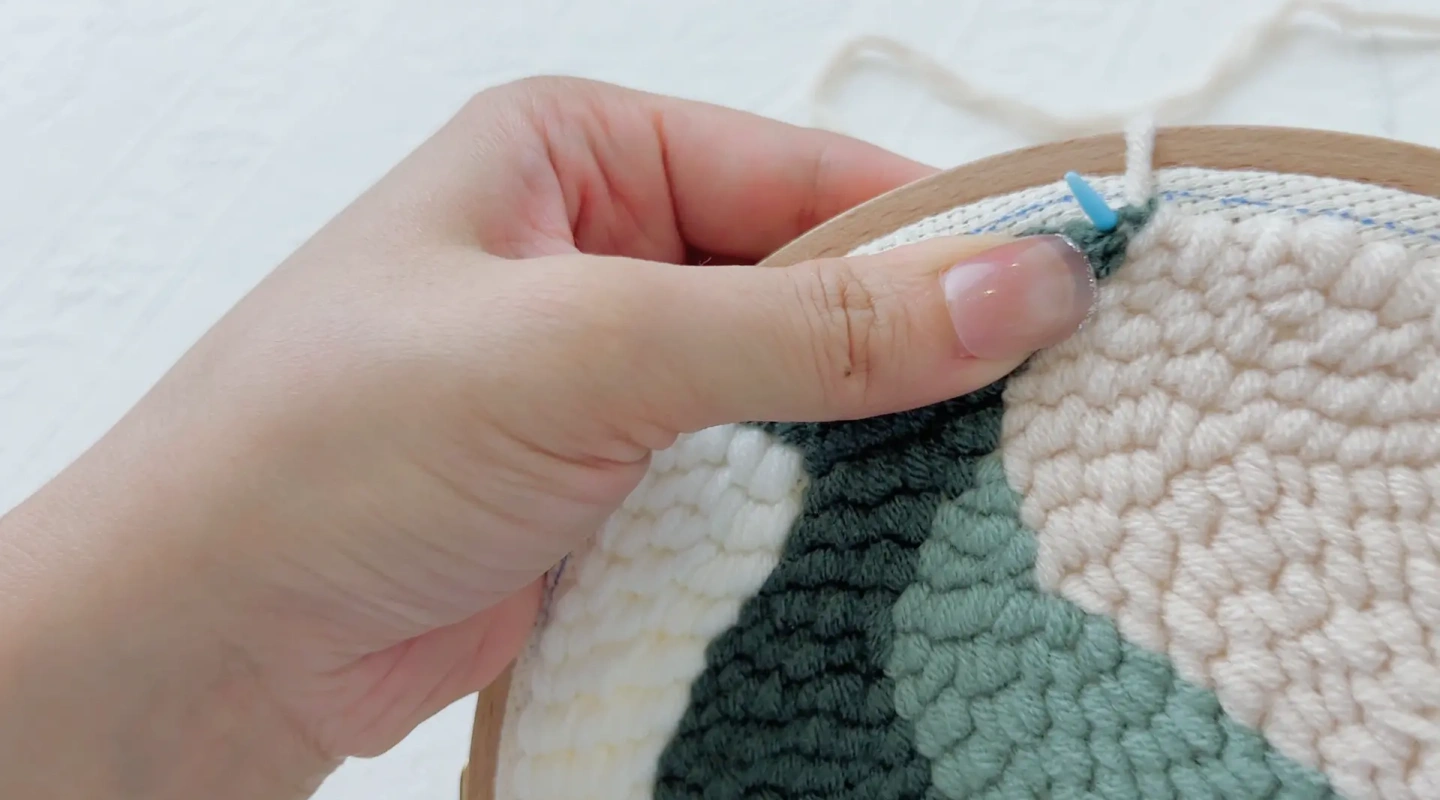
Stitch evenly and tightly along the hoop edge, keeping the stitches neat and flush, without leaving any slack.
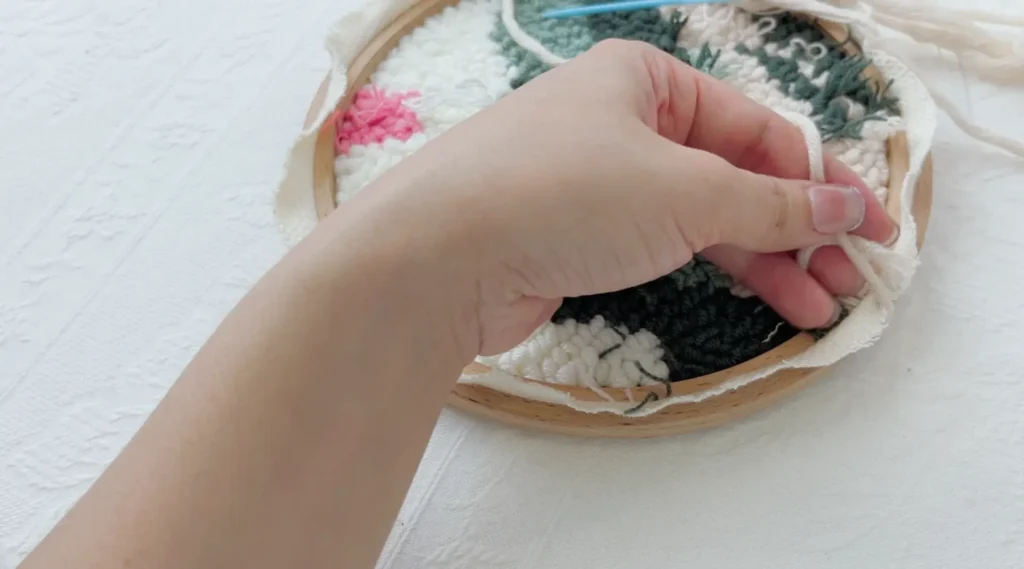
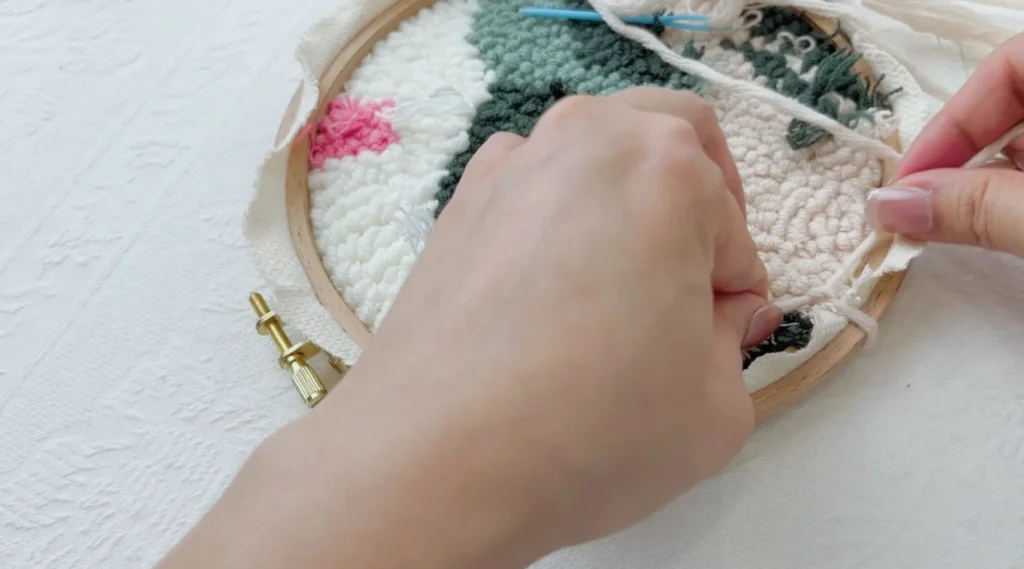
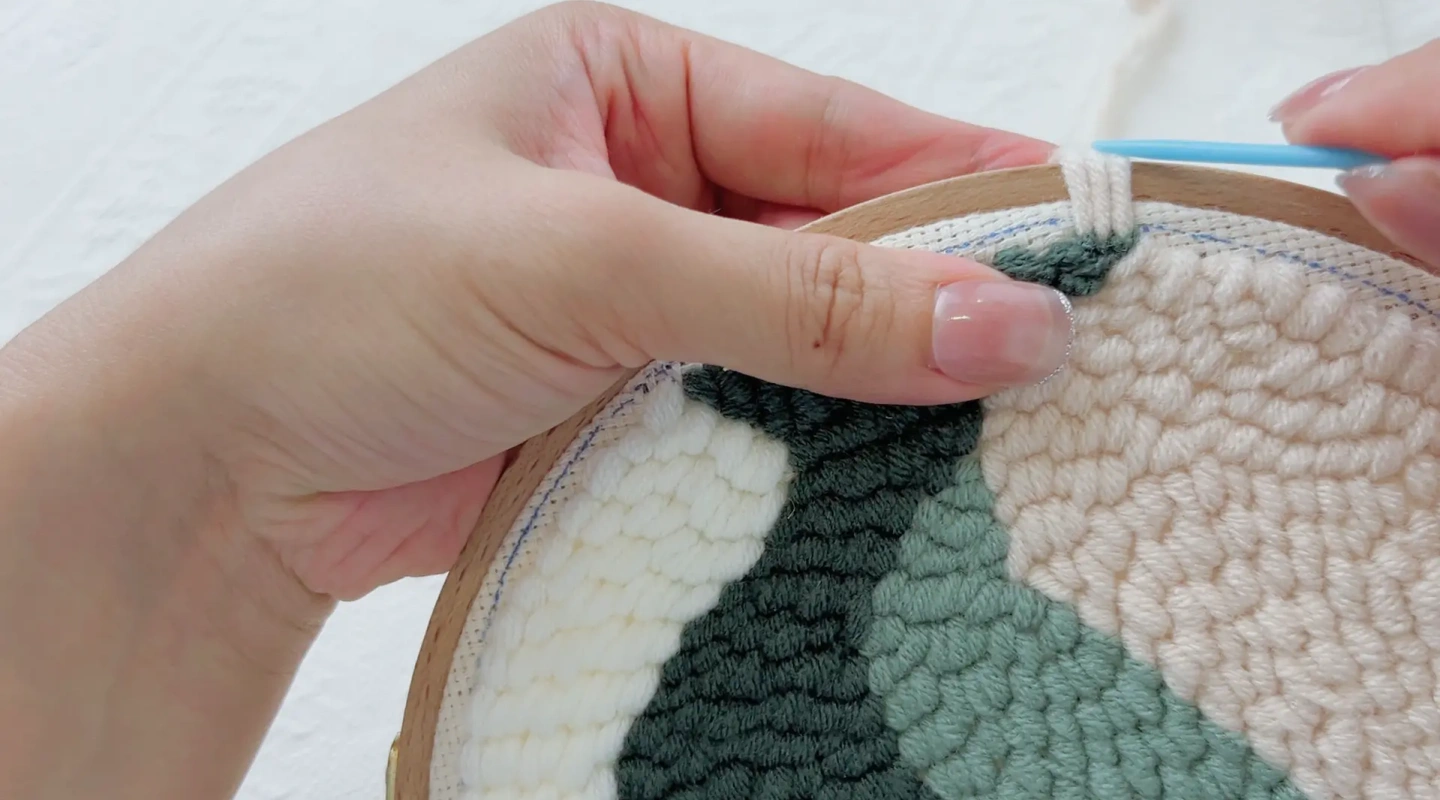
You can first stitch all areas except the screw closure section.
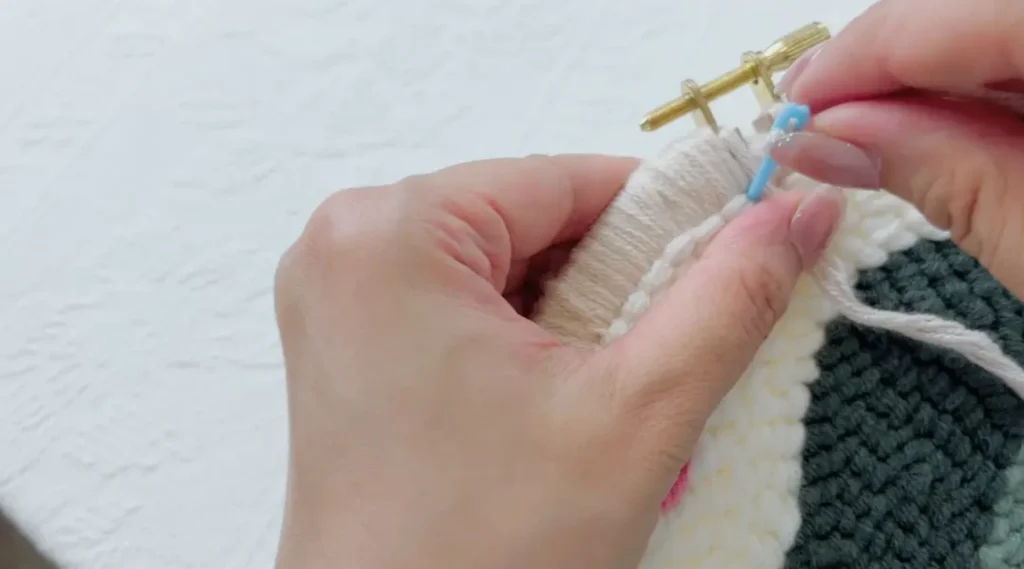
Once the rest of the edge is secured, return to handle the screw area at the end.
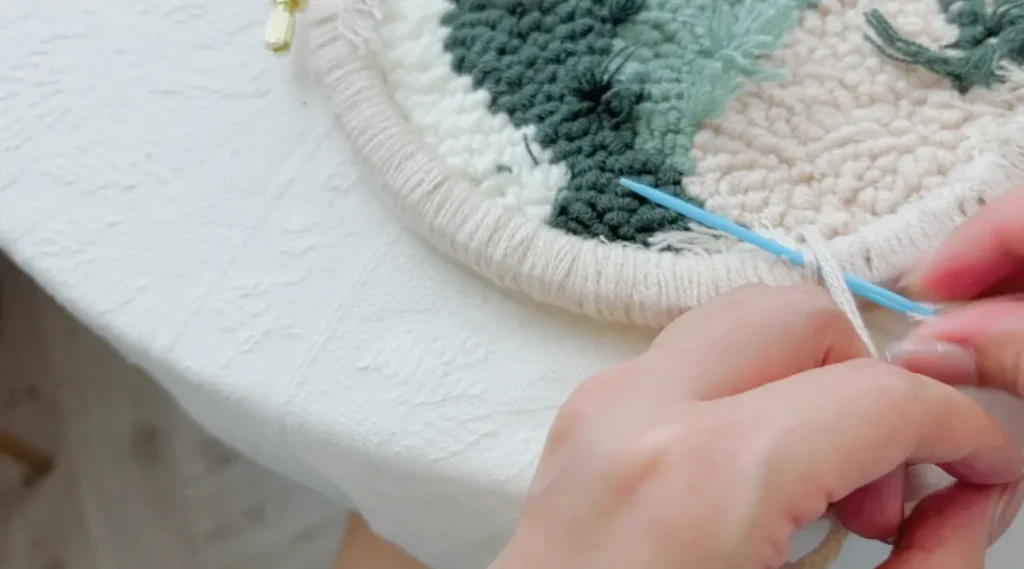
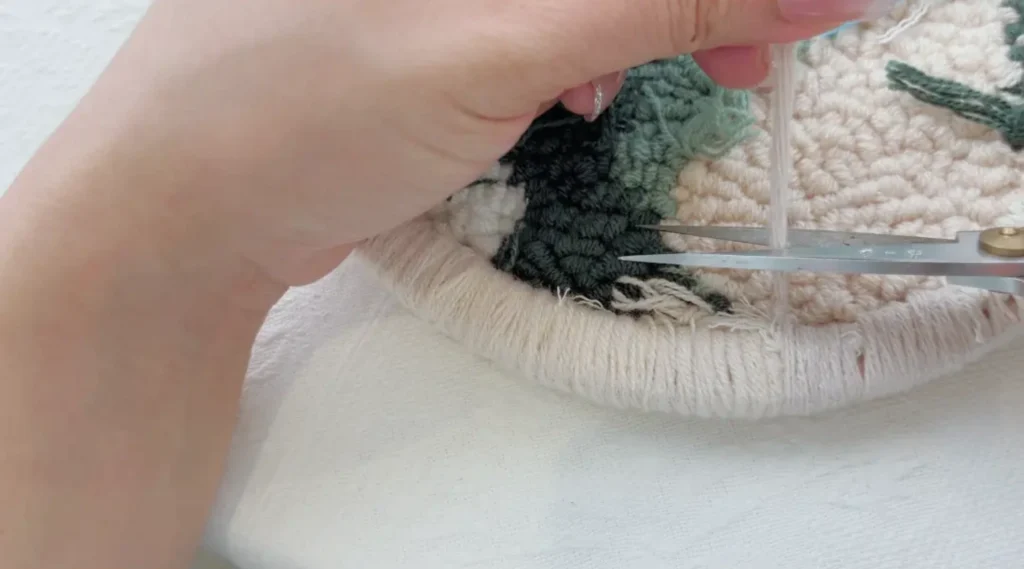
When finishing, pass the needle through nearby existing stitches, tie two cross knots to secure the yarn, and then trim off the excess yarn.
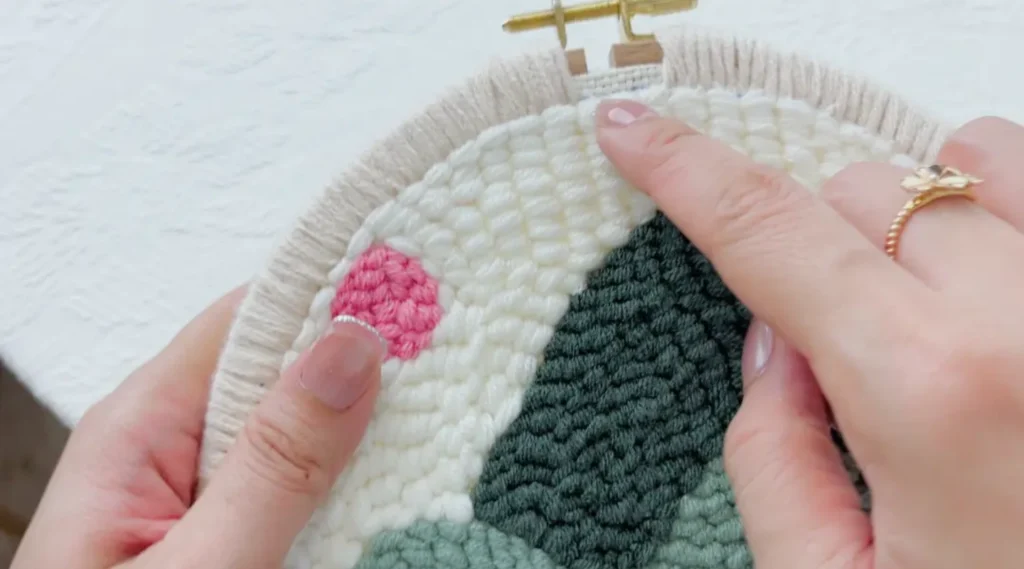
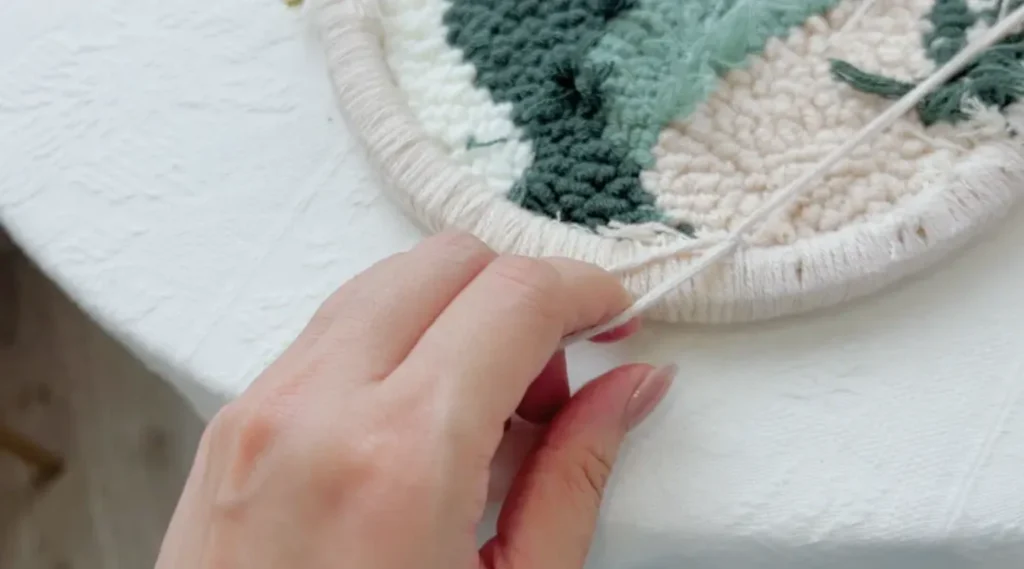
inished Piece Display
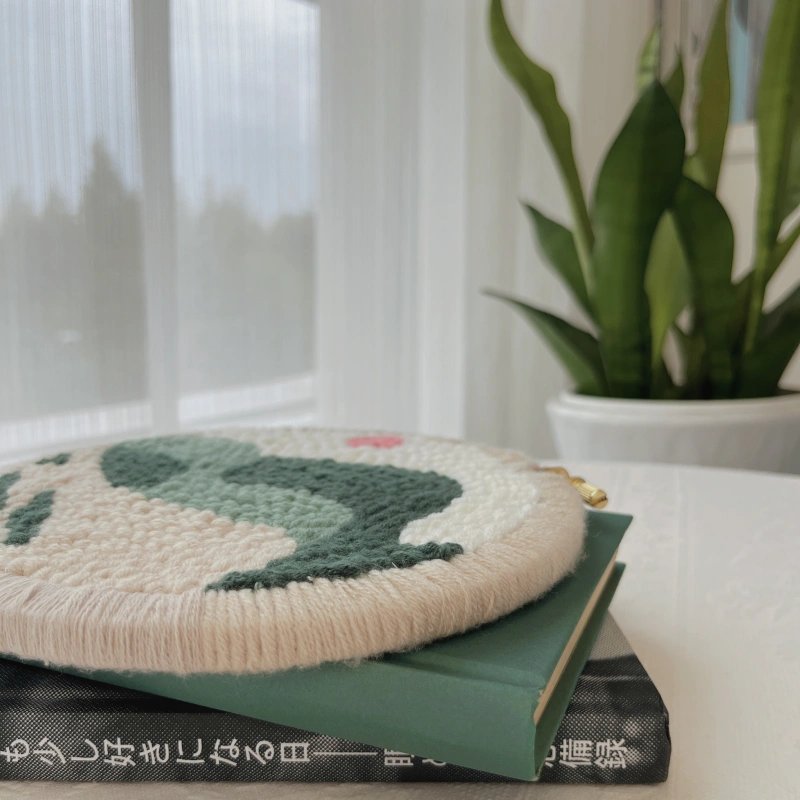
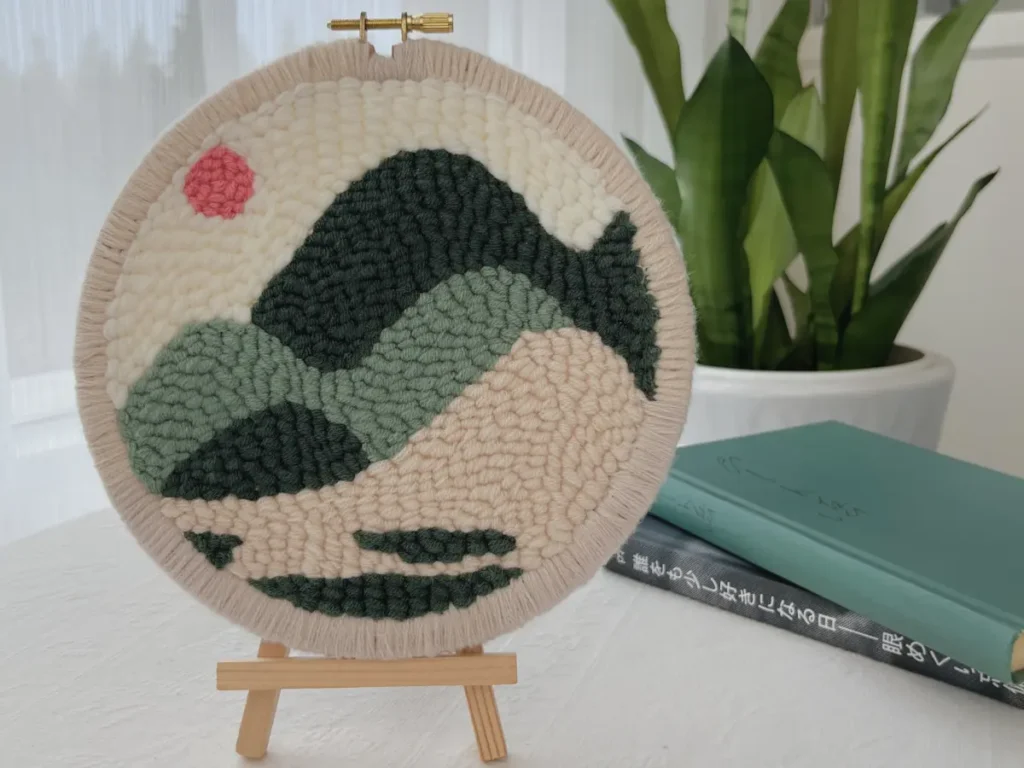
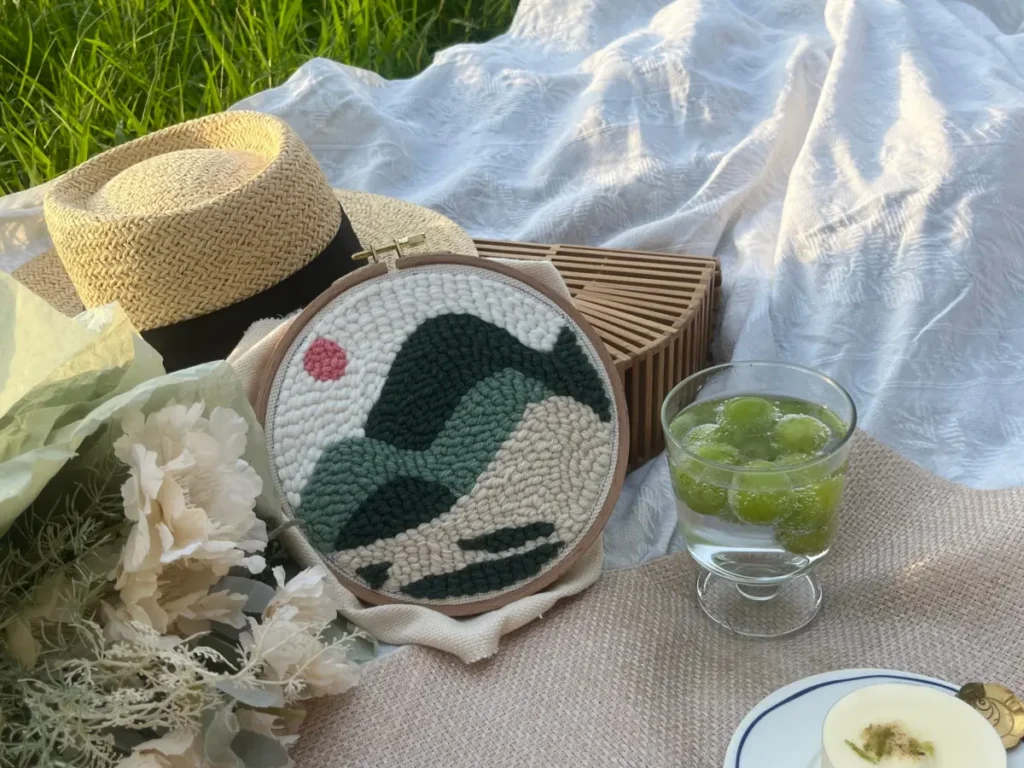
After completing the edge finishing, the overall look of the piece becomes fuller and more polished, with a clean and tidy back. It is especially suitable for decorating your living space as a home decor DIY piece.
By following this hoop edge finishing tutorial, even a simple hoop series project can transform from a basic craft practice into a polished, display-worthy decorative art piece.