This beginner punch needle tutorial is written for anyone who has just received their first punch needle kit and feels unsure where to start. If you clicked into this article, chances are you’ve already purchased a punch needle kit, just received it, and were ready to dive in—only to find yourself stuck at the very first stitch.
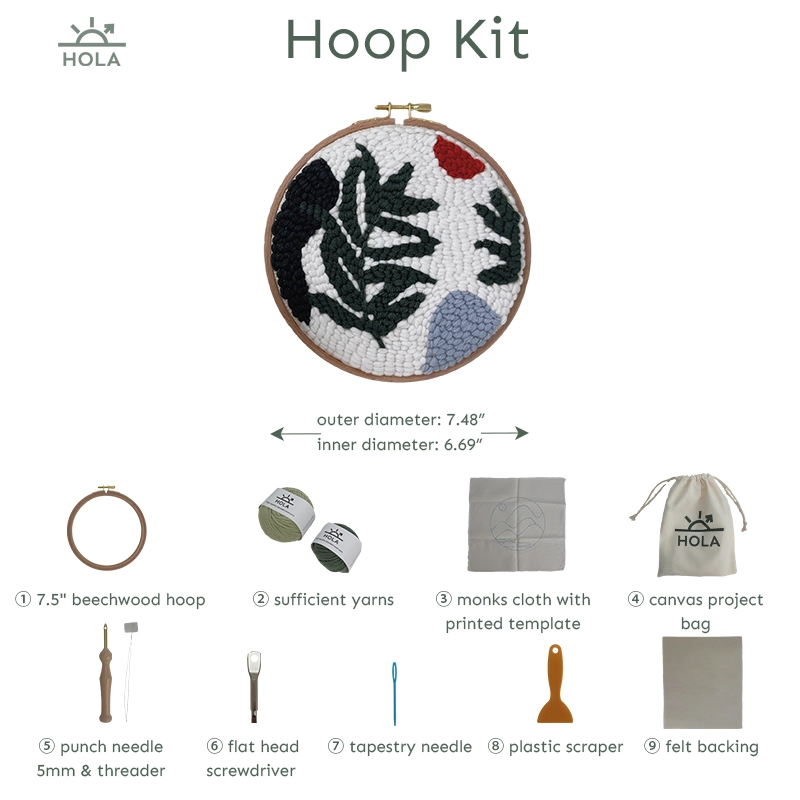
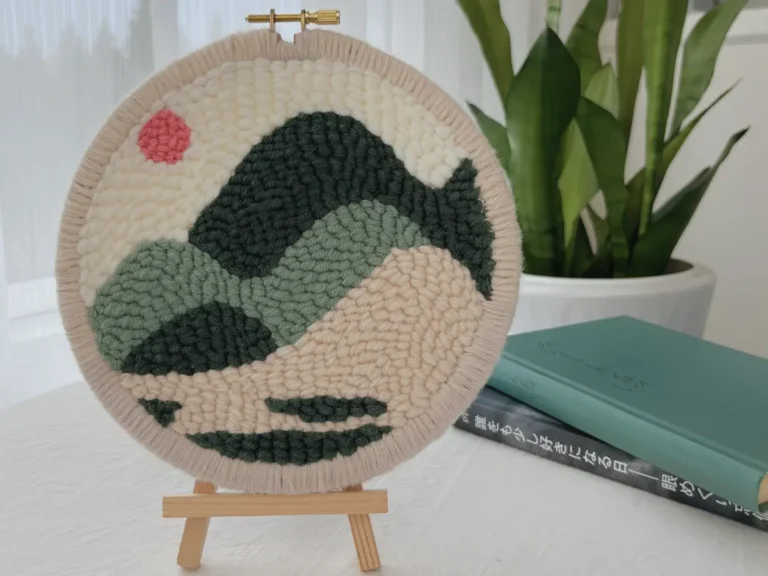
Punch needle is often described as one of the easiest and most beginner-friendly craft kits, yet when you actually start, it can still feel confusing and hard to begin. Don’t worry. This beginner-friendly punch needle tutorial uses a hoop series product as an example and walks you through the entire process—from unboxing to completing your first finished piece—in a clear, step-by-step way. Follow along patiently, and you will be able to complete your very first project.
Before moving into the detailed step-by-step operations, let’s first explain—using a beginner-friendly approach—the basic principle of how yarn is secured in punch needle embroidery. Once you understand this mechanism, each of the following steps will be much easier to grasp.
Punch needle works by using the needle to push yarn into the target area of the fabric. When you punch down and then lift the needle, a yarn loop is formed in between. The longer the needle length, the larger the yarn loop that is created.
So, when you want to create raised or dimensional patterns, you simply treat the looped side as the front of your design. You can also adjust the height of the yarn loops by changing the needle length, allowing you to create different levels of texture and depth.
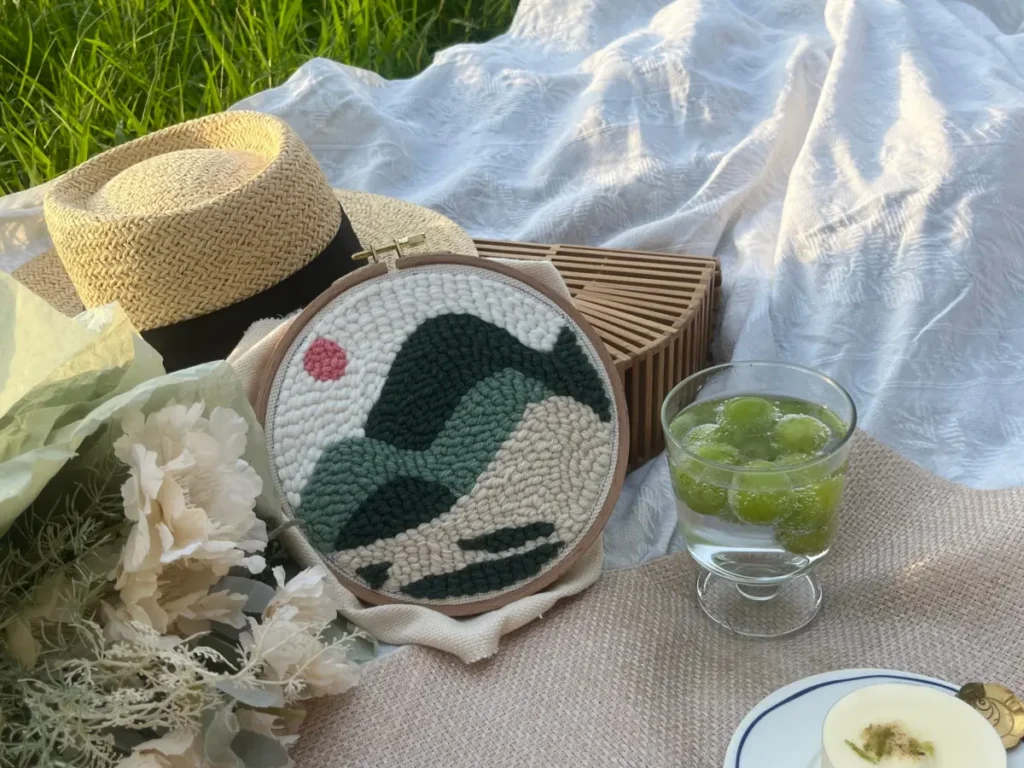
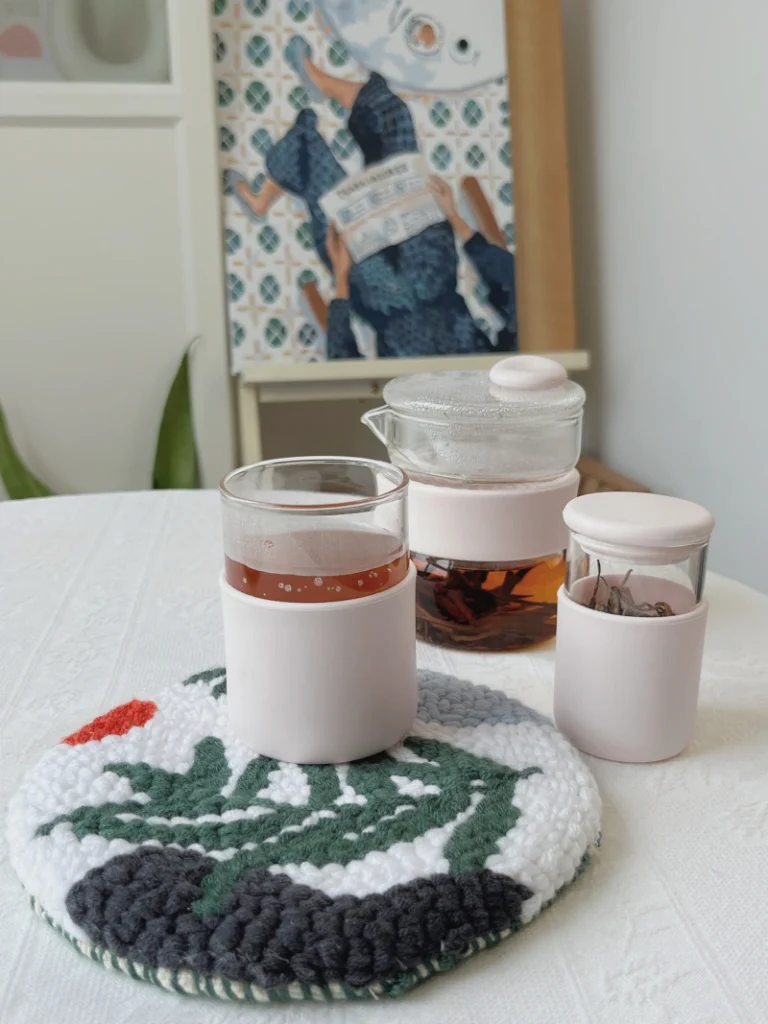
This article is designed as a beginner punch needle tutorial that focuses on clarity, rhythm, and confidence-building for first-time crafters, so that we will use a flat design from a hoop kit as the example. Advanced punch needle tutorials for dimensional designs will be updated in later chapters—feel free to follow along for future updates.
Next, we’ll explain each key step in a clear step-by-step format.
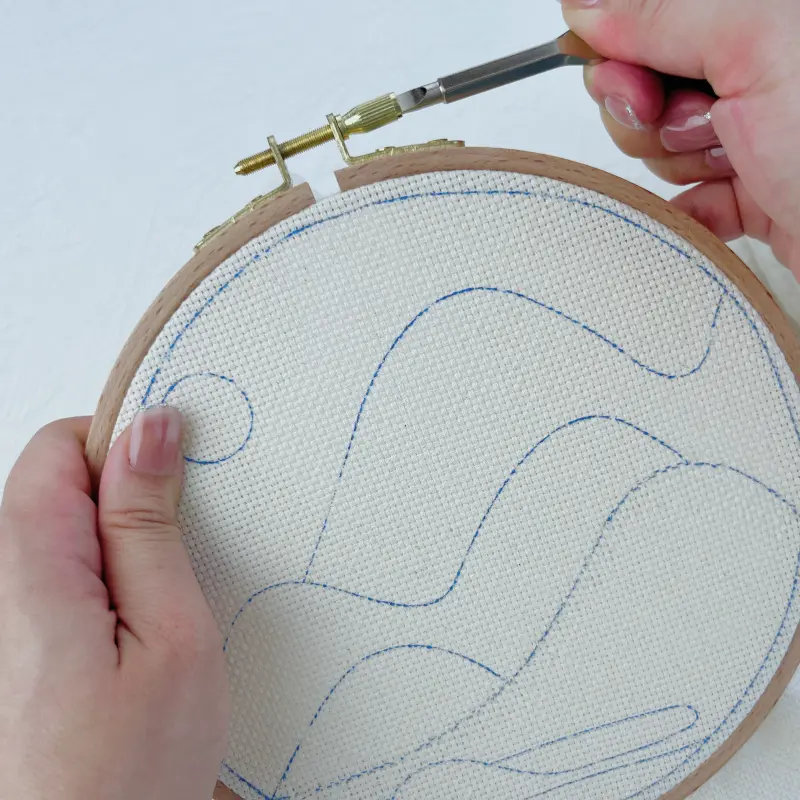
Step 1: Stretch the Fabric Tightly
This step is extremely important, as it directly affects your overall crafting experience.
“A tightly stretched fabric is crucial – loose fabric causes uneven stitches, distorted patterns, and wrist strain from lack of resistance. The fabric should feel like a drum when tapped. For hoops, screw tight until secure; for frames, use staples or tacks around all edges evenly.” — Crystal Martin, Marching North Punch Needle Embroidery (Ultimate Beginner’s Guide!) External resource
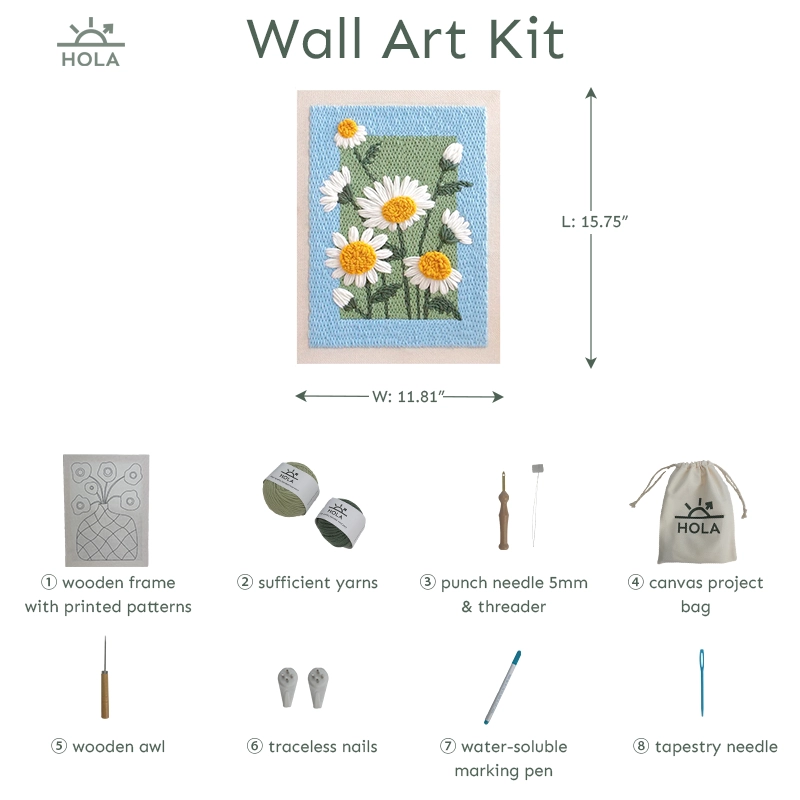
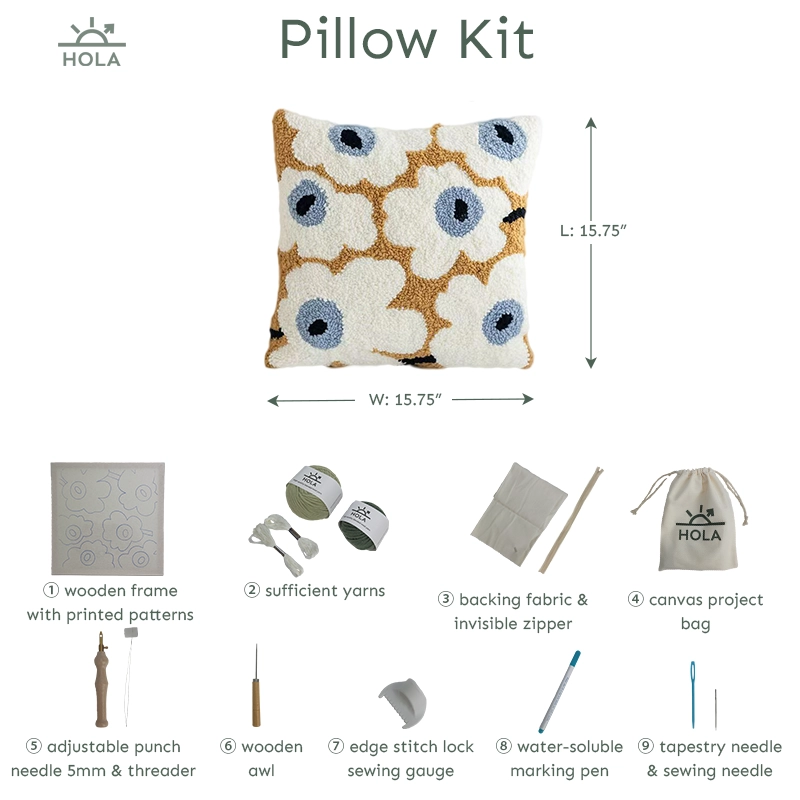
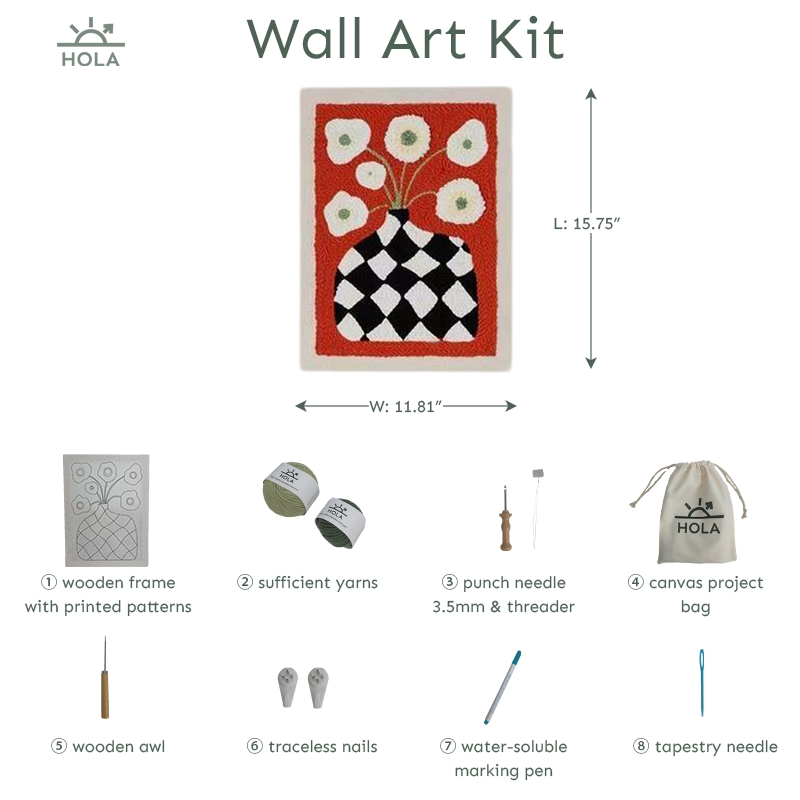
For HolaKits’ Wall Art Kit and Pillow Kit products, the base fabric is already pre-stretched onto a wooden frame. You can skip this step and proceed directly to Step 2.
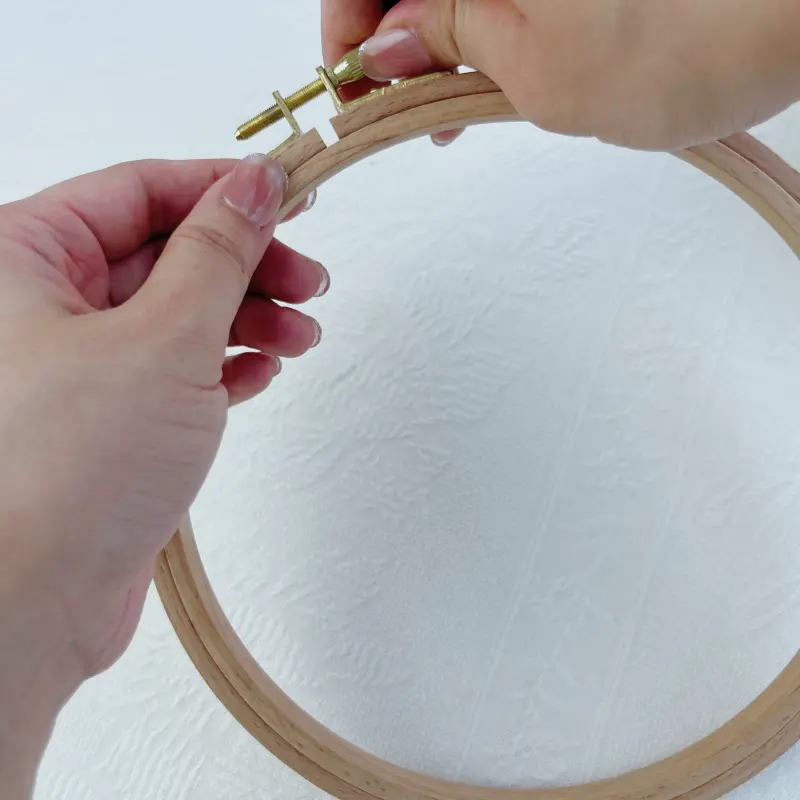
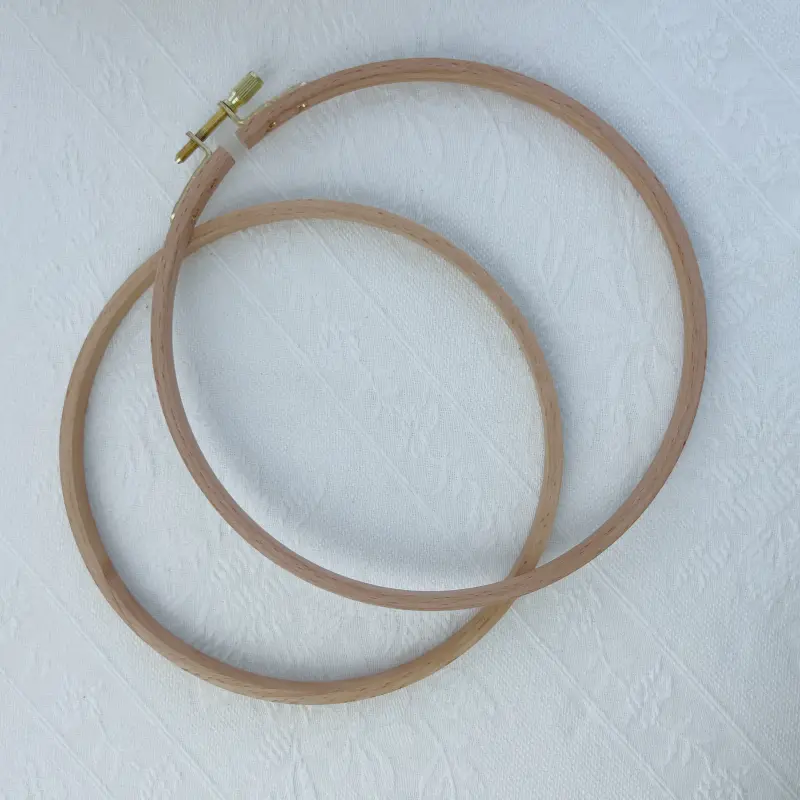
1.1 Separate the Inner and Outer Hoop
Loosen the metal screw at the top of the hoop. Once loosened, the inner and outer rings of the hoop can be easily separated.
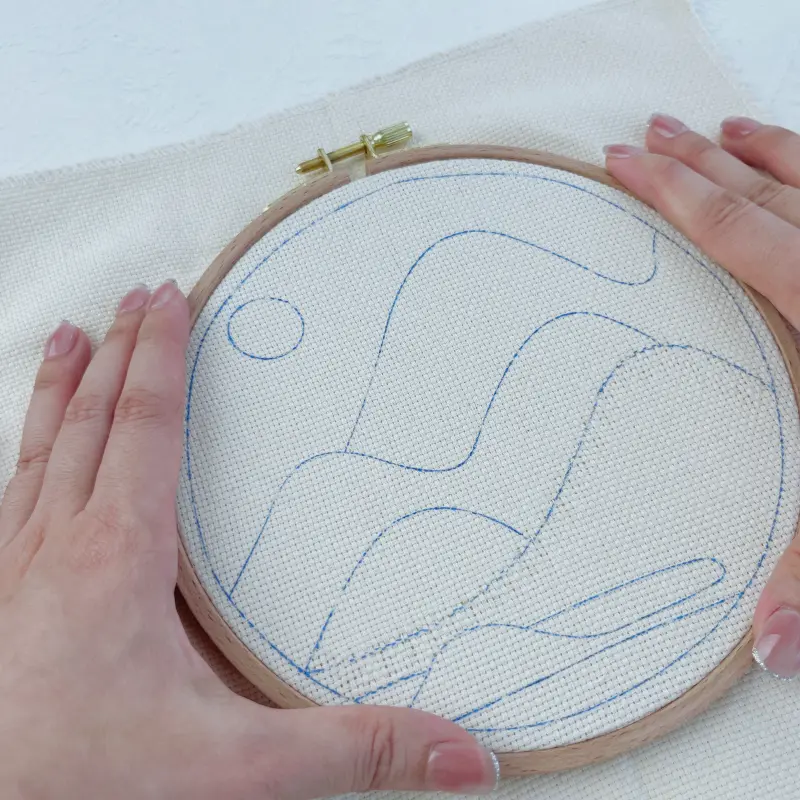
1.2 Lay the Fabric Flat
Place the inner hoop flat on a solid surface (such as a table). Lay the fabric over the inner hoop, adjust it to a centered position, and then place the outer hoop on top of the fabric.
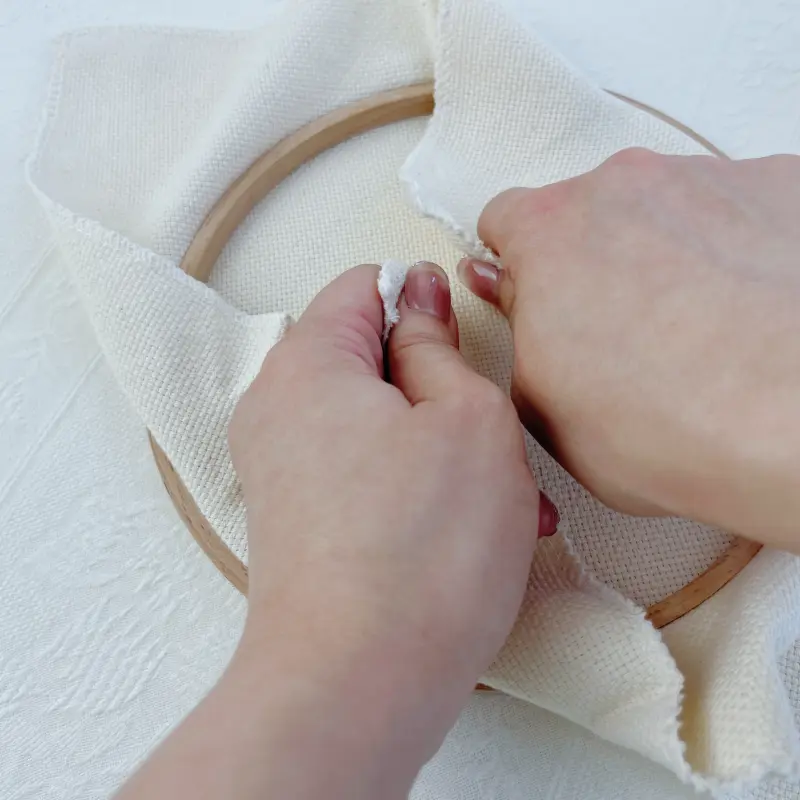
1.3 Pull the Fabric Tight
After initial fixing, flip the hoop to the back. Apply even force by pulling the fabric firmly toward the center of the hoop’s back side from opposite directions until you clearly feel resistance. Use multiple points and alternate directions to ensure the fabric is evenly stretched.
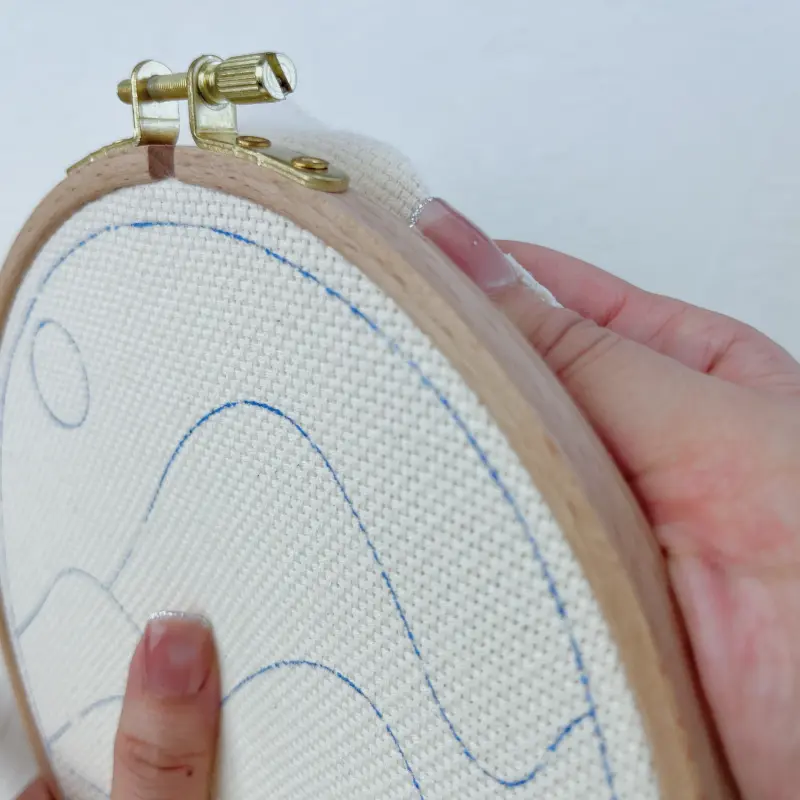
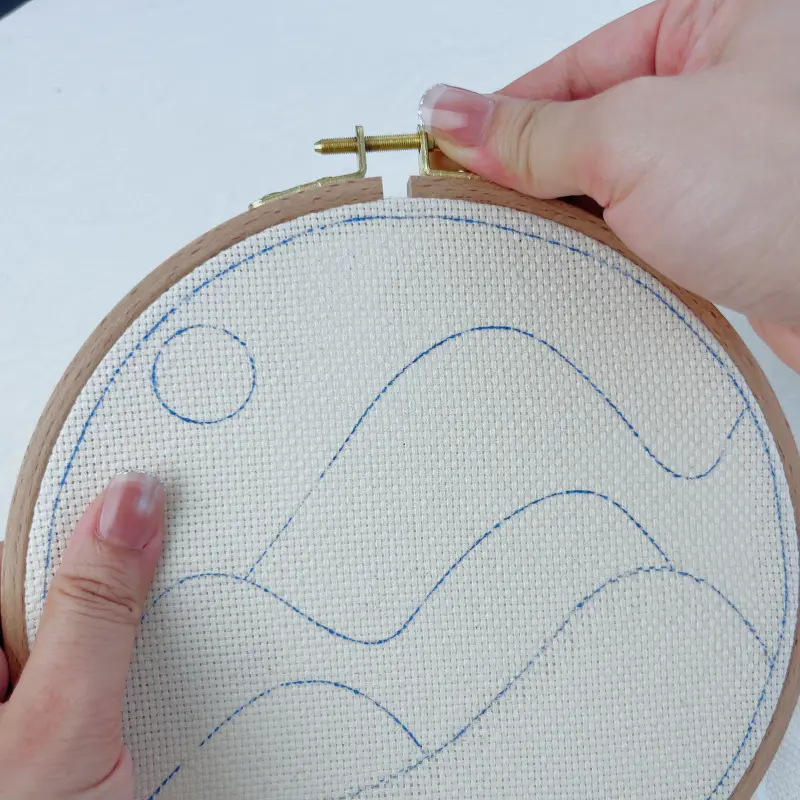
1.4 Lock the Outer Hoop
Flip back to the front and confirm that the fabric is tight and smooth. Then use a flathead screwdriver to tighten the hoop screw until it is fully locked. When you tap the fabric surface, it should produce a firm, drum-like sound.
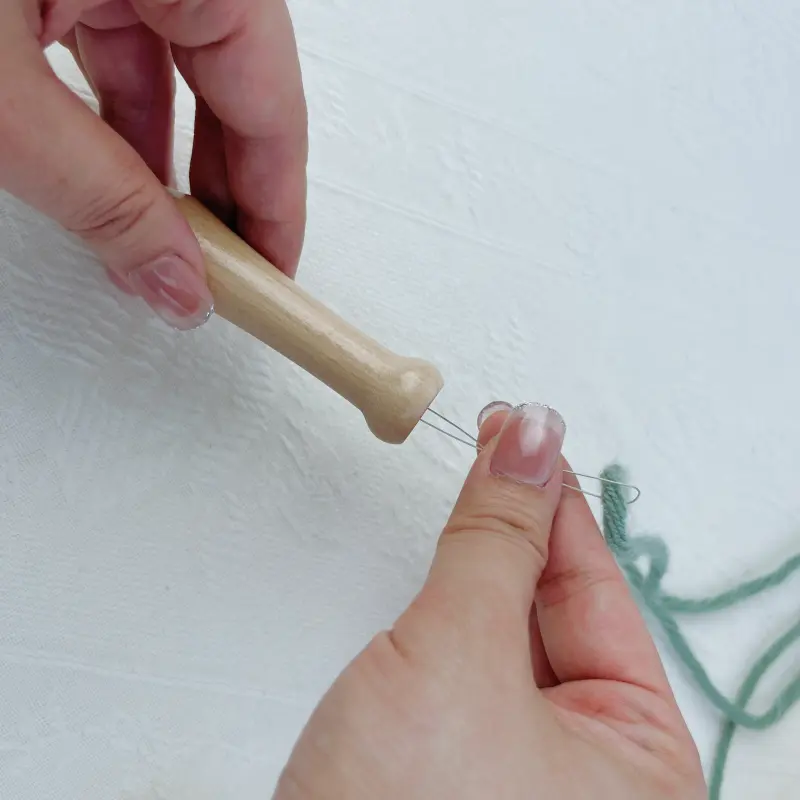
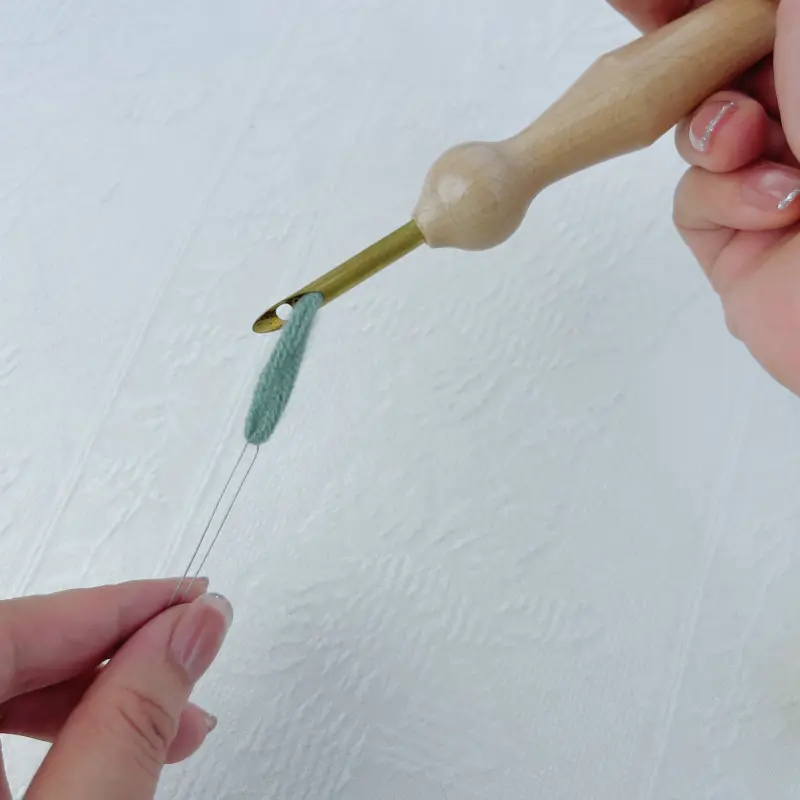
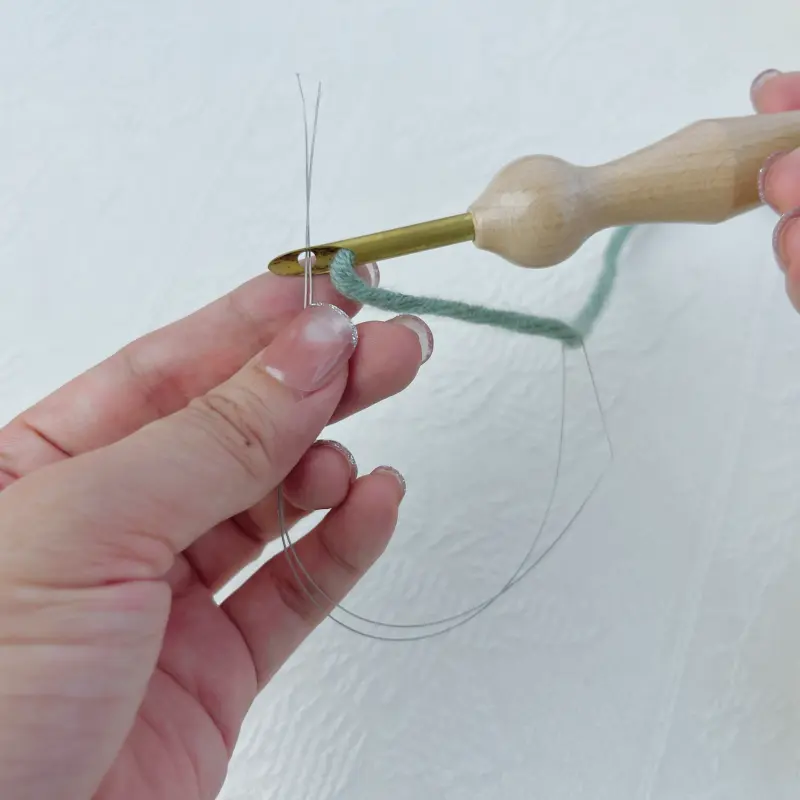
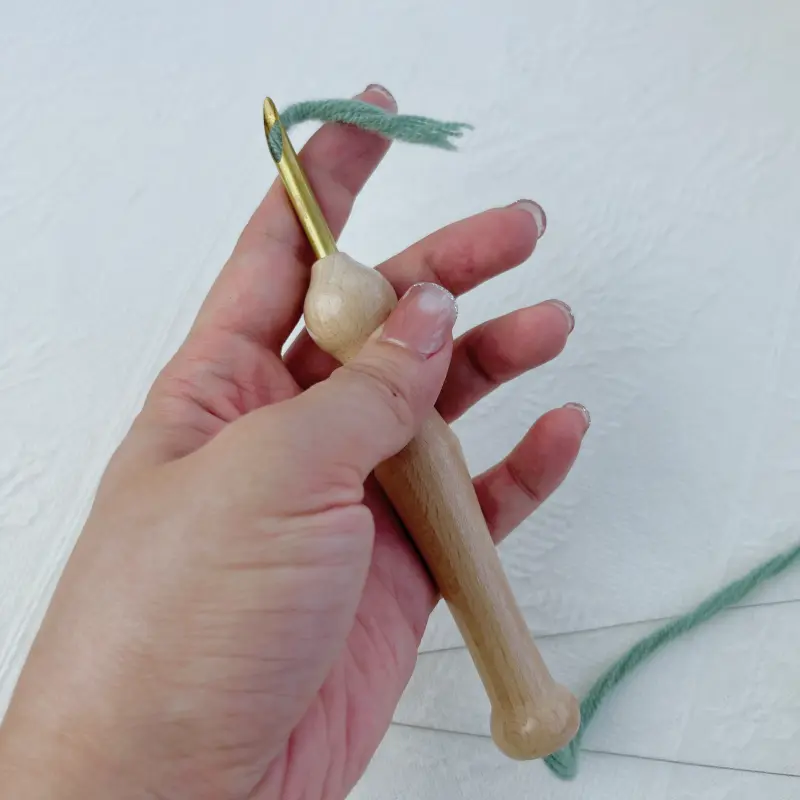
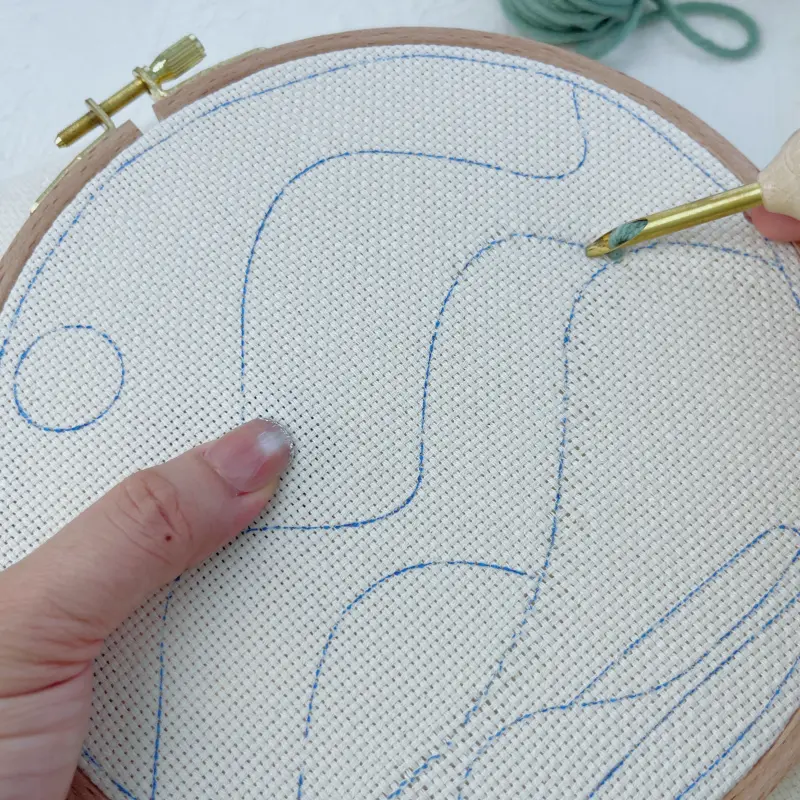
Step 2: Threading the Needle
This is a very typical step in any punch needle tutorial, and it is a shared foundation for all punch needle projects.
2.1 Thread Through the Needle Body
Loop the yarn onto the threader, then insert the threader through the tail end of the punch needle. Pull it out through the needle tip, bringing the yarn along with it.
2.2 Thread Through the Needle Tip Hole
Continue by inserting the threader from the inside of the needle tip hole to the outside, pulling the yarn through again. Remove the threader afterward.
This step is crucial. The threading direction must not be reversed; the yarn will not flow smoothly during punching and may easily come out.
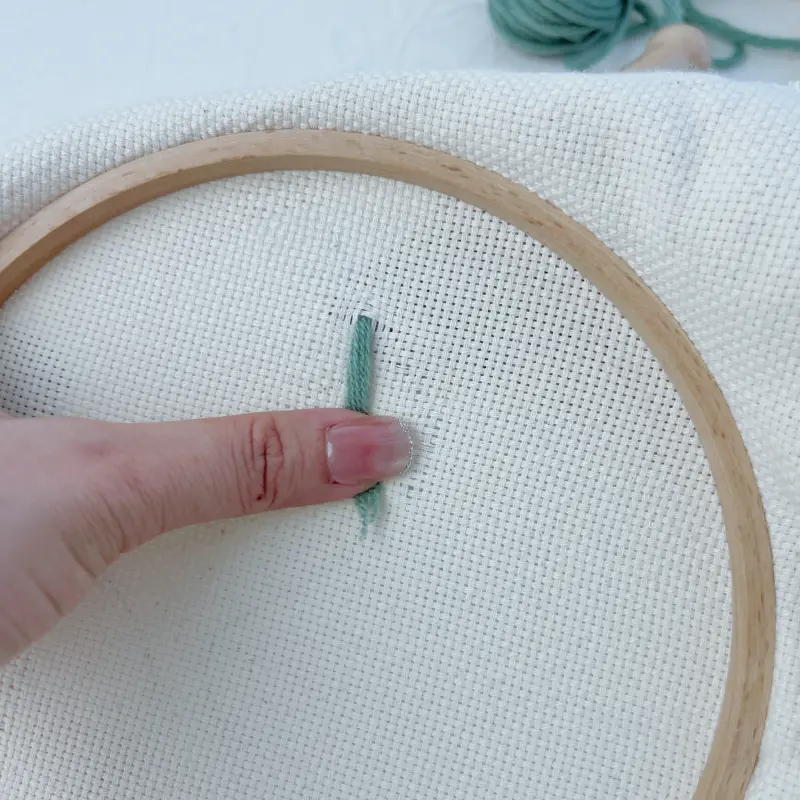
2.3 Leave a Yarn Tail
Gently pull some yarn back from the tail end of the punch needle, leaving about 5 cm of yarn tail. This length is ideal for starting stitches without causing tangling.
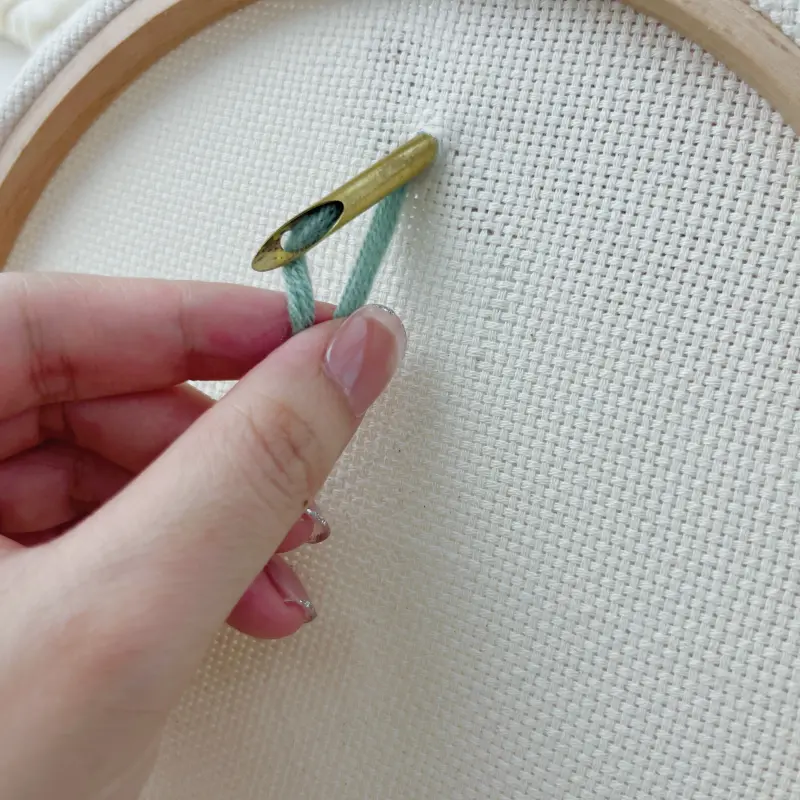
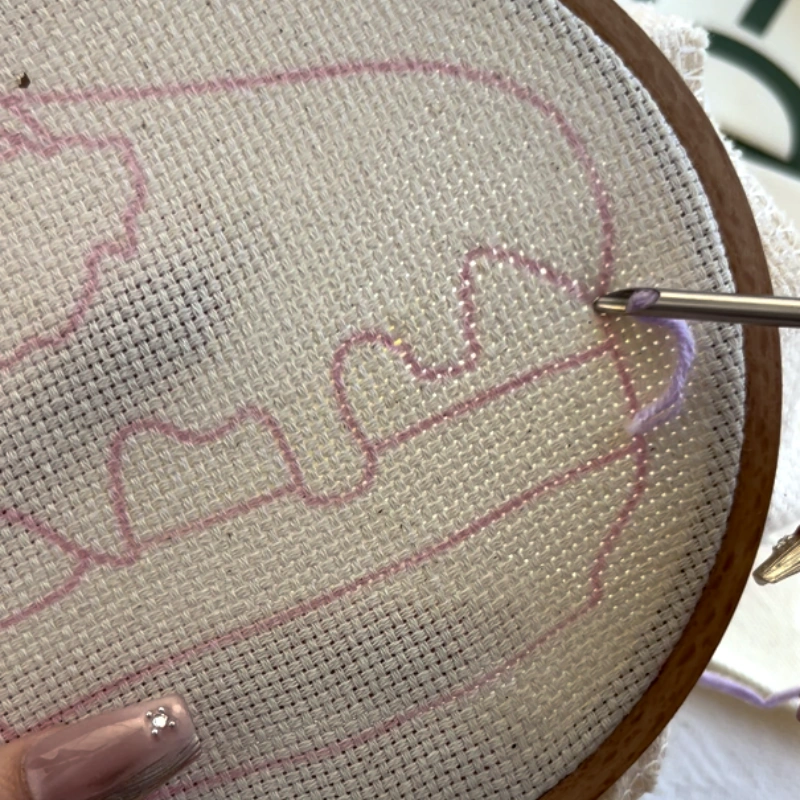
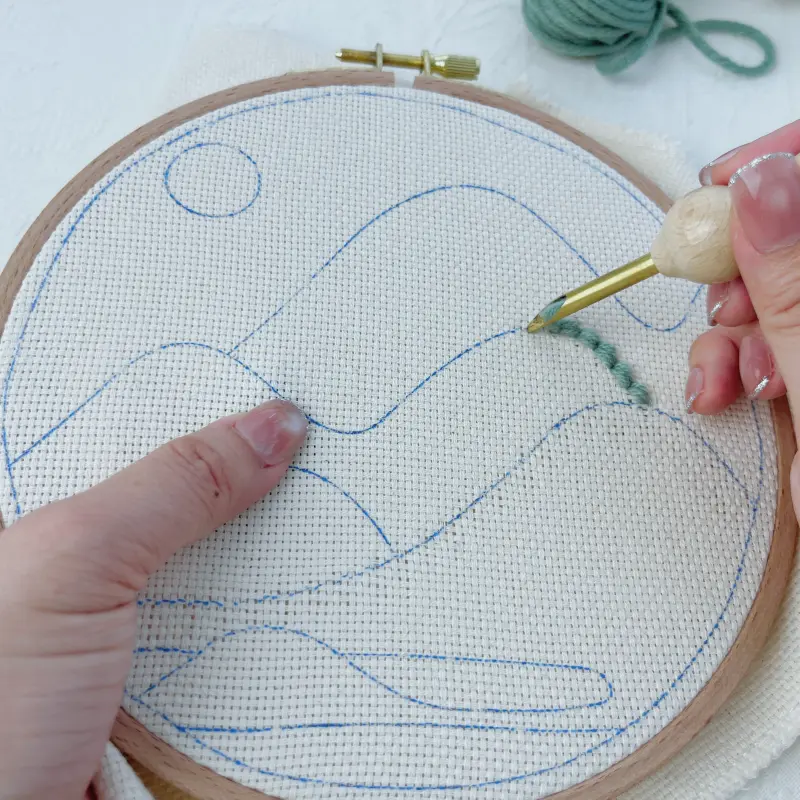
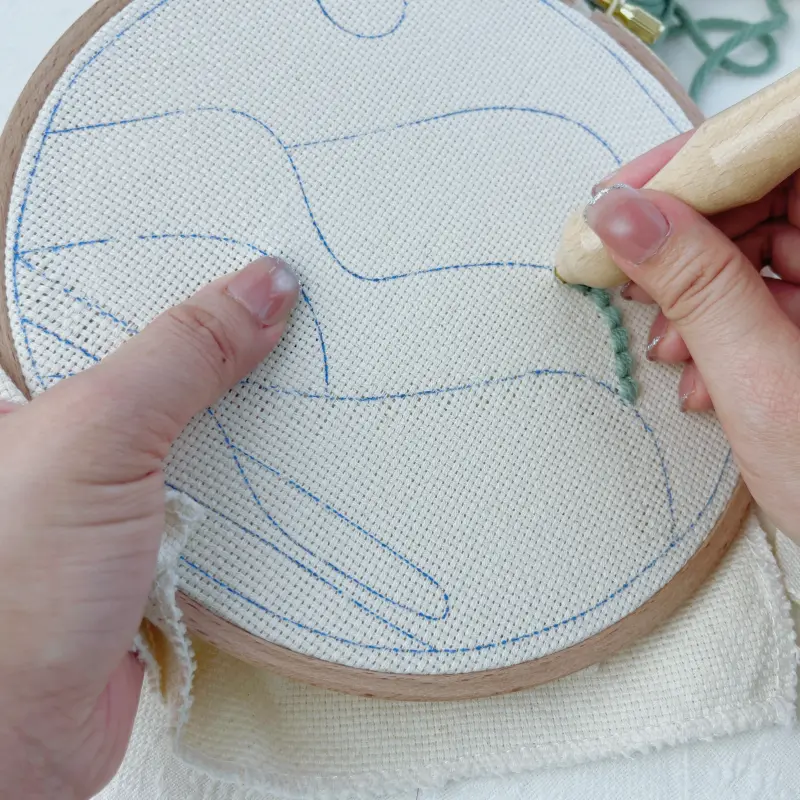
Step 3: Starting the First Stitch
For complete beginners, this is a stage that truly requires a step-by-step demonstration, and it is a must-explain action in any beginner-friendly punch needle tutorial.
3.1 Set Needle Direction and Punch Down
Point the slanted side of the needle tip in the direction you plan to move. Punch the needle straight down into the fabric, fully inserting it, then gently pull the yarn tail out from the back of the fabric.
3.2 Adjust the Yarn Tail Length
From the back, pull the yarn tail to an appropriate length (not too short, or it may slip out). Then return to the front and adjust the yarn at the needle tip so it lies flat against the fabric, ready for the next stitch.
📌 Special Note:
If you find pulling the yarn from the back too troublesome, you can use another starting method: punch the needle straight into the fabric and immediately punch several stitches in a row, then trim the excess yarn on the front.
However, for beginners, this method makes the yarn tail more likely to loosen. Therefore, in this beginner-friendly tutorial, the “pulling from the back” method described above is strongly recommended.
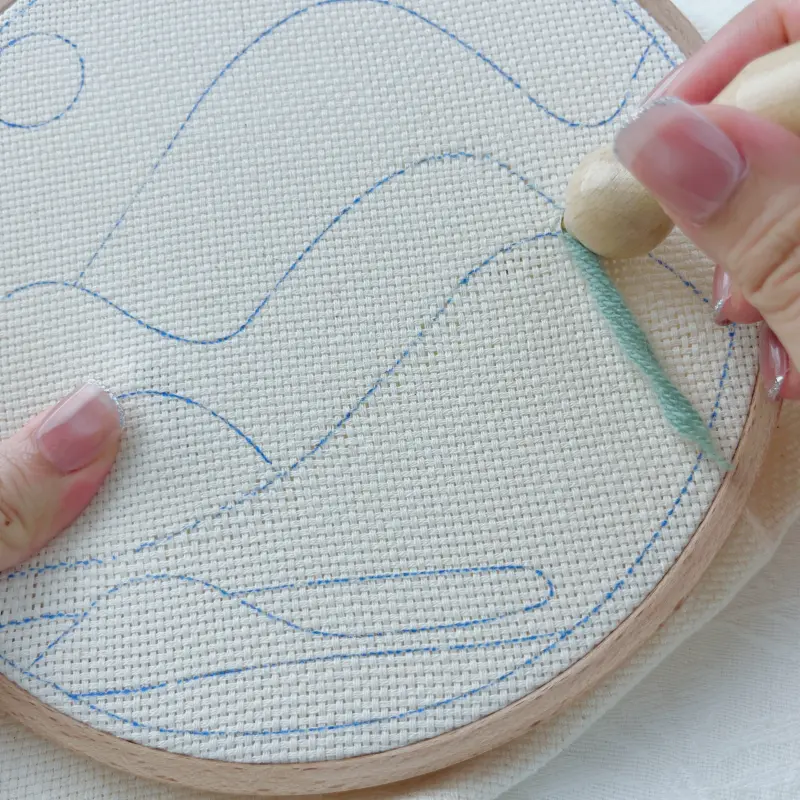
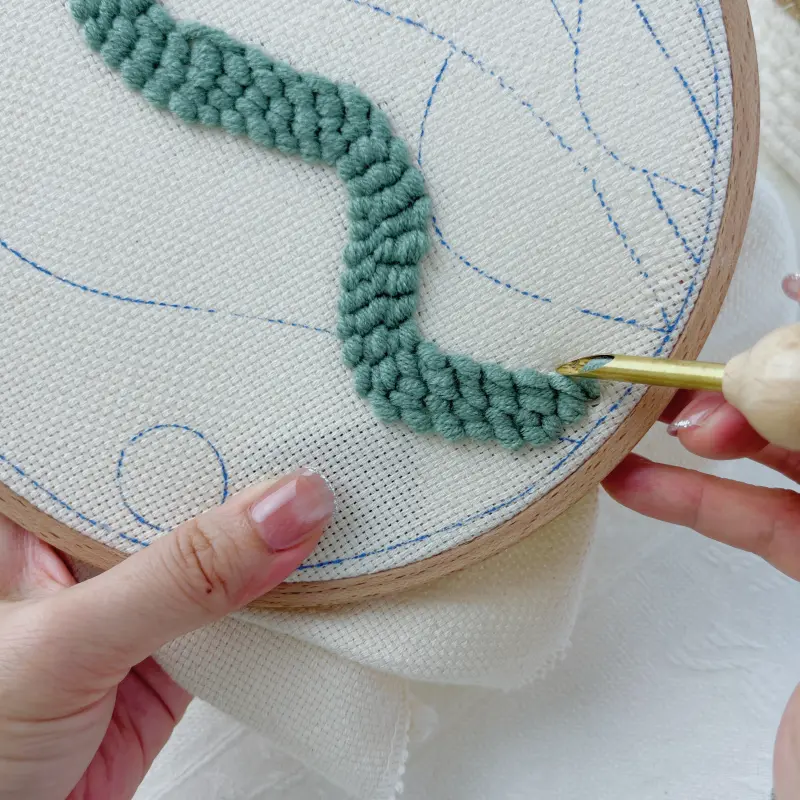
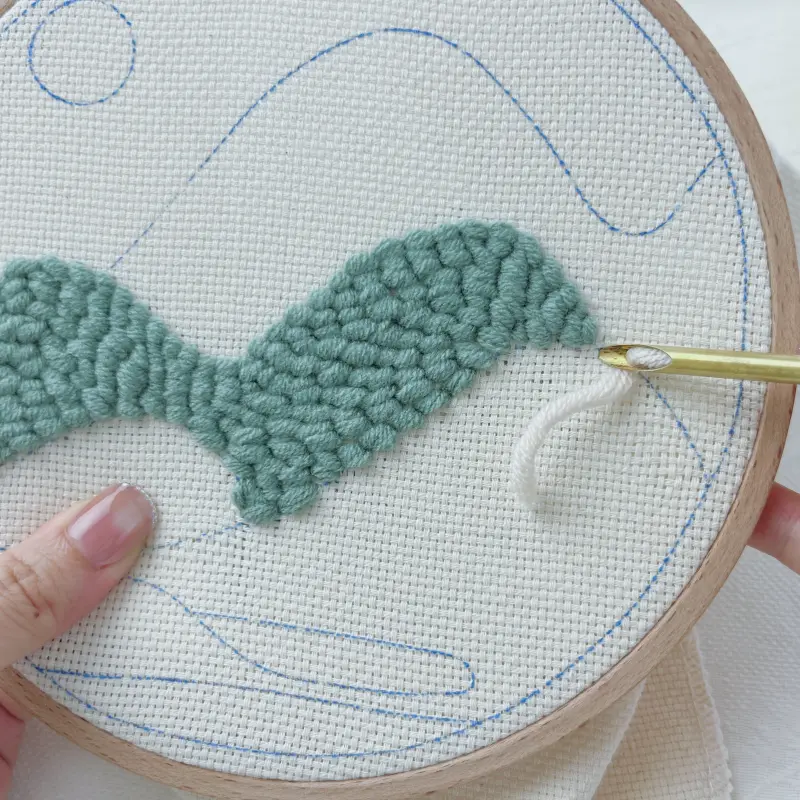
Step 4: Punching and Stitching
This is the core operational stage of the entire punch needle tutorial, and it largely determines whether your pattern looks even and truly beginner-friendly.
4.1 Control Stitch Spacing
Keep the punch needle tip close to the fabric surface at all times. Leave a spacing of about 3–5 fabric holes before making the next stitch. Stitches that are too dense can cause uneven surfaces and unnecessary yarn and time consumption.
4.2 Maintain Needle Direction and Height
This is one of the most common steps where beginners make mistakes, so it’s especially important to get it right. Always keep the slanted side of the needle tip facing the direction of movement. Punch the needle straight down and fully into the fabric, then lift it naturally to complete one stitch.
When moving on to the next stitch, avoid lifting the needle too high. Lifting the needle excessively can pull out the loops formed by the previous stitch, causing the yarn to come loose—this is a very common beginner mistake. Instead, after completing a stitch, lift the needle just slightly and let the tip glide across the fabric surface to the next position, then punch straight down again.
After practicing a few continuous stitches, you’ll quickly find the rhythm, and your stitches will become more even and consistent.
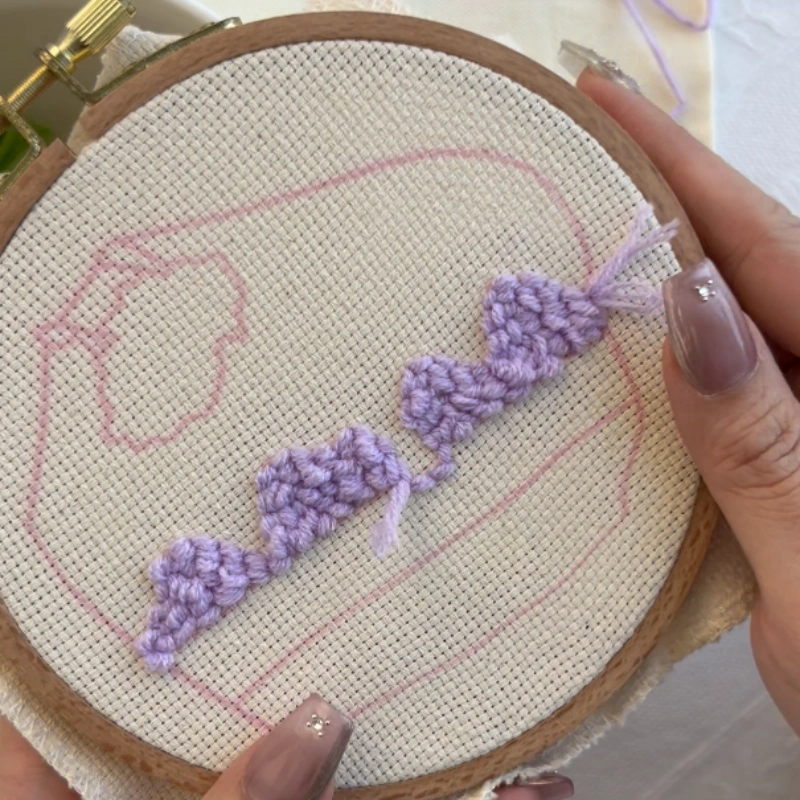
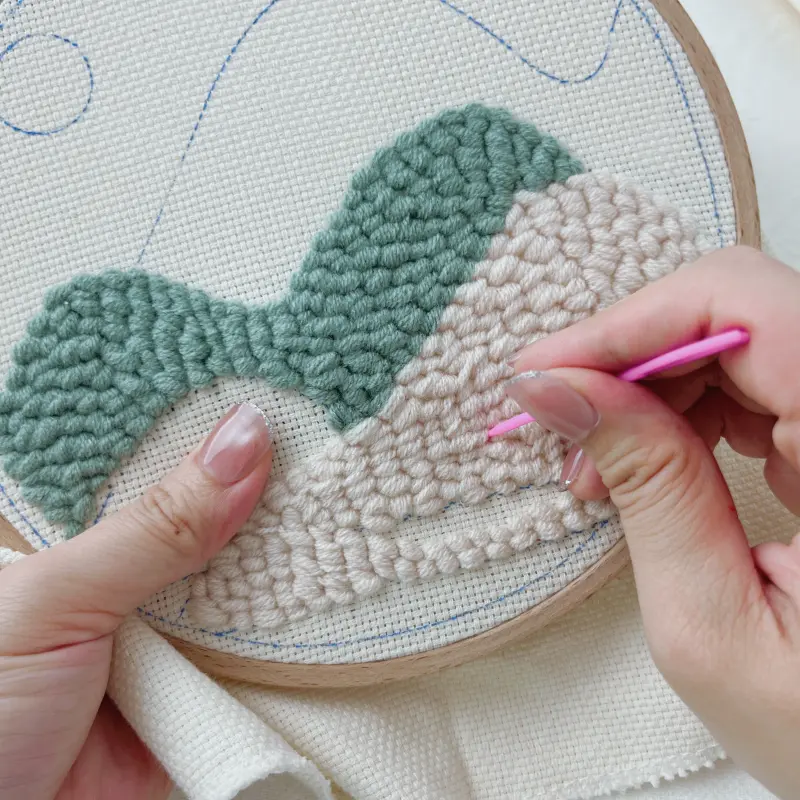
4.3 Fill Color Blocks in Order
It is recommended to punch larger color areas first, followed by smaller ones. After completing one color block, follow this sequence:
Switch to a different yarn color.
Repeat step-by-step threading and the starting process.
Continue punching the next color block.
Repeat until the entire pattern is complete.
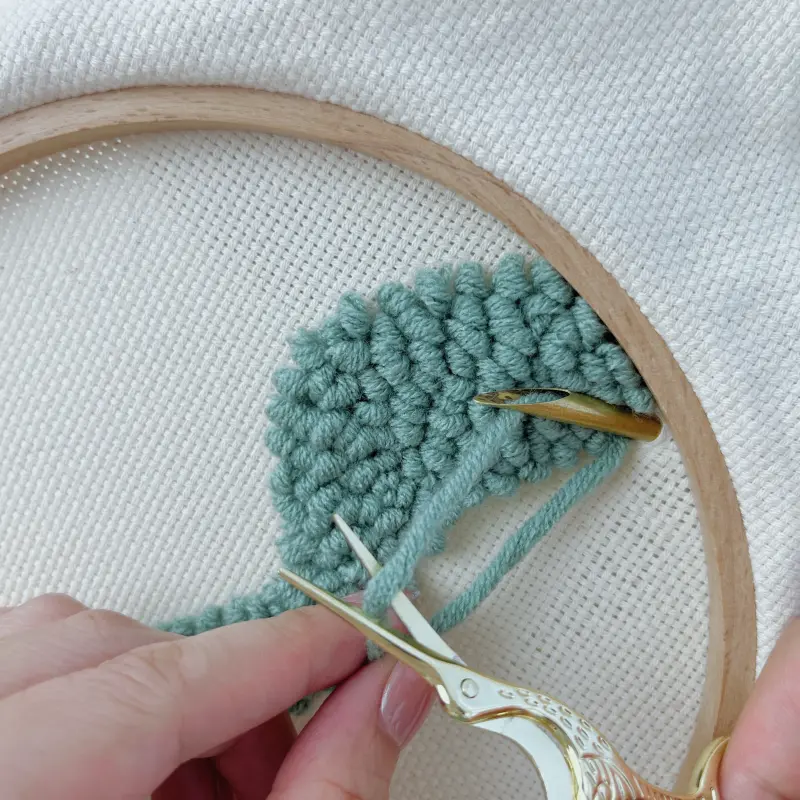
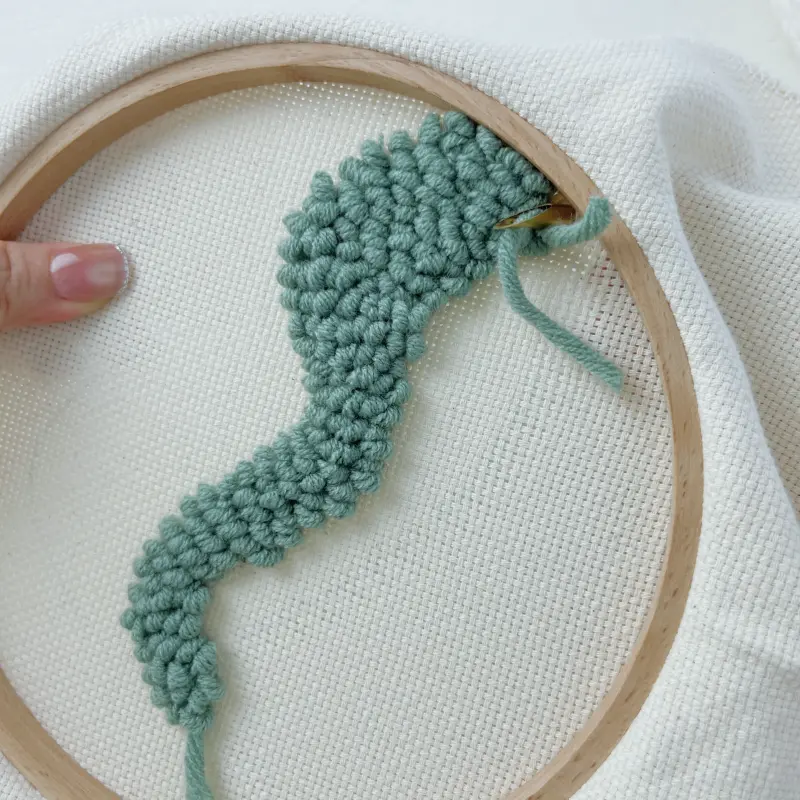
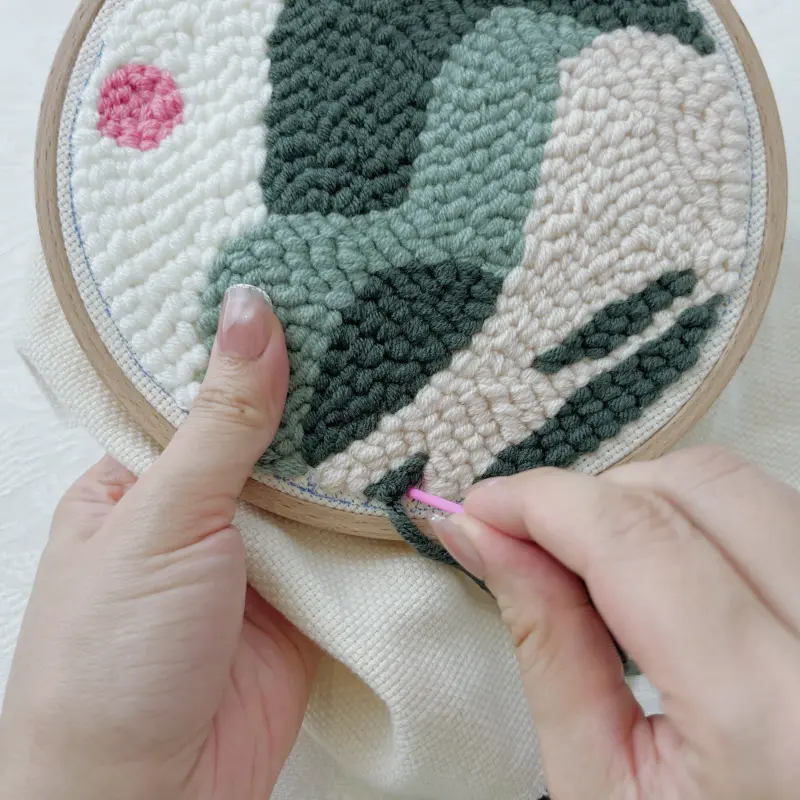
Step 5: Detail Finishing
Once all major color blocks are finished, you enter the final step of this punch needle tutorial. The focus here is refining edges and details so the piece looks complete and polished.
Refine edges and small details.
Adjust loops for a polished finish.
5.1 Use a Plastic Needle (Tapestry Needle) for Details
Take out the plastic tapestry needle from the kit. Use it to handle the edges of the hoop design, missed stitches, and very small areas within the pattern.
5.2 Fill Small Color Areas
Use the threader to thread yarn through the plastic needle. No knot is needed. Use single-thread sewing to fill areas that need touch-ups, making the edges cleaner and lines smoother.
5.3 Adjust Loops and Protruding Yarn
Finally, check the overall evenness of the design. If you find any yarn loops that stick out noticeably, gently press the loop down with one hand and use the plastic needle with the other hand to push excess yarn back into the fabric or tuck it into surrounding loops, making the overall height more consistent.
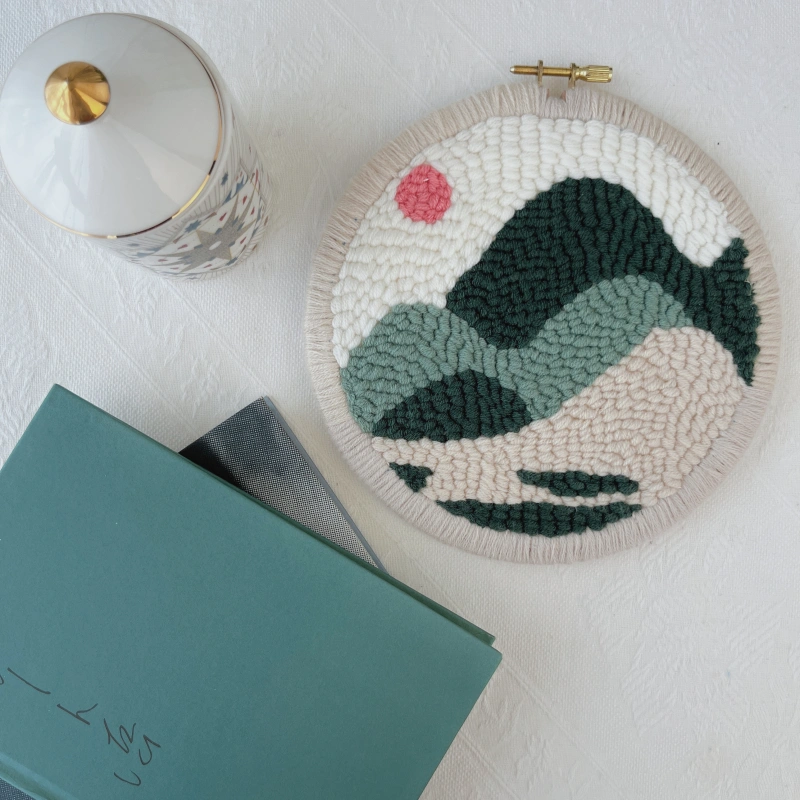
After completing all the step-by-step actions above, your first punch needle piece is officially finished!
This is a truly beginner punch needle tutorial designed for complete beginners. By following each step patiently, you should now be able to complete your first project independently.
If you’d like to continue improving, you can explore how to finish and apply hoop series projects:
Thank you for reading all the way through. If you have any questions about punch needle kits or step-by-step tutorials, feel free to leave a comment. I’ll do my best to help make your creative journey even more beginner-friendly.