A Beginner’s Must-Read: How to Use Every Tool in a Punch Needle Kit
Congratulations! If you’re reading this article, chances are you’re seriously considering—or have already purchased—a punch needle kit. For anyone looking to get started with punch needle, a well-designed punch needle kit for beginners can significantly reduce the learning curve, helping you move quickly from “worrying about tools” to simply enjoying the creative process.
This article will clearly walk you through how to use every tool included in your punch needle kits, so you can confidently begin a truly “pain-free” and beginner-friendly punch needle journey.
1. What’s the Difference Between Full Kits in Different Holakits Punch Needle Series?
Holakits punch needle series offers two types of kits:
Full kits, which include materials + tools
Refill kits, which include materials only
For beginners, just stepping into the world of needle punch art, choosing a thoughtfully assembled punch needle kit for beginners ensures a smooth experience from the very first stitch—rather than discovering mid-project that something is missing. The “tools” included vary by product category and are tailored combinations of punch needle tools, including the appropriate punch needle and essential supporting tools.
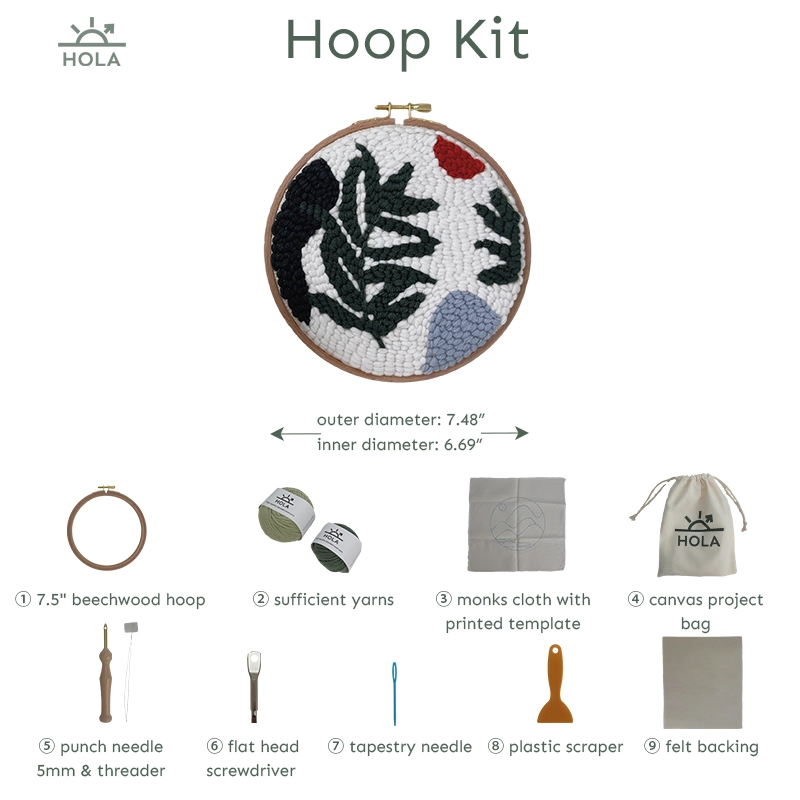
This tool combination is designed around completing a small project that can be displayed on the wall or used as a coaster or trivet. It covers the full creative process—from punching to finishing and final use. For first-time users, projects of this size are an especially friendly entry point into a punch needle kit for beginners.
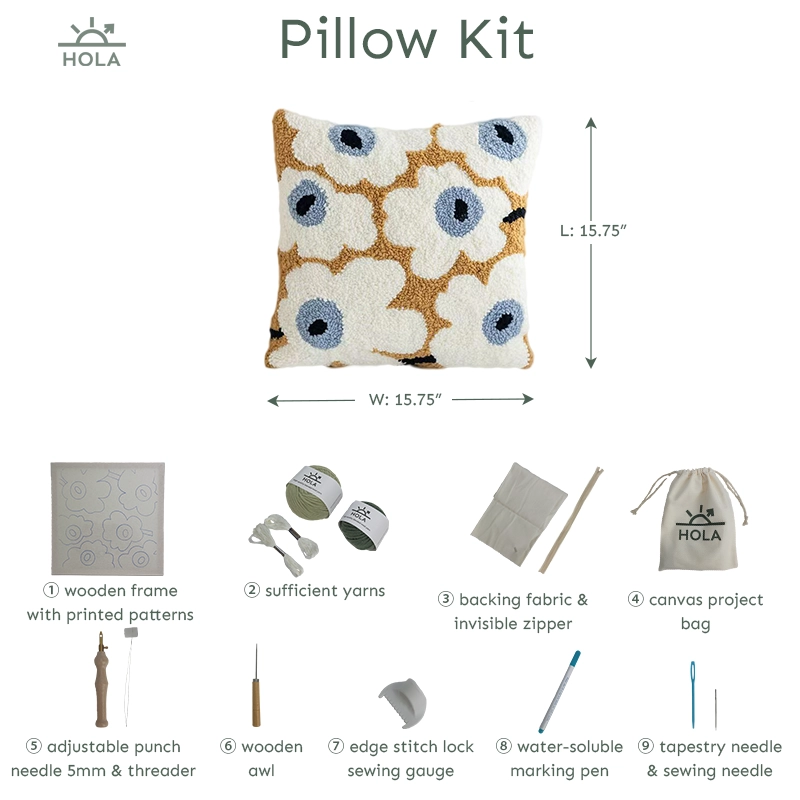
This set of punch needle tools supports the entire workflow—from pattern punching, to building dimensional details, to final pillow assembly. Even complete beginners can successfully finish a full cushion project. If you’re looking for a punch needle kit for beginners that allows you to complete a larger functional piece without sourcing extra tools, the pillow series is an excellent choice.
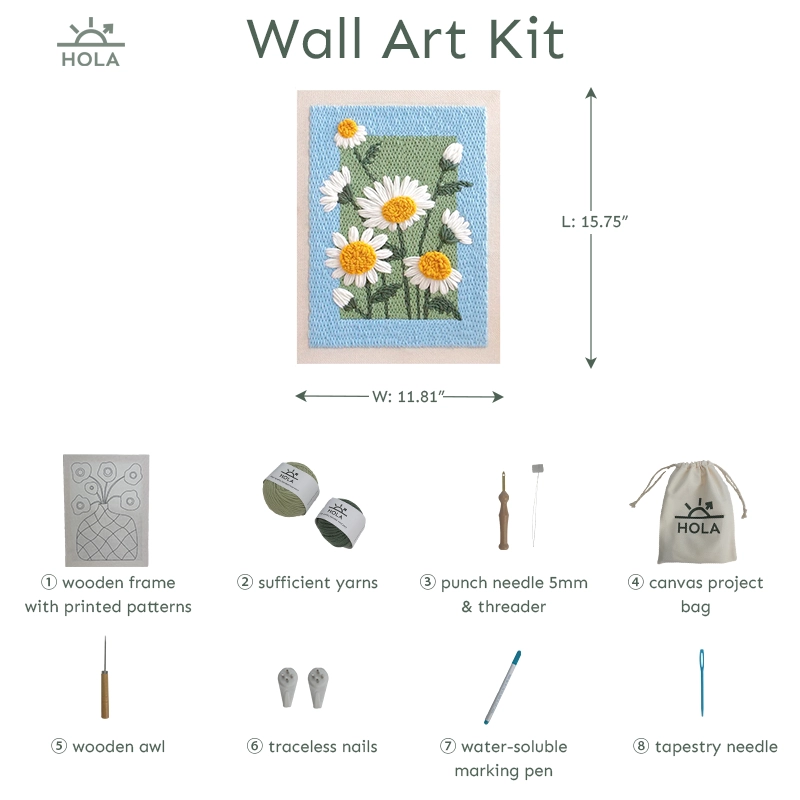
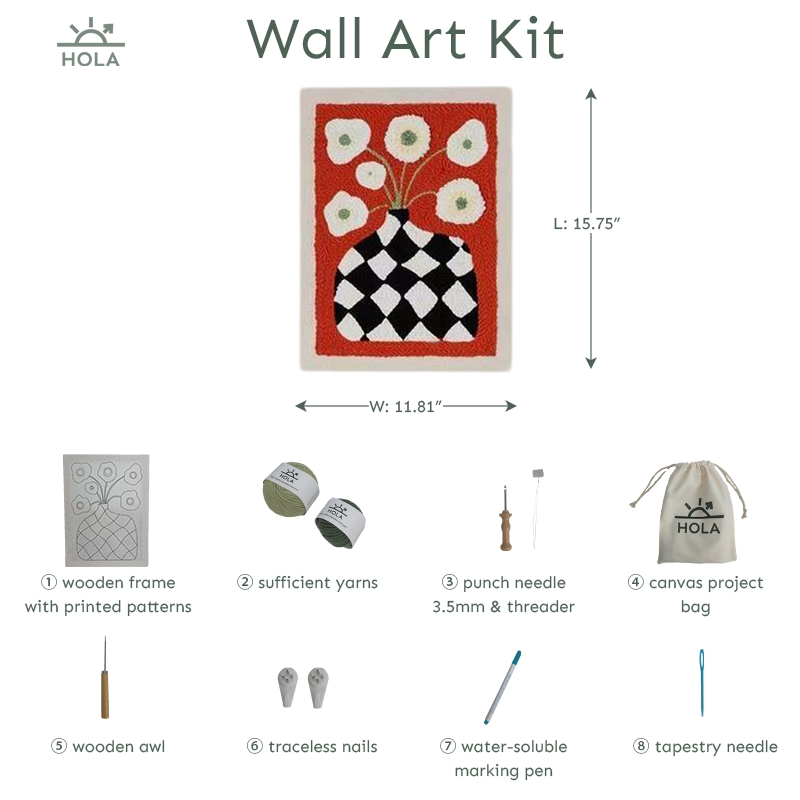
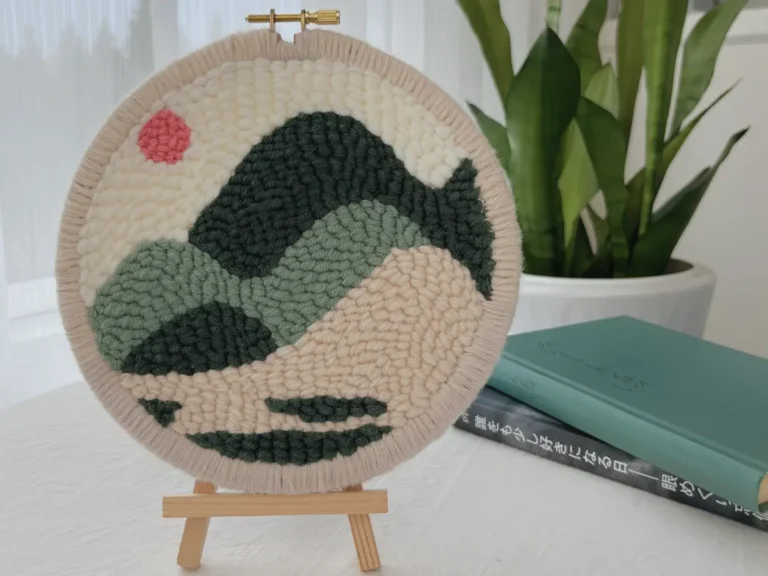
This series focuses on decorative wall art. In addition to helping you complete the punched design itself, it also addresses the final display experience—how the finished piece is mounted and presented. If you’re searching for a punch needle kit for beginners that combines a calming making process with a strong visual impact for your living room or bedroom, the wall art series is a great direction to explore.
2. Why Are There So Many Different Tool Kit Categories?
2.1 Saving Time and Effort
Every Holakits product includes a carefully tested selection of tools that are genuinely necessary and useful—not simply a pile of extras. For beginners, a thoughtfully assembled punch needle kit for beginners means you don’t need to research what else to buy before you start. Your punch needle journey becomes simpler and more enjoyable.
Reduces trial-and-error costs from buying the wrong tools or missing essentials.
Let’s you start sampling stitches and filling colors as soon as you open the box.
Each full kit is customized to the project’s completion needs and usage scenario, rather than applying one generic tool set to all designs.
If you’re completely new and want a kit that allows you to start immediately and still achieve a good-looking result, you can use “suitable as a punch needle kit for beginners” as a selection criterion. For example, prioritize designs with clearly printed templates and basic stitches that show results quickly.
Different yarn thicknesses require different punch needle sizes to ensure smooth stitching and optimal visual results.
Fine yarn paired with a thinner punch needle creates more delicate lines and details.
Thicker yarn paired with a thicker punch needle allows faster stitching, ideal for large color areas and a bolder visual texture.
Combining different needle sizes within one project can create layered, dimensional effects.
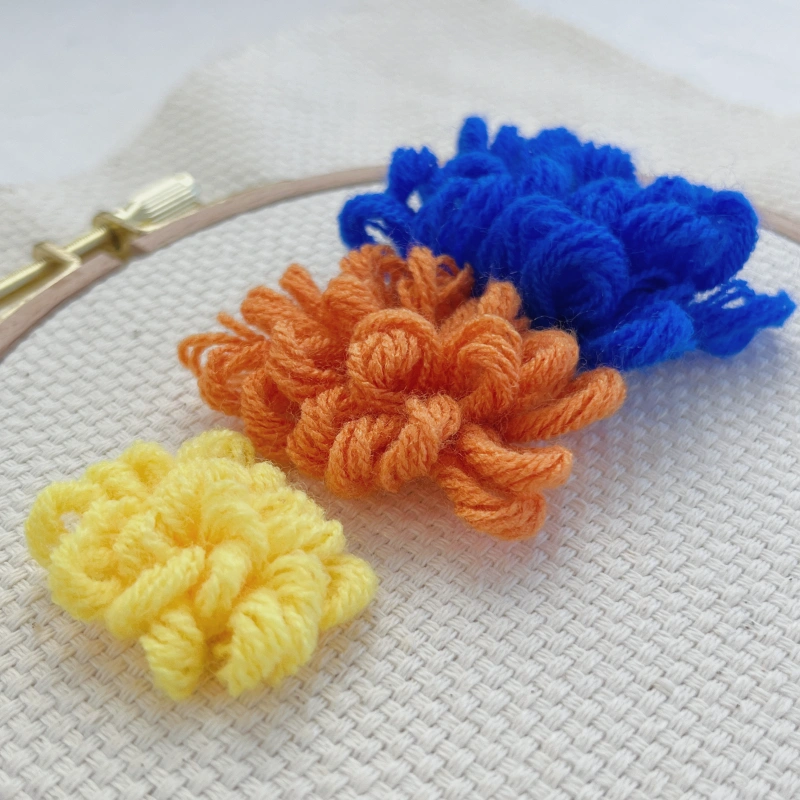
2.3 Punch Needle Length
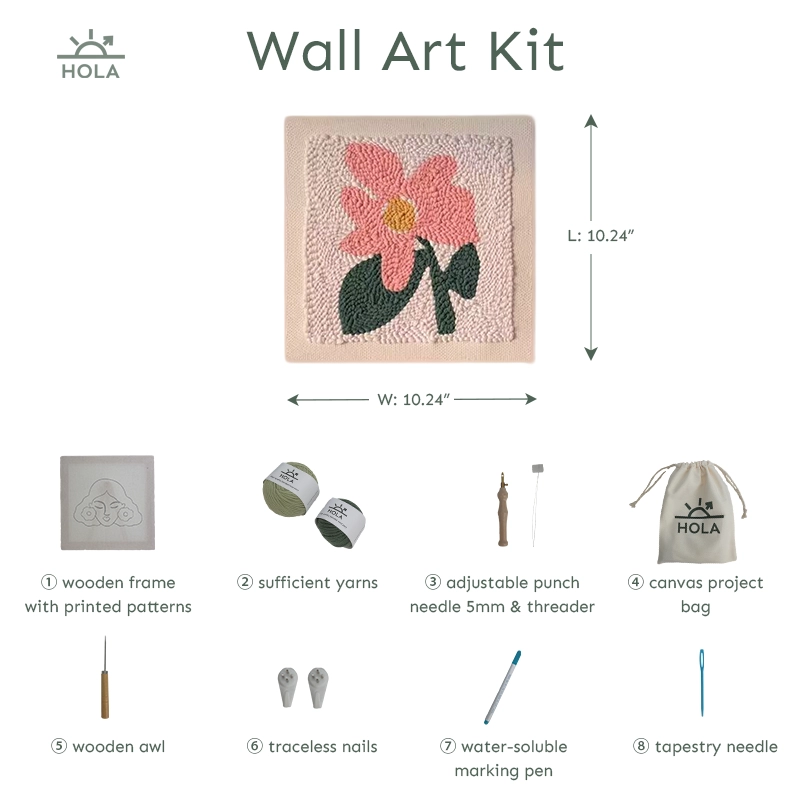
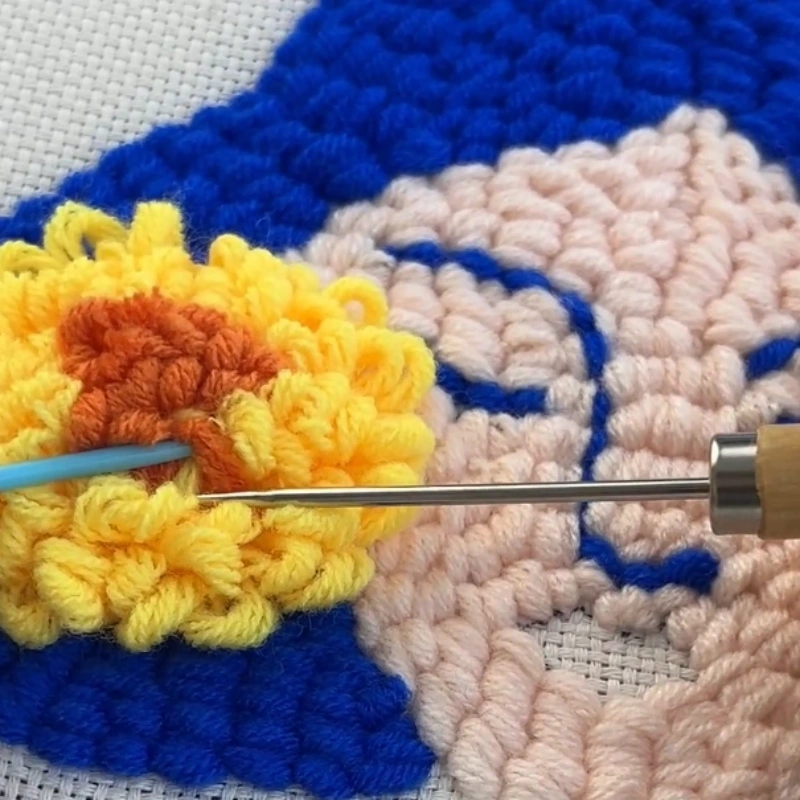
An adjustable punch needle allows you to change the needle length, creating loops of different heights and richer three-dimensional textures.
Longer needle settings produce taller loops and a fuller, more plush surface.
Using varied loop heights within one design helps emphasize the main subject while keeping the background softer.
For wall art or pillow projects, thoughtful variation in loop height enhances both the overall silhouette from a distance and the details up close.
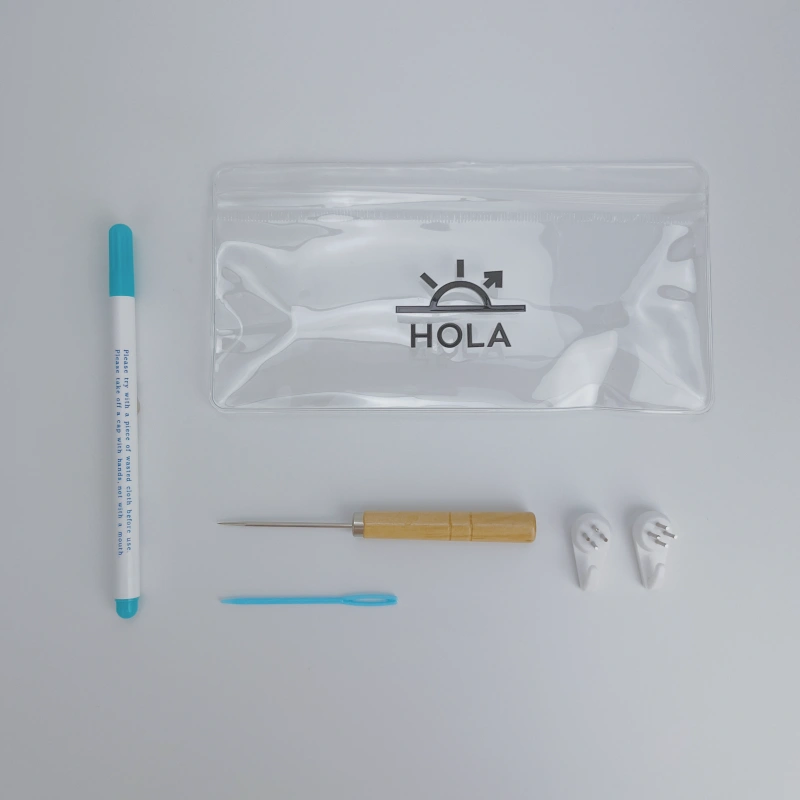
3.Tool Functions and How to Use Them
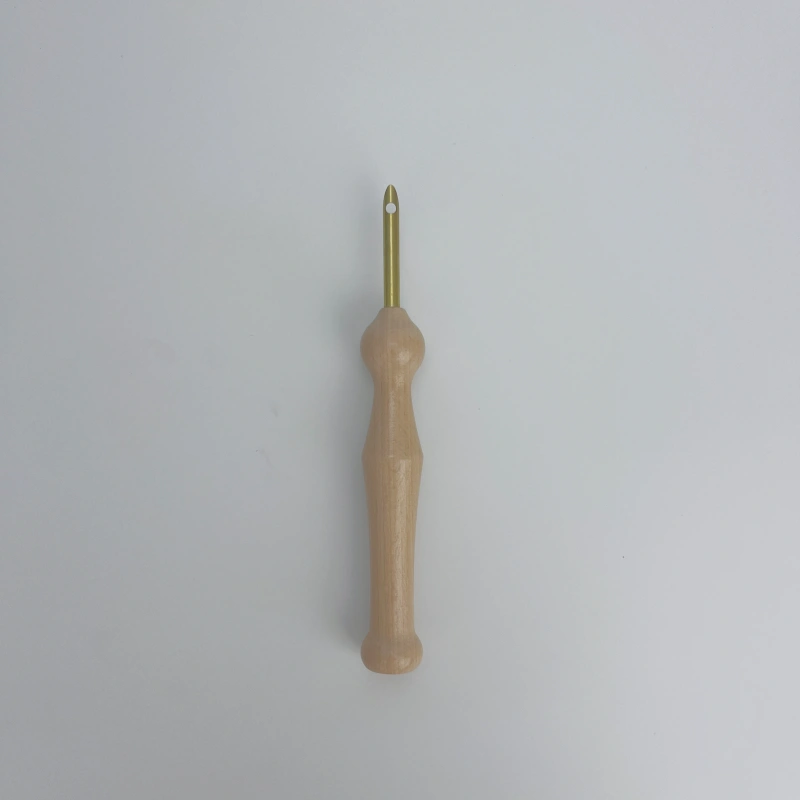
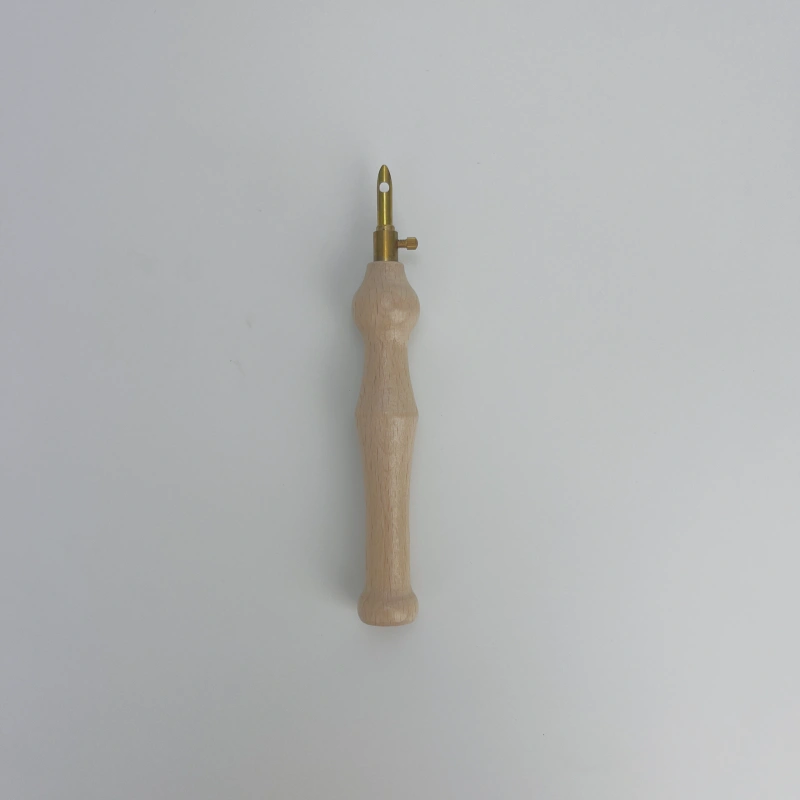
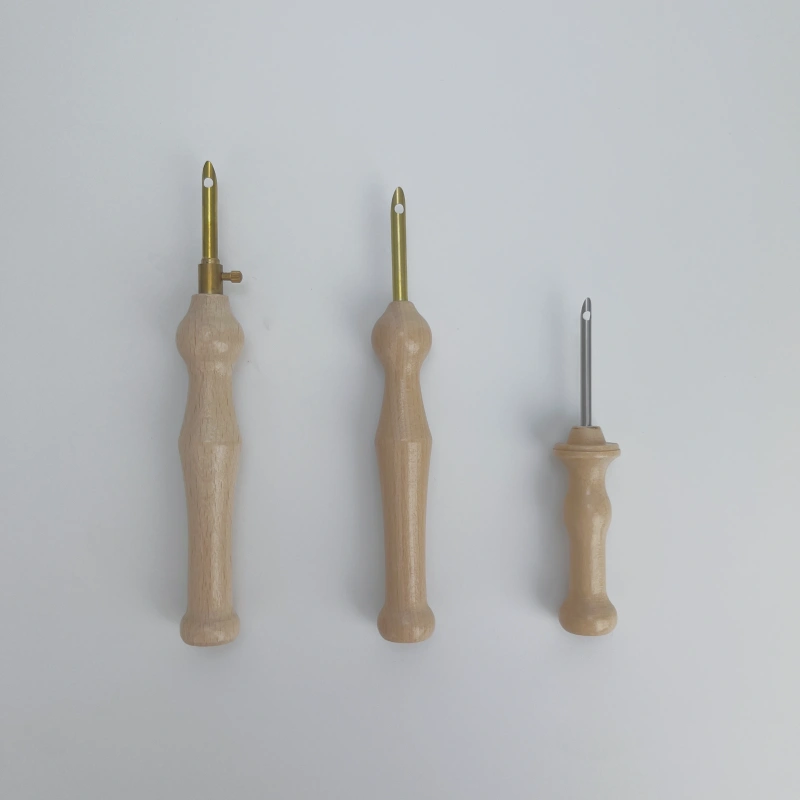
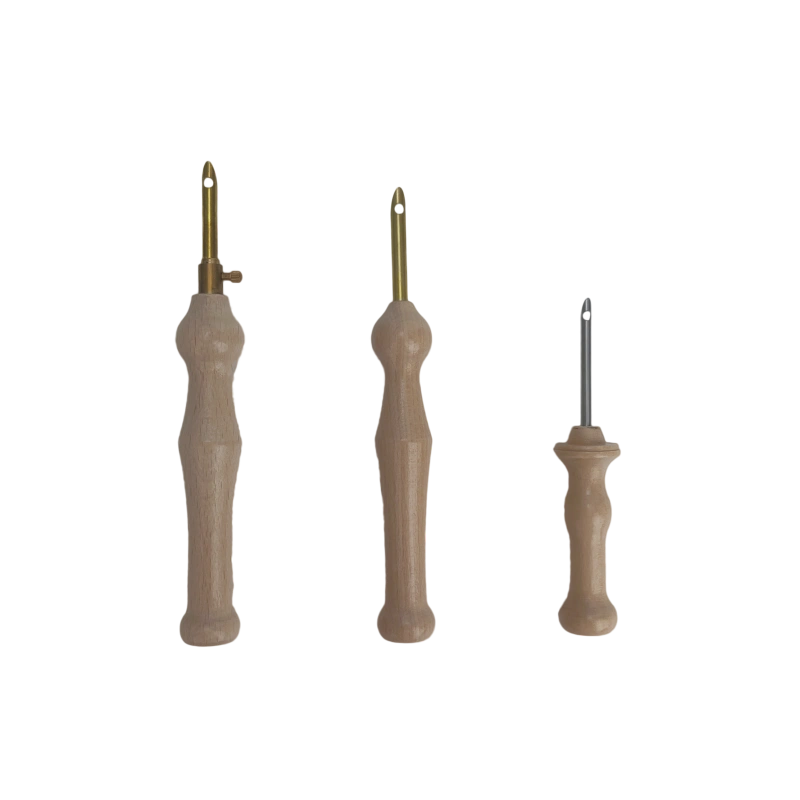
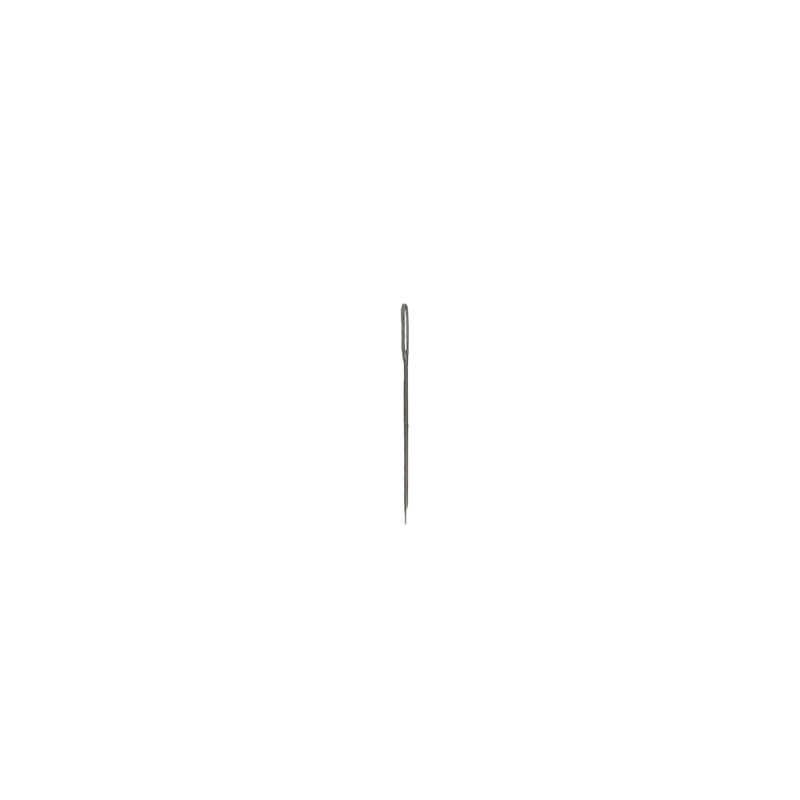
3.1 Punch Needle & Threader
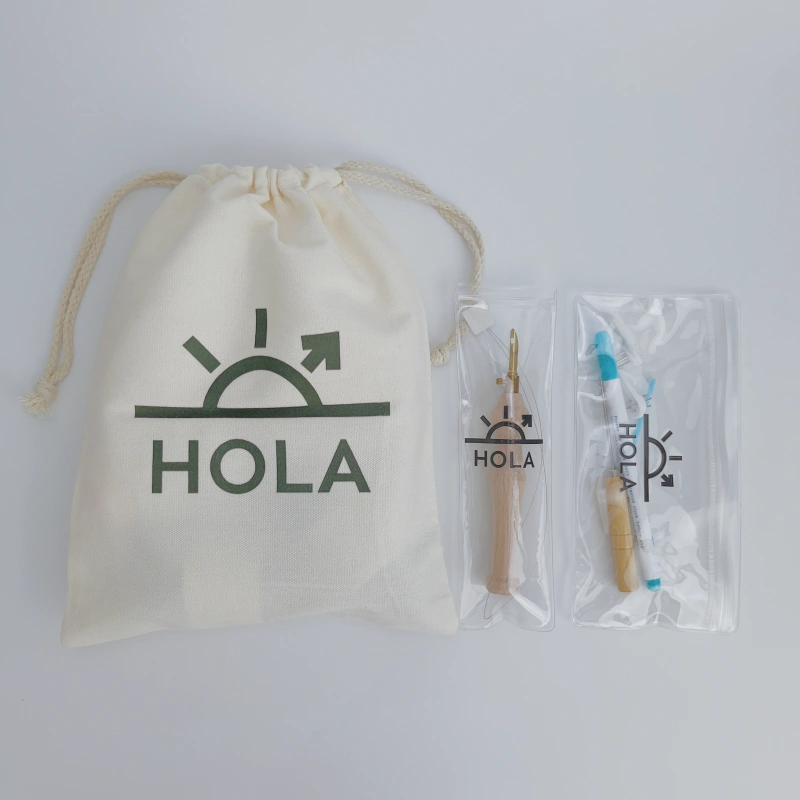
The wooden handle is made from natural beechwood with an ergonomic, streamlined design that feels comfortable even during long punching sessions. The needle is copper-plated for durability and resistance to deformation.
Punch needle 3.5mm is suitable for 3–6-ply yarn.
Punch needle 5mm is suitable for 5–8-ply yarn.
The punch needle 5mm comes in both adjustable and fixed versions.
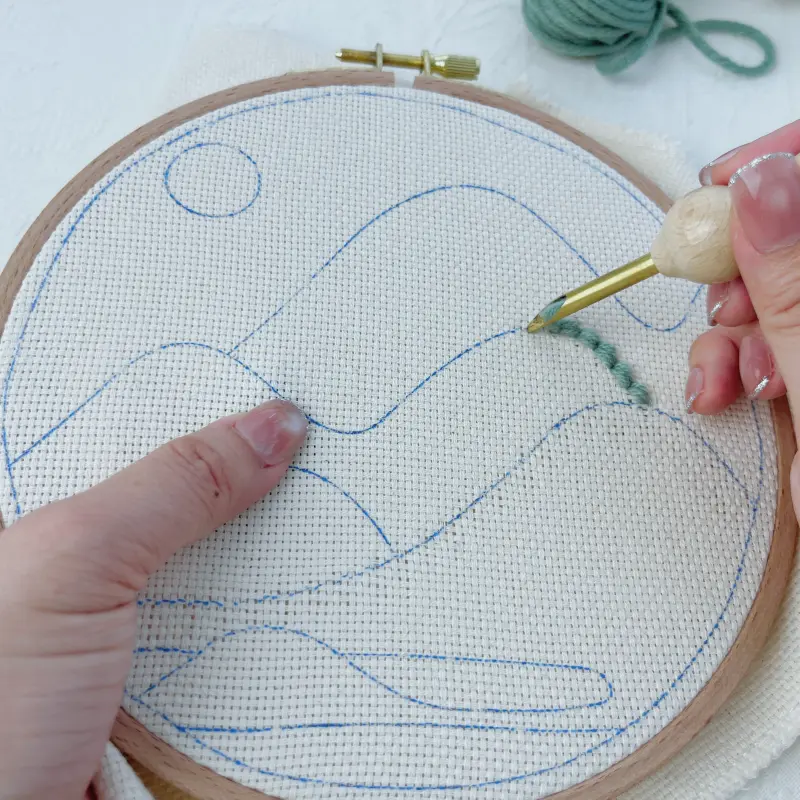
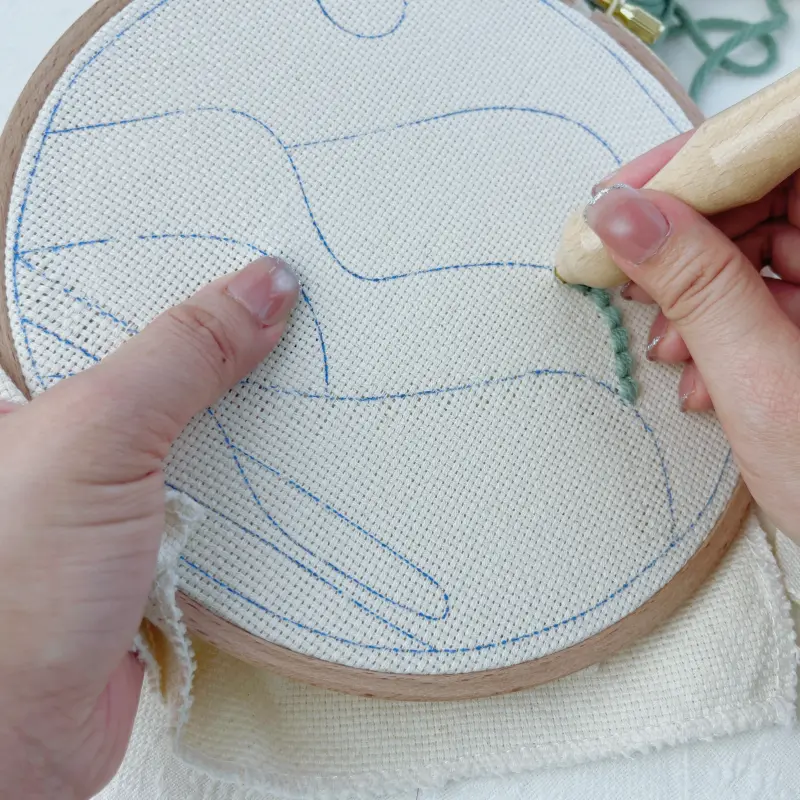
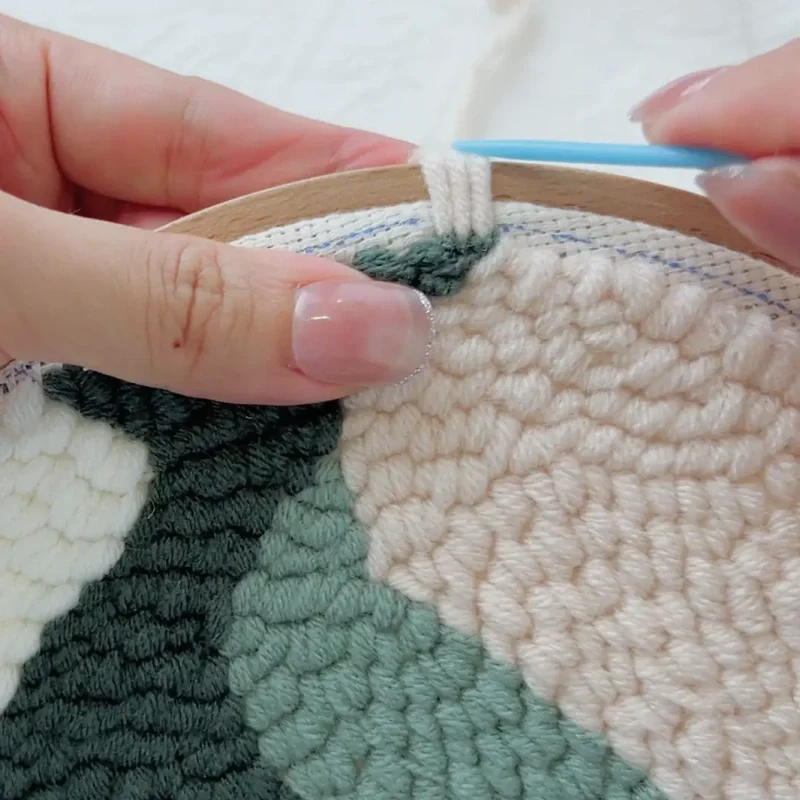
These are the core tools in the entire punching process. Once the yarn is threaded through the punch needle using the threader, you can begin working on the fabric.
Before use, confirm that the needle size matches your yarn thickness.
Insert the threader from the handle end, place the yarn through the loop, and pull it out through the needle tip.
After threading, test a few stitches to ensure the loop height and yarn flow meet expectations.
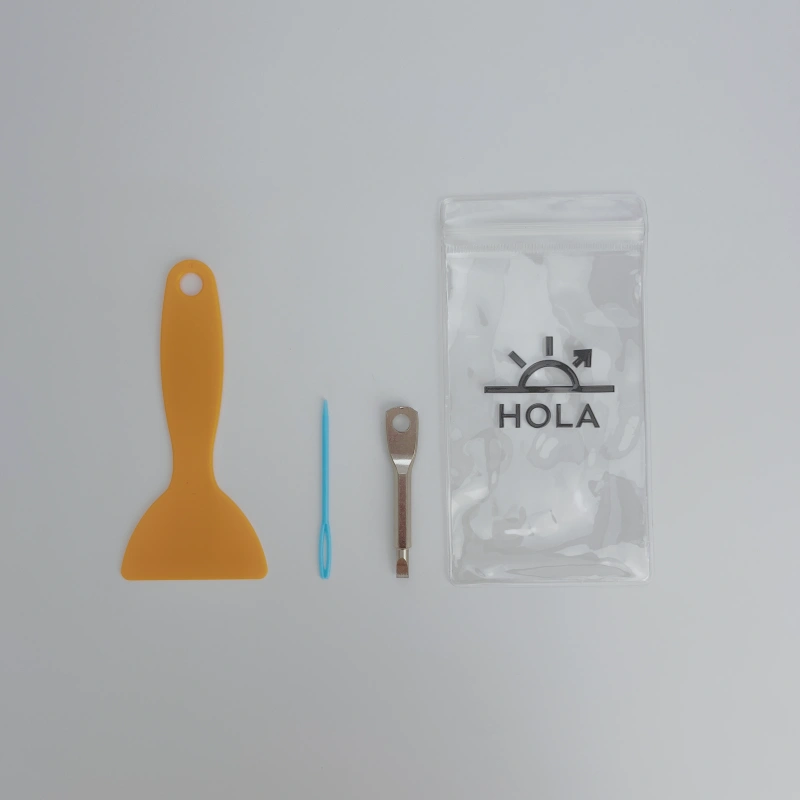
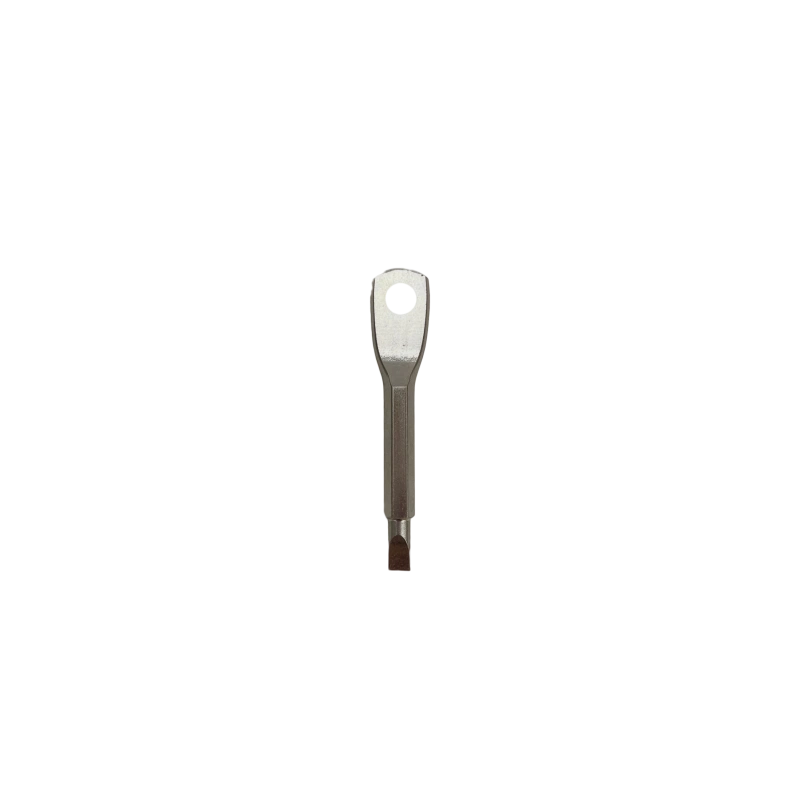
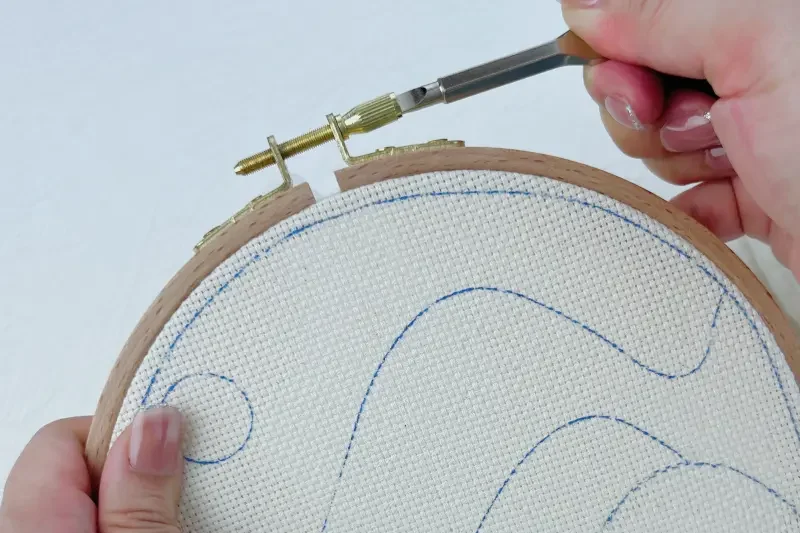
3.2 Flat Head Screwdriver
Used to secure the hoop. We’ve selected a compact, hardened steel version that’s easy to carry and convenient for crafting anywhere.
Loosely adjust the hoop tension before stretching the fabric.
Once the fabric is fully taut, use the flat head screwdriver to tighten it securely.
This ensures the fabric stays firm during punching and helps maintain even loop height.
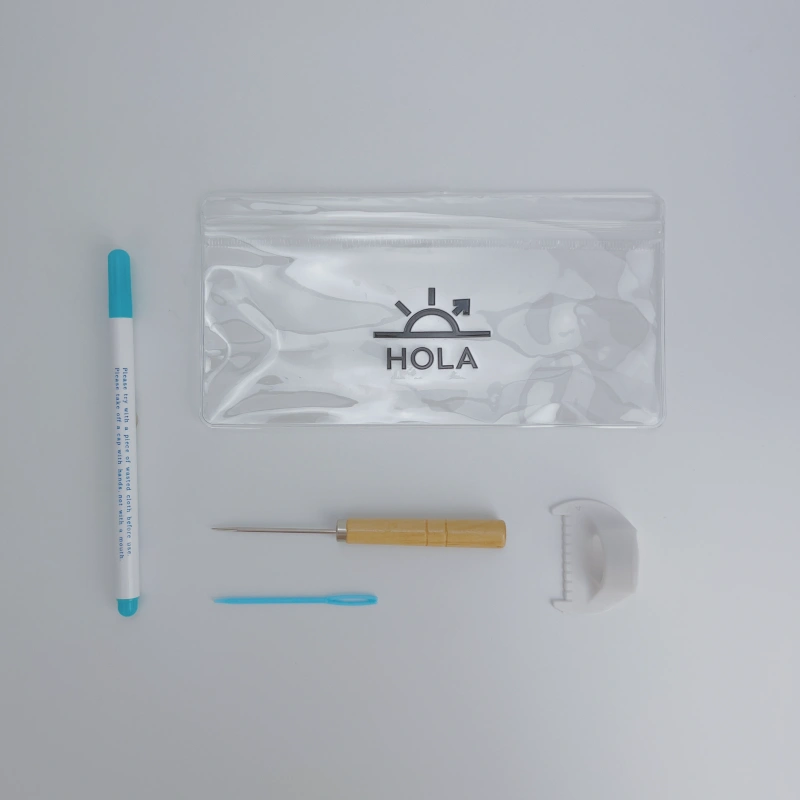
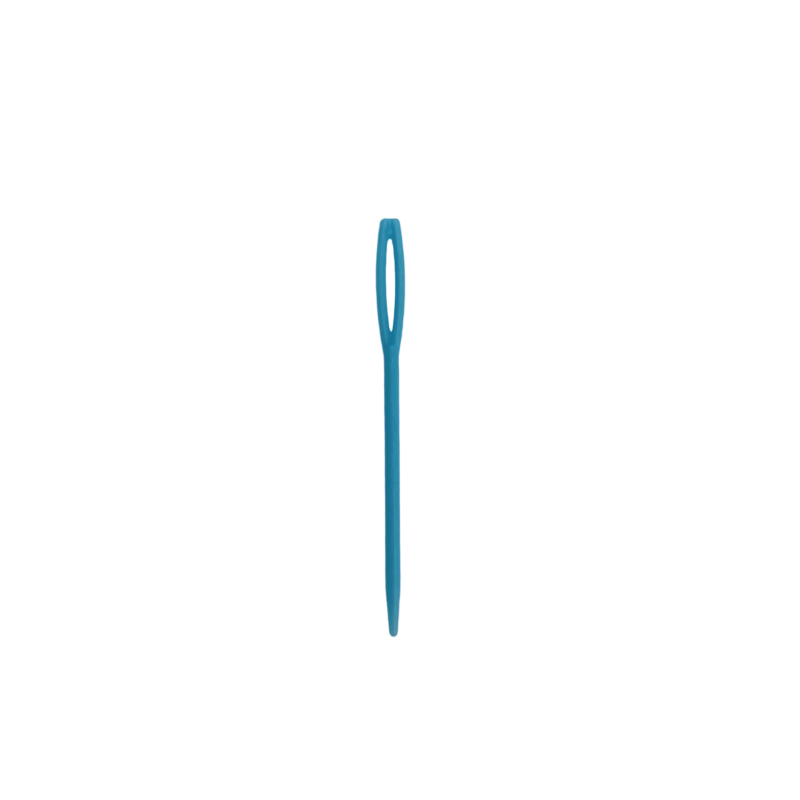
3.3 Tapestry Needle
This low-profile tool is surprisingly one of the most frequently used during actual making.
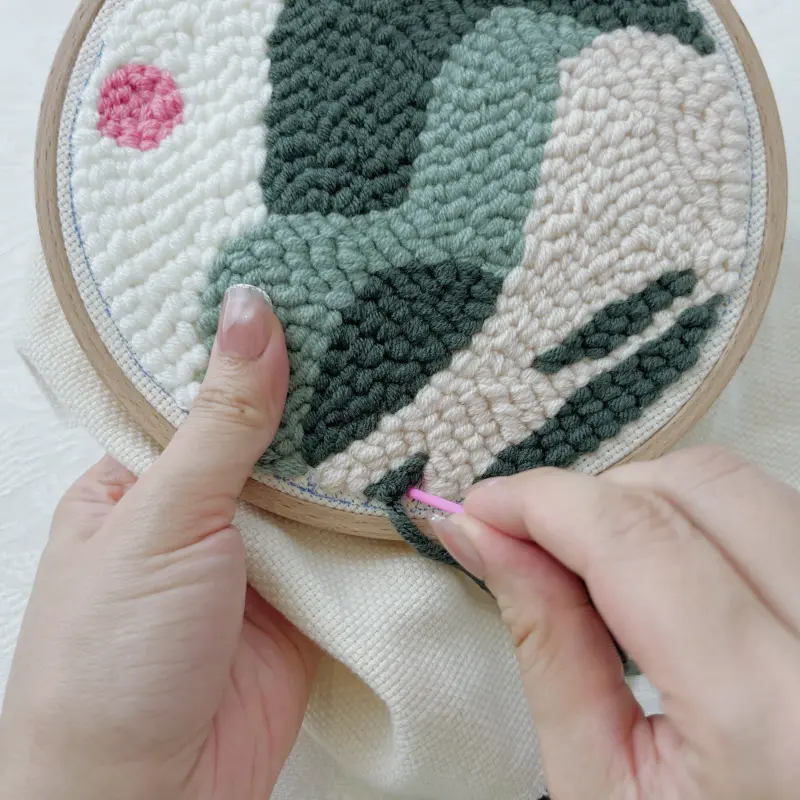
Edging & Detail Filling
Thread yarn through the tapestry needle and use it to:
Refine fine lines and edges.
Work near borders where the punch needle can’t easily reach.
Fill very small color areas for a more complete design.
If you’re unfamiliar with these techniques, searching terms like “tapestry needle detail work punch needle” can help you better understand the value of this tool within a punch needle kit for beginners.
Hoop Edge Wrapping
After finishing a hoop project, you can wrap yarn around the wooden frame edge to create a more polished and decorative finish.
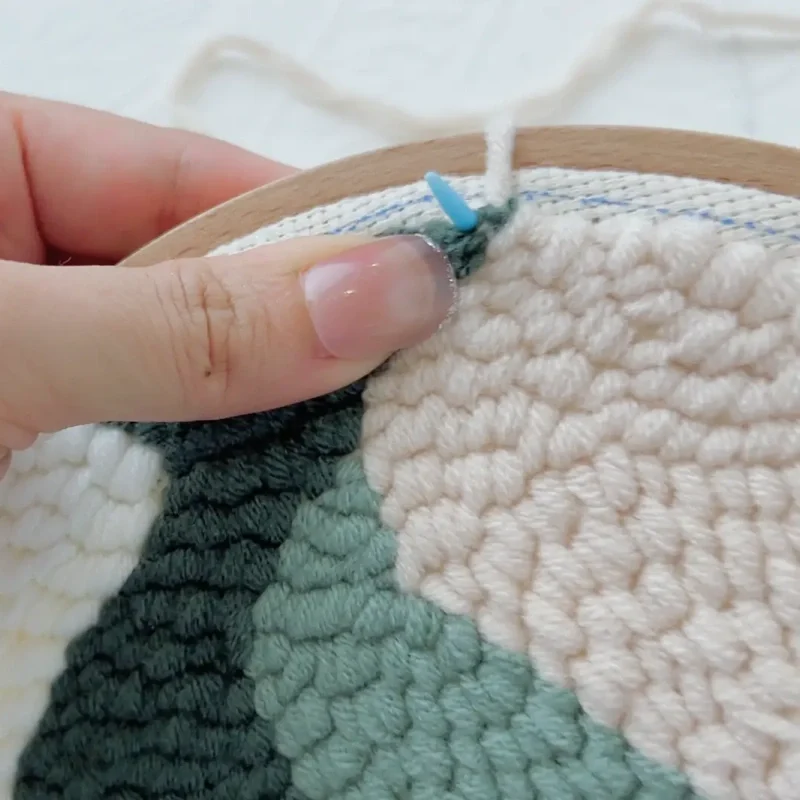
Fixing Uneven Loops
TUneven loops or stray yarn are common during needle punch art.
Use the tapestry needle to tuck excess yarn back into the surrounding loops.
Hold the raised loop gently with your hand.
Loop Separation
When working on dimensional designs or multi-color areas:
This keeps color boundaries clean and well-defined.
Use the tapestry needle together with the wooden awl to separate tangled loops.
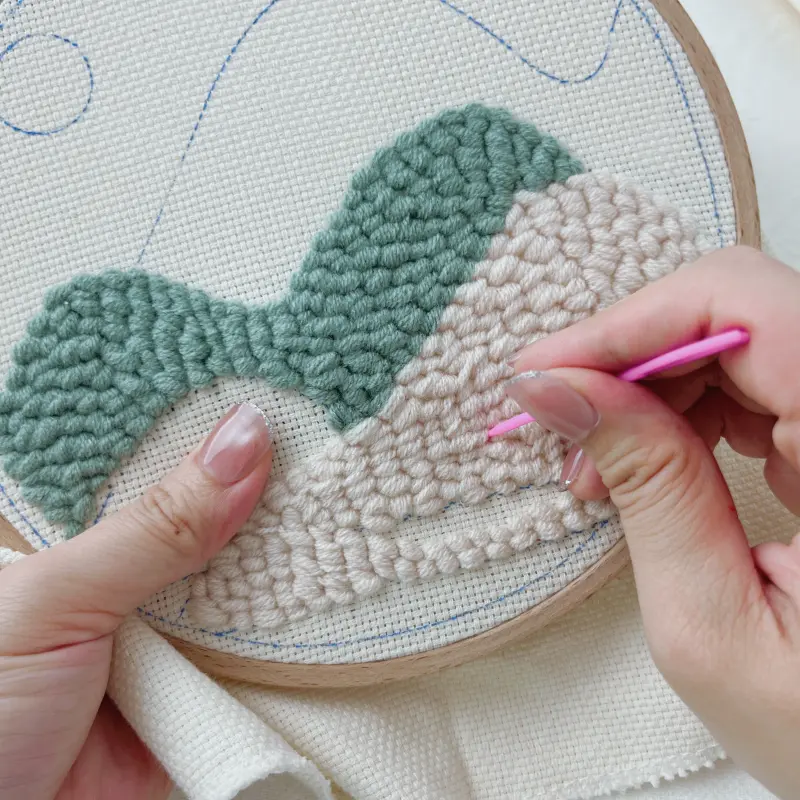
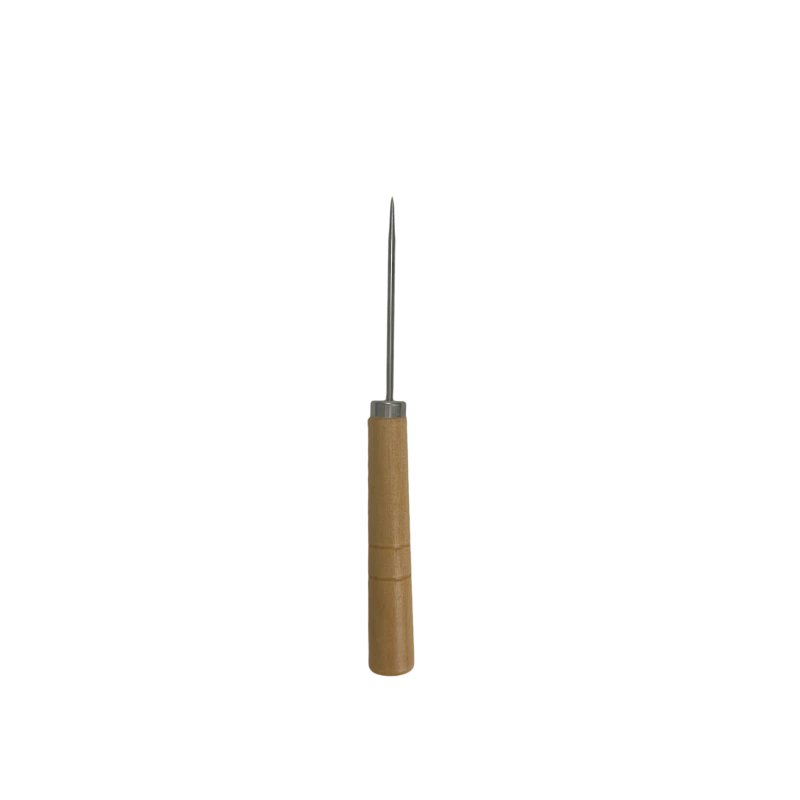
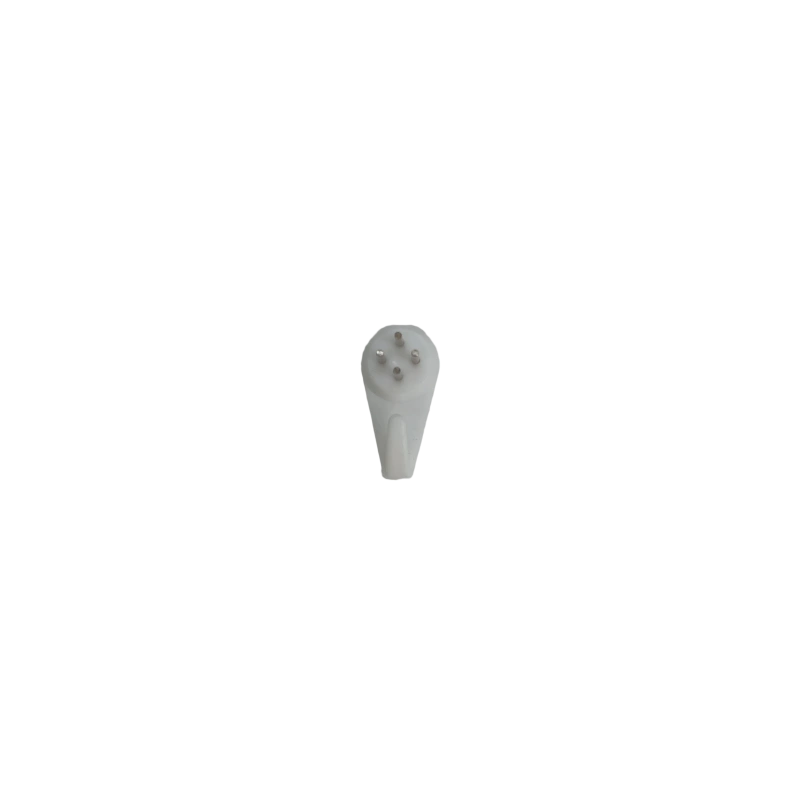
3.4 Wooden Awl
The wooden awl is a versatile supporting tool used to:
Gently nudge the loop direction or density for fine-tuning.
Help separate yarn loops of different colors.
Adjust local details for cleaner edges.
Many beginners overlook this tool at first, but once you start working on layered or multi-color designs, its value becomes clear.
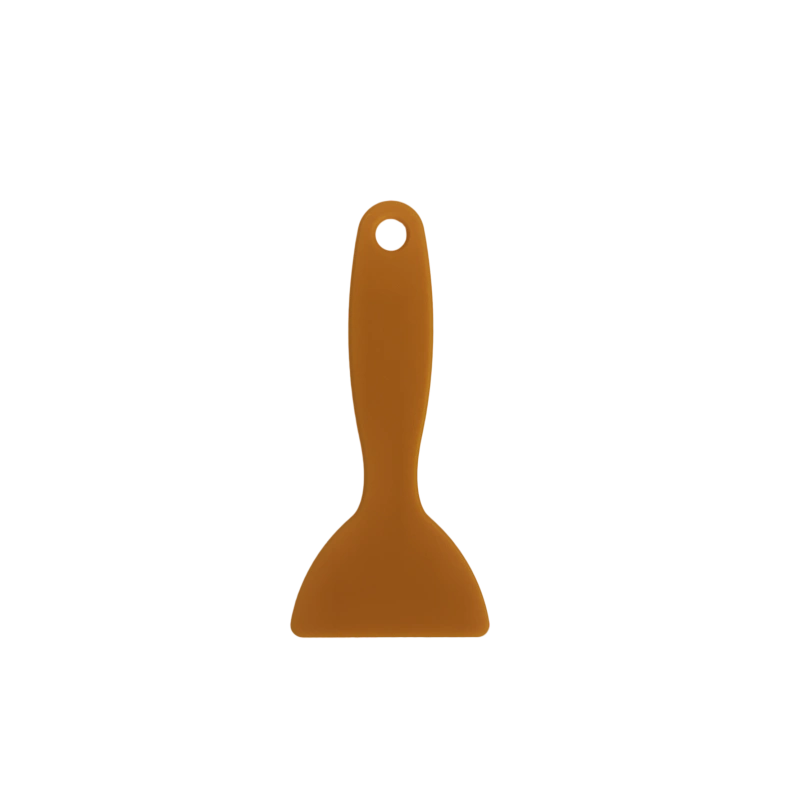
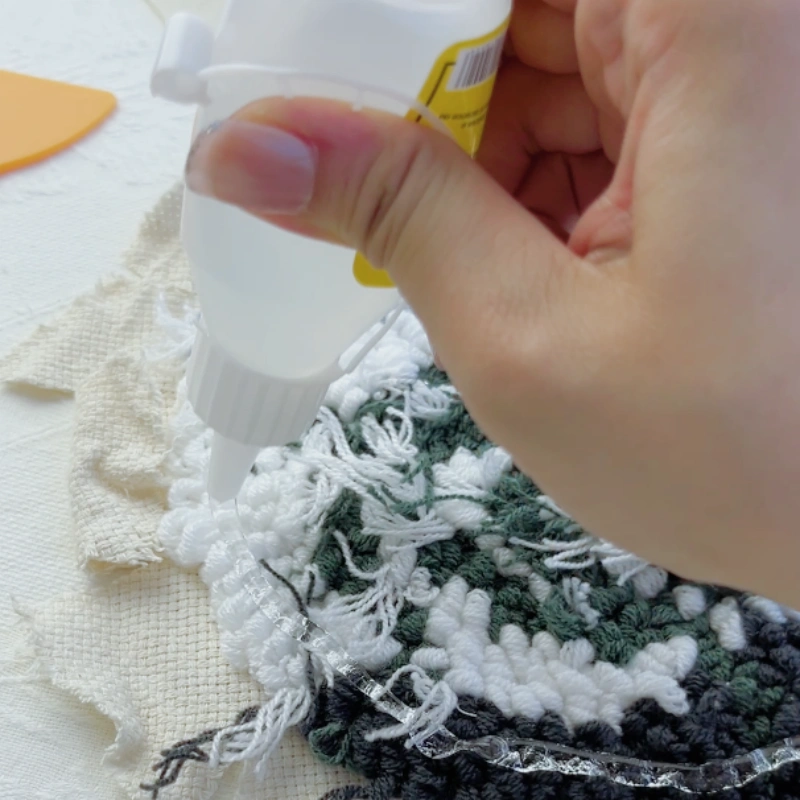
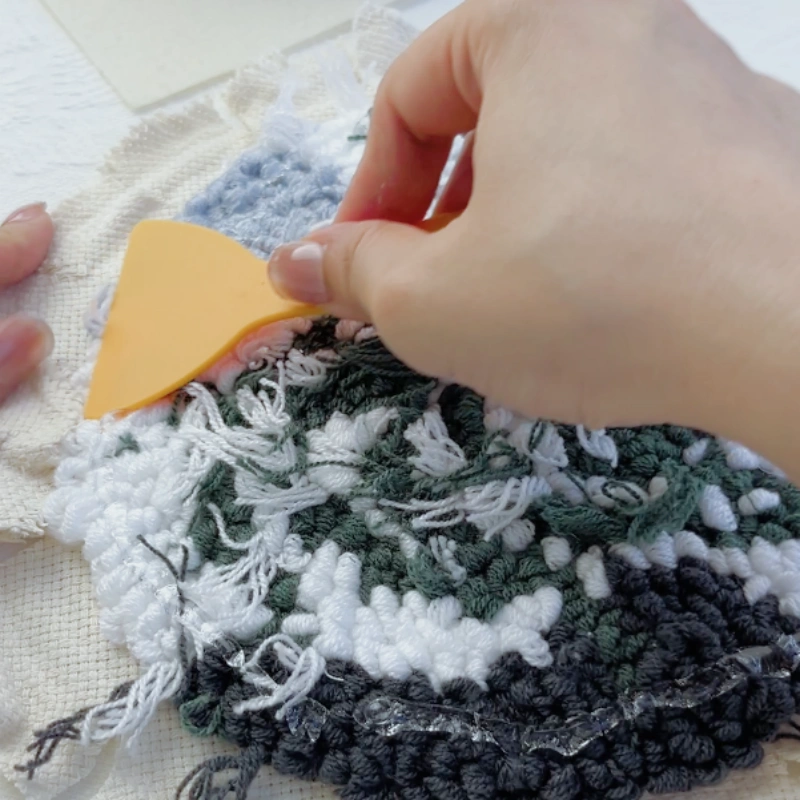
3.5 Plastic Scraper
If you want to turn hoop projects into coasters or trivets, alcohol-based glue needs to be evenly applied to the back.
The plastic scraper spreads glue quickly over large areas.
Ensures even coverage at the base of each loop
Improves durability and reduces snagging or shedding
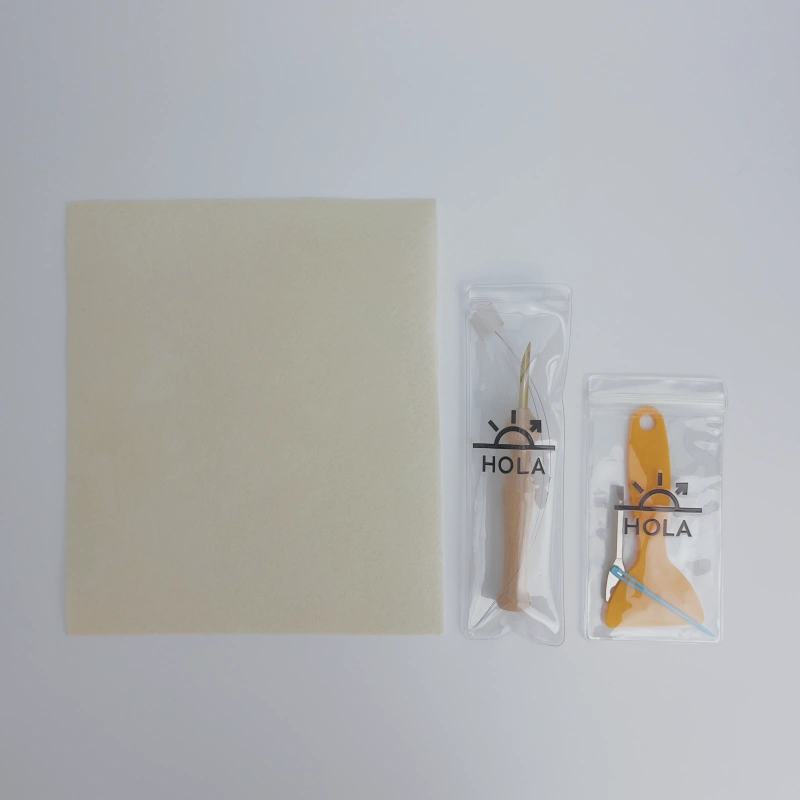
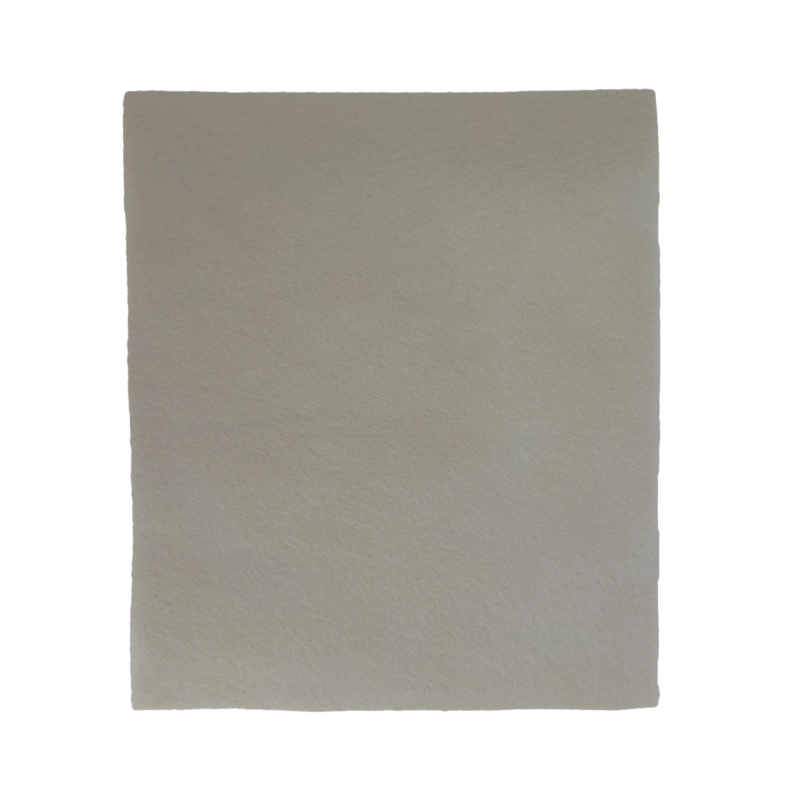
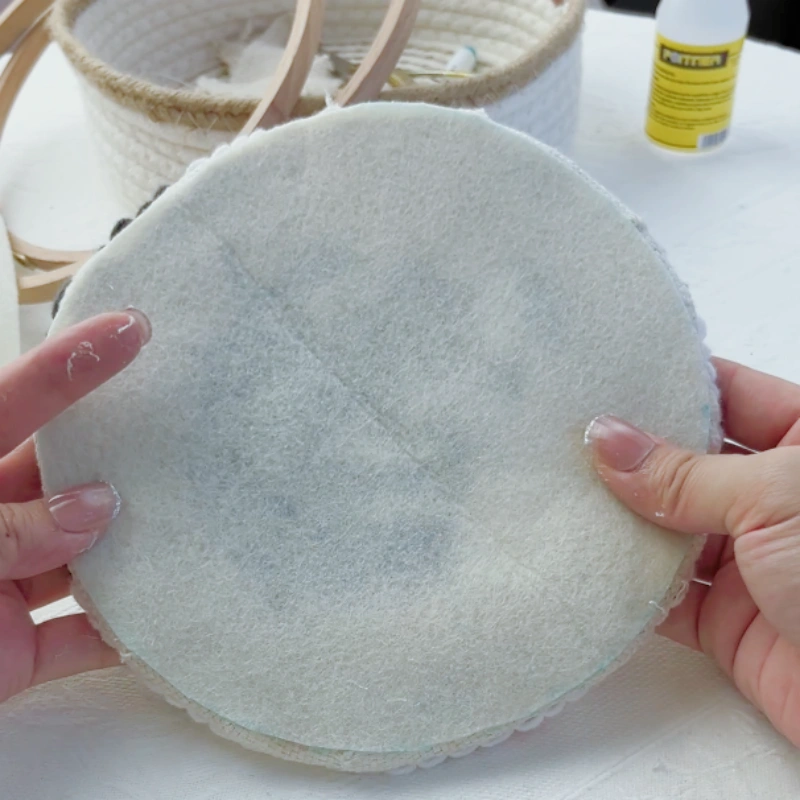
3.6 Felt Backing
After sealing the yarn loops with glue, felt backing is attached to the back of the hoop projects.
Further secures the yarn.
Creates a softer, non-scratch surface
Makes the finished piece more suitable for everyday use
Felt backing is often overlooked in a punch needle kit for beginners, yet it plays a key role in making the final piece both beautiful and practical.
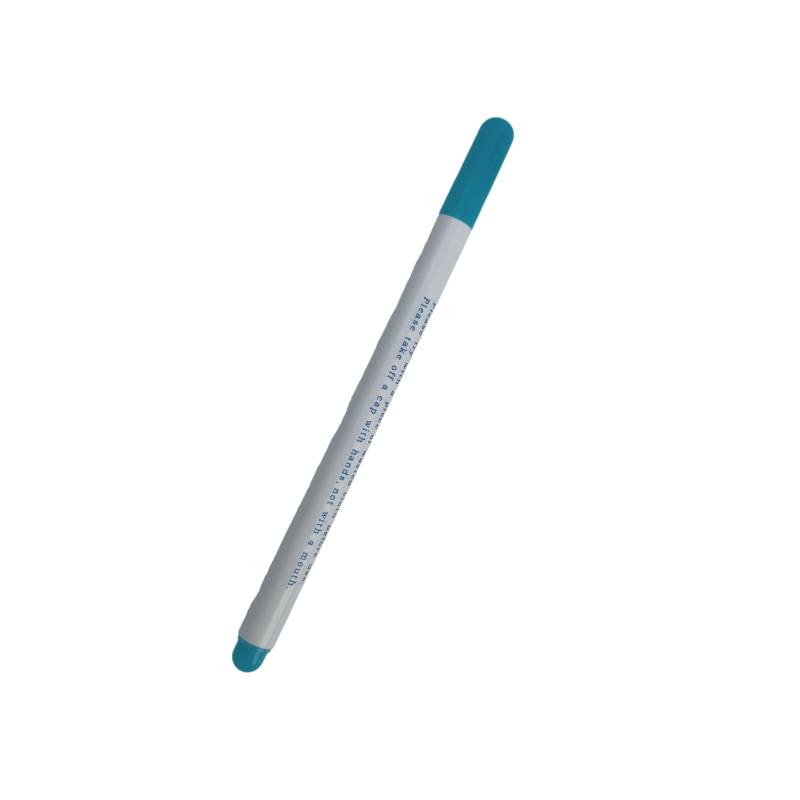
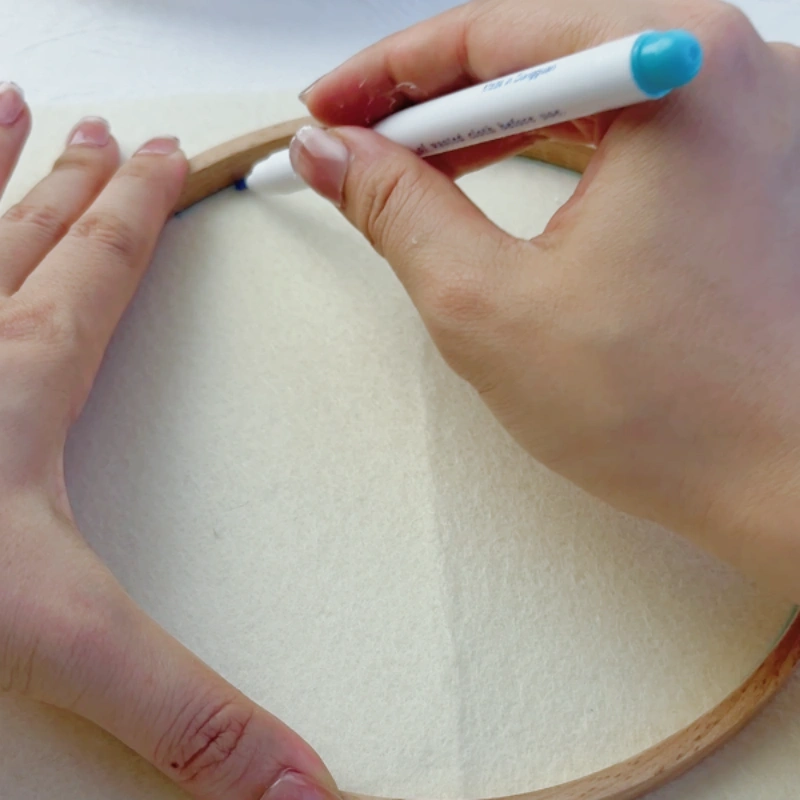
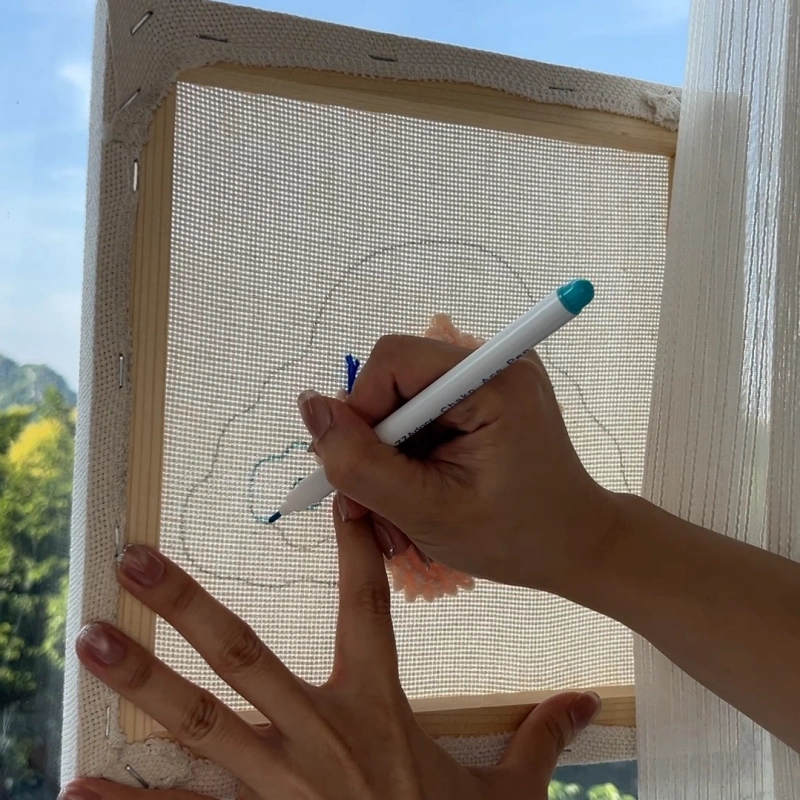
3.7 Water-Soluble Marking Pen
This washable pen can be used on fabric and some leather surfaces. Marks fade when exposed to water or naturally disappear within 2–7 days.
When Printed Lines Get Wet
All Holakits’ base fabrics feature washable printed templates. If water causes lines to fade:
This won’t affect the finished result and allows you to continue smoothly.
Use the water-soluble marking pen to redraw missing lines.
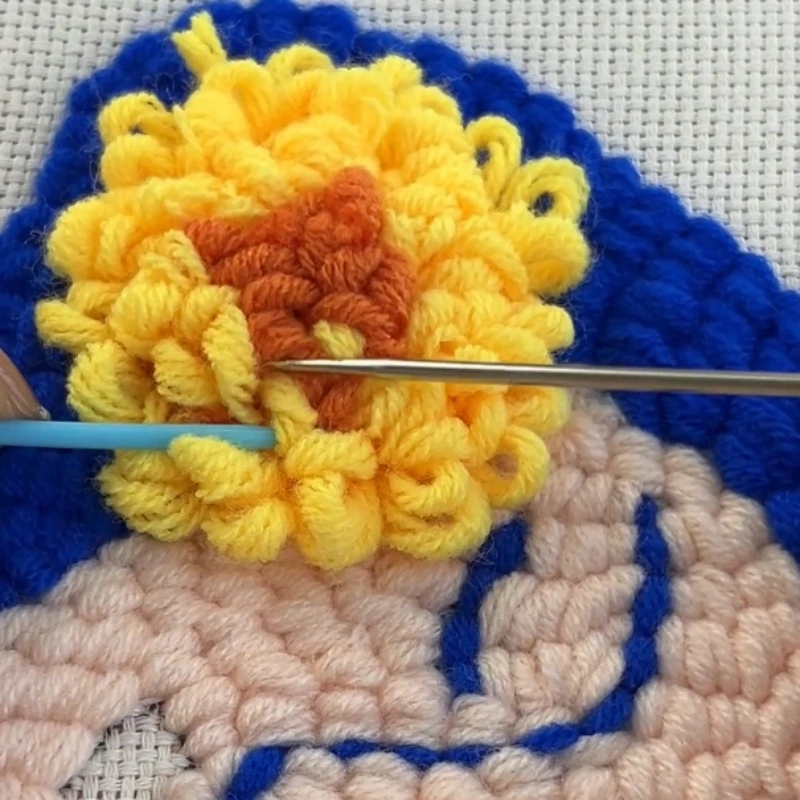
Dimensional Design Planning
For raised designs:
Sketch the outline of areas to be emphasized on the back of the fabric.
Use the guide to plan color placement and loop height.
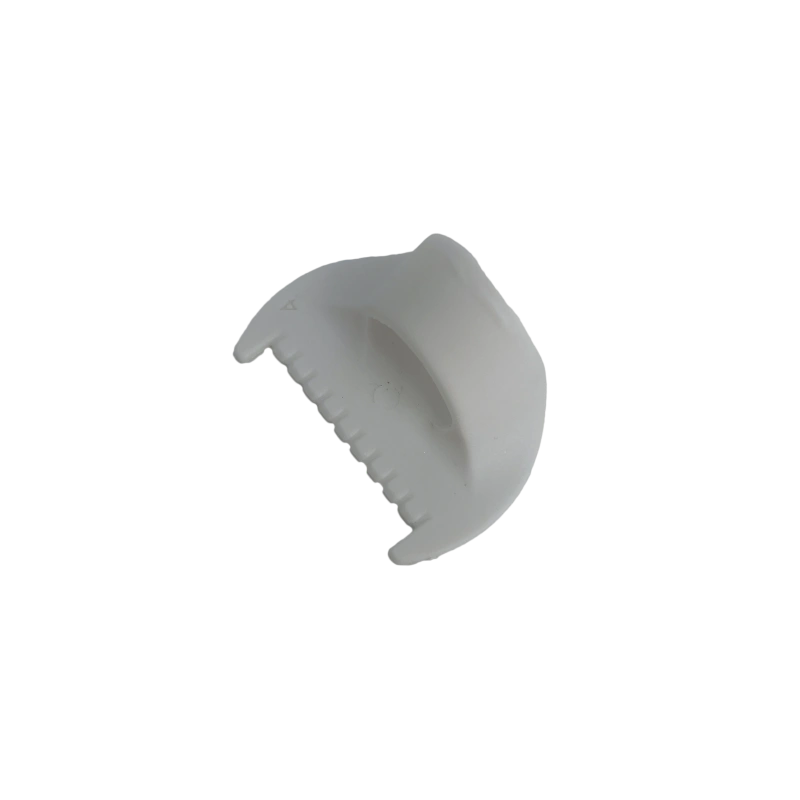
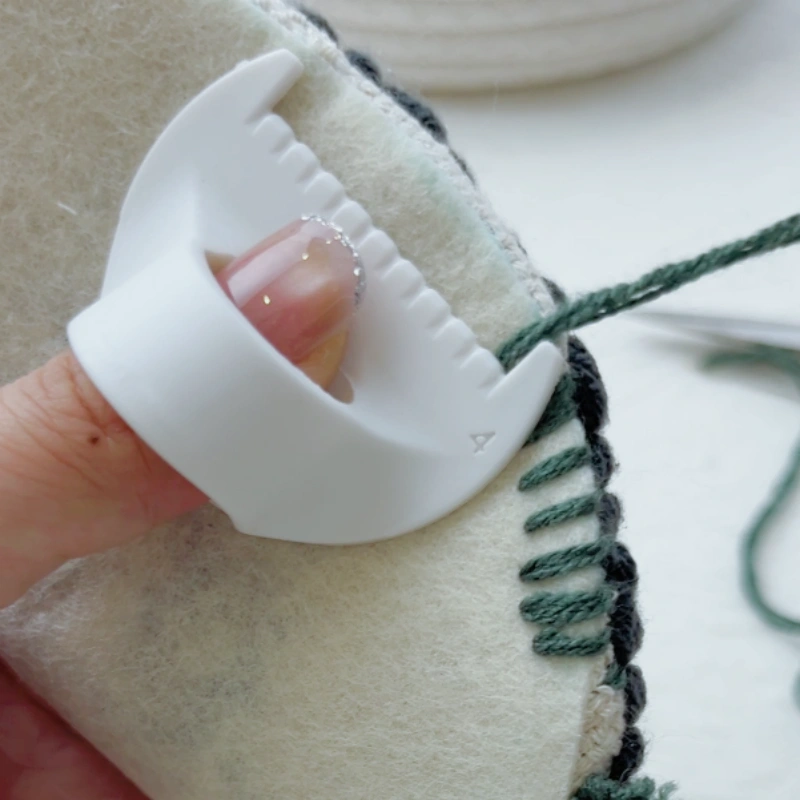
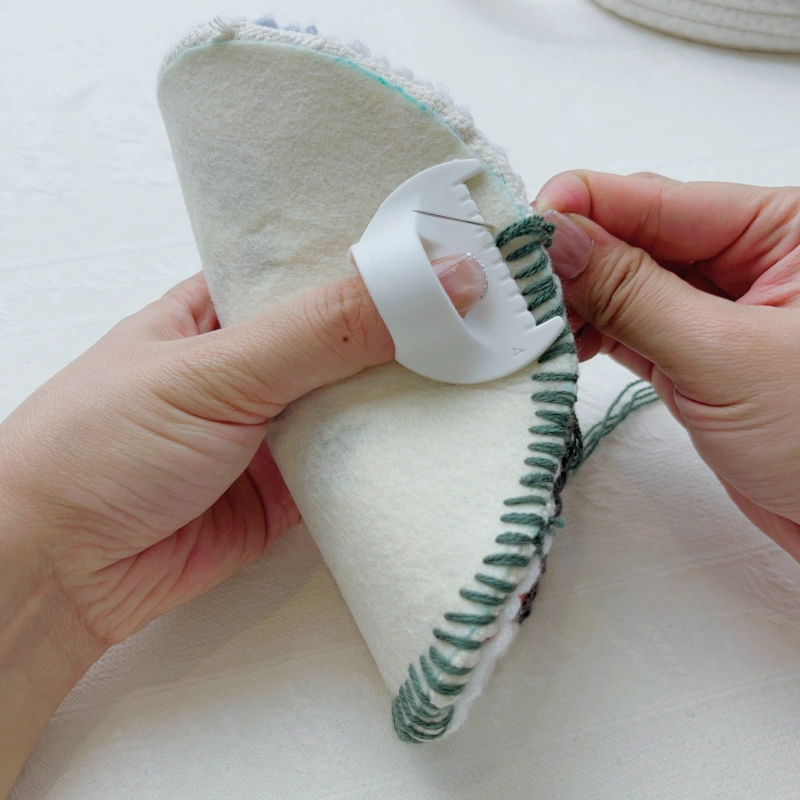
3.8 Edge Stitch Lock Sewing Gauge
This double-ended positioning tool precisely controls stitch spacing while protecting your fingers.
Especially helpful when sewing pillow backs and zippers
Ergonomic curve fits comfortably in the hand.
Anti-slip and safety-focused design
For those aiming to complete a pillow using a single punch needle kit for beginners while achieving a professional-looking finish, this tool adds significant value during the final stage.
3.9 Traceless Nails
Used mainly in pillow kits to attach backing fabric and invisible zippers.
When paired with the edge stitch lock sewing gauge, even beginners can achieve neat, even stitches.
This step greatly enhances the overall quality and handmade-yet-polished feel of the finished pillow.
3.10 Traceless Nails
Used mainly in pillow kits to attach backing fabric and invisible zippers.
When paired with the edge stitch lock sewing gauTraceless nails are essential for mounting framed punch needle wall art and are included in all wall art kits.
Features include:
Strong load-bearing capacity
Minimal visual impact on walls
Easy installation for beginnersge, even beginners can achieve neat, even stitches.
This step greatly enhances the overall quality and handmade-yet-polished feel of the finished pillow.
💡 Installation Tips (Tested & Practical):
Mark the nail position on the wall.
Apply a small piece of transparent tape to reduce paint cracking.
Hold the traceless nail in place.
Hammer straight down, applying even force.
Stop when the nail head is flush with the wall.
4. Common Questions About Tools
4.1 Is a Full Kit Necessary When Choosing a Set?
A full kit is not mandatory. However, if you do not already own the same model of punch needle, or if this is your first time trying punch needle crafts, choosing a full kit is strongly recommended.
A full kit includes all the tools and materials needed to complete a specific project. This helps you avoid searching for additional accessories, purchasing incompatible specifications, or making unnecessary mistakes—effectively reducing the trial-and-error cost for beginners.
If you already own a compatible punch needle and are certain that this project does not require extra auxiliary tools, you can choose a refill kit that contains only the materials. This option is more budget-friendly.
For first-time learners, a full kit is essentially a ready-made punch needle kit for beginners, designed to be a complete and worry-free solution.
4.2 How Can I Buy Across Different Series While Spending Less?
If you want to mix and match products from different series while keeping your budget under control, a simple strategy is to start by choosing one project you are most eager to complete and purchasing it as a full kit. For other designs that use the same punch needle size, you can then select refill kits.
This way, you only pay once for the essential punch needle tools and avoid repeatedly purchasing the same tools across multiple kits.
On each Holakits product page, every punch needle kit clearly lists the included tools and the needle size. You can easily compare this information with the tools you already own and decide which design requires a full kit and which can be purchased as a refill kit only.
For example, if you choose a full kit for a pillow series project, and later want to create a wall art design that uses the same needle size, you can simply select the refill kit for that piece.
4.3 How Are Holakits Tools Different From Other Brands?
Holakits tool sets are carefully curated around real usage experience, offering a “complete-from-start-to-finish” solution rather than simply increasing the number of tools in a bundle.
Each tool is selected and tested according to the full punch needle workflow—from threading and punching, to detail trimming, backing stabilization, and final installation or sewing—so every stage of creation is properly supported.
In terms of materials and handling, Holakits prioritizes durability and comfort. Features such as natural wooden handles and reinforced needle tips are chosen to help beginners maintain a stable and comfortable experience, even during longer crafting sessions.
For users who care about both ease of learning and a polished finished result, this “curated instead of piled-on” approach ensures that every punch needle kit for beginners is closer to the kind of project that actually gets completed.
4.4 Do I Need an Adjustable Punch Needle to Create 3D Effects?
Creating raised or dimensional effects does not necessarily require an adjustable punch needle. If your goal is to add simple texture or contrast in certain areas, a fixed punch needle can already achieve satisfying results.
By combining basic techniques—such as large-area front punching with small-area reverse punching—you can create visible height differences and a sense of depth within the same piece.
The advantage of an adjustable punch needle lies in its ability to freely control loop height, allowing for more complex layering and richer 3D textures within a single punch needle artwork.
If you already know that precise control over dimensional layers and details is important to you, or if you plan to focus on long-term projects such as multi-layered wall art or pillow designs, then choosing a punch needle kit for beginners that includes an adjustable punch needle can be a smart option.
That’s the complete guide to Holakits punch needle tools. If you have any further questions about choosing or using tools, feel free to leave a comment or visit our FAQs page for more information.